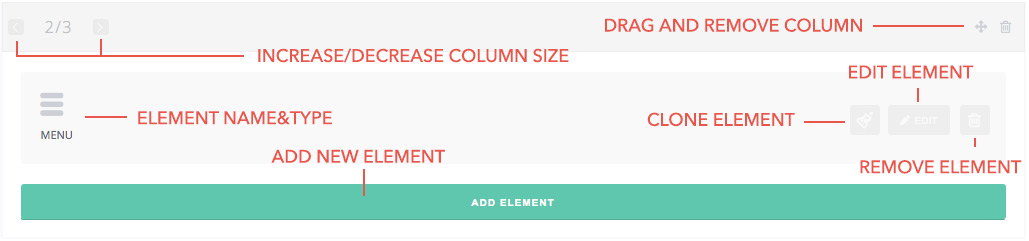
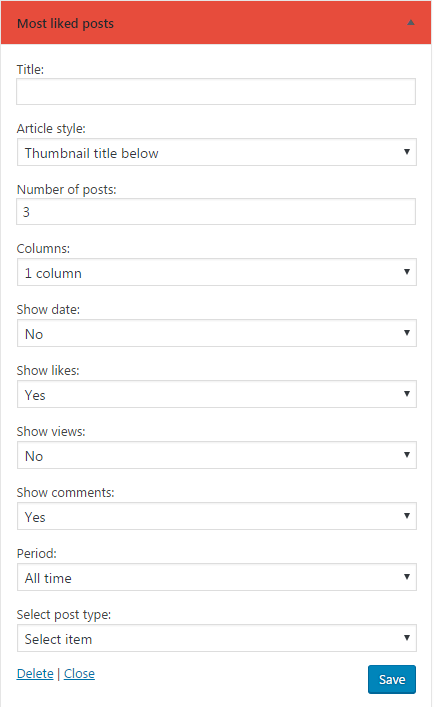
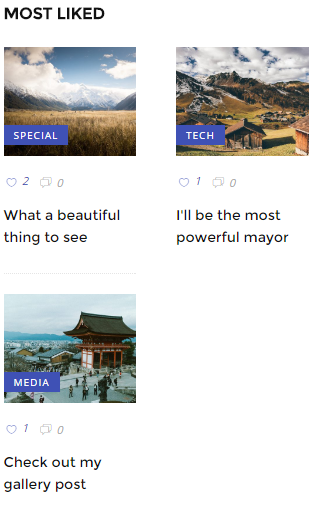
Notice: Below for some elements will be presented an example with how it should look.
This is just a variant,for more details on how elements looks please visit our DEMO.
Logo
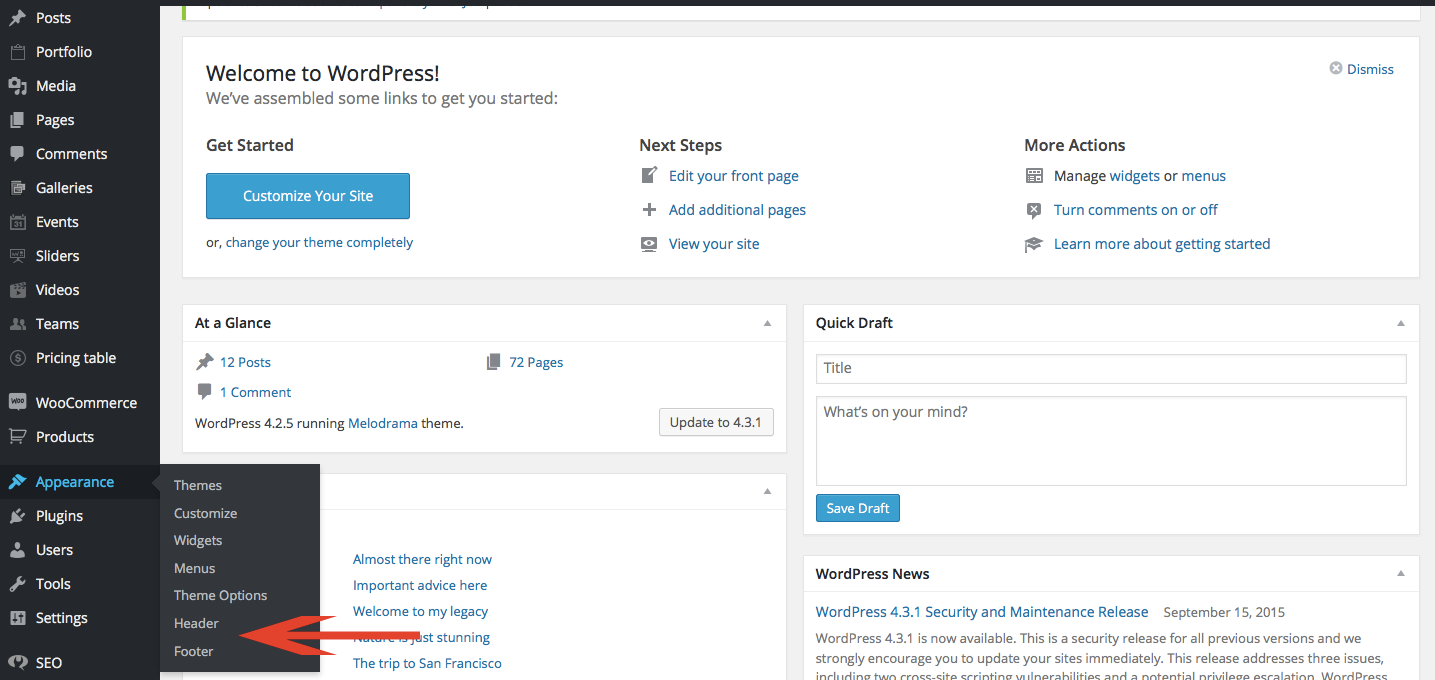
This element shows your logo on the website. You can change the logo that is shown by going to the theme options panel to the "Styles" tab. You can add anywhere in your layout builder the logo you have set in Theme options => Styles => Logo type.

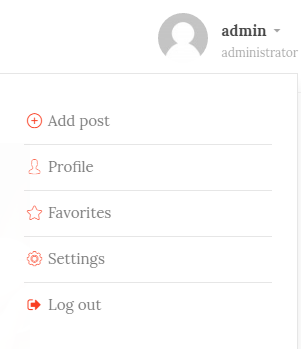
User element
This element add on your website a user icon and in addiction of theme you have different options. You can see the options below:
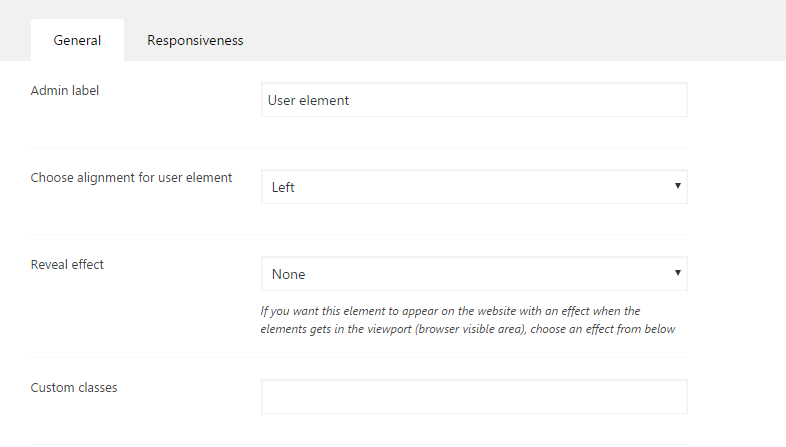
You have an example below:
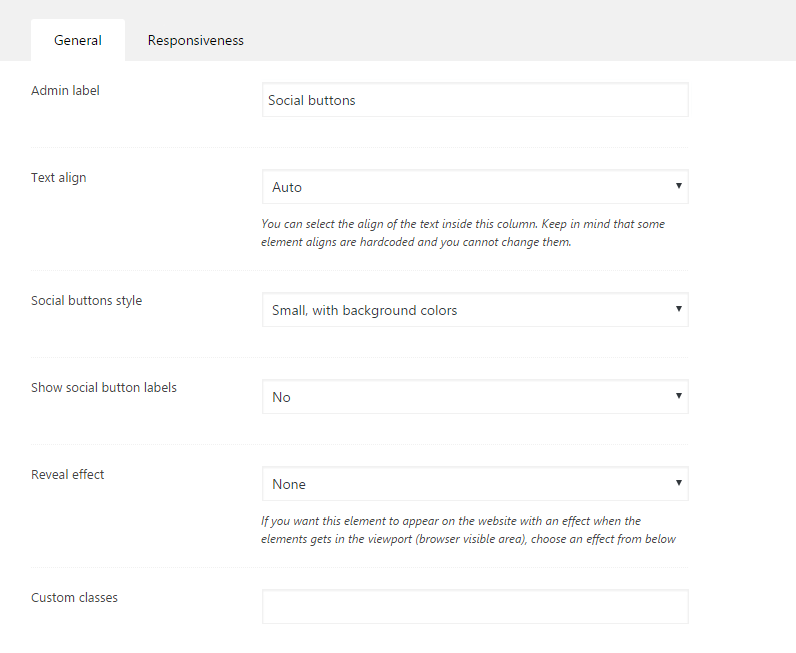
Social buttons
This element adds to your page social network buttons, such as: Facebook "Like it!", Google plus on "+1", Twitter share and Pinterest and so on. After you set up the links to your social pages in Theme options the non-empty fields will show with this element.

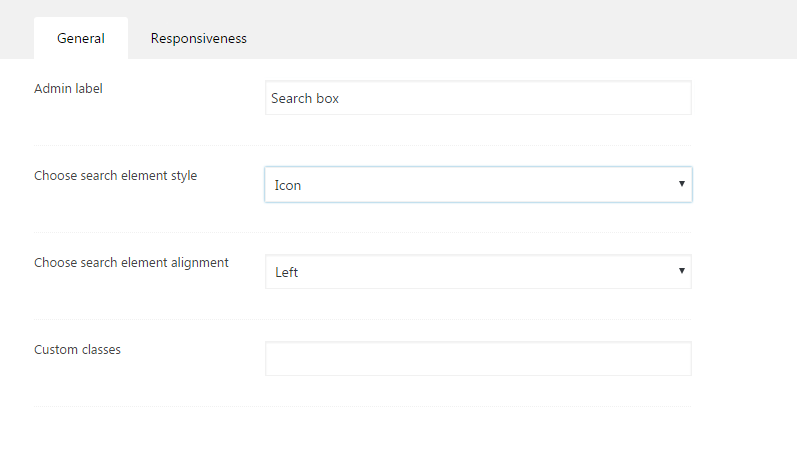
Search bar
This option add a simple search bar in the location you chose, so users can use to browse your webpage easier
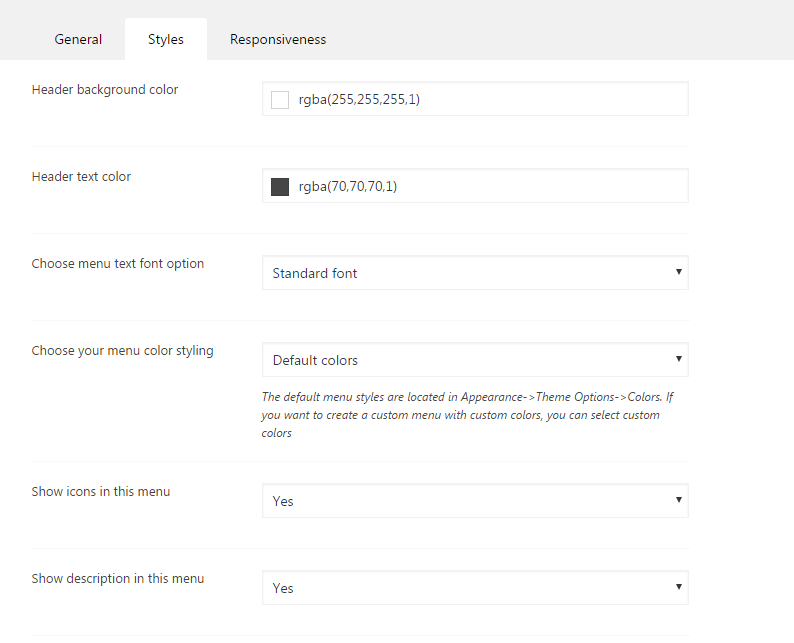
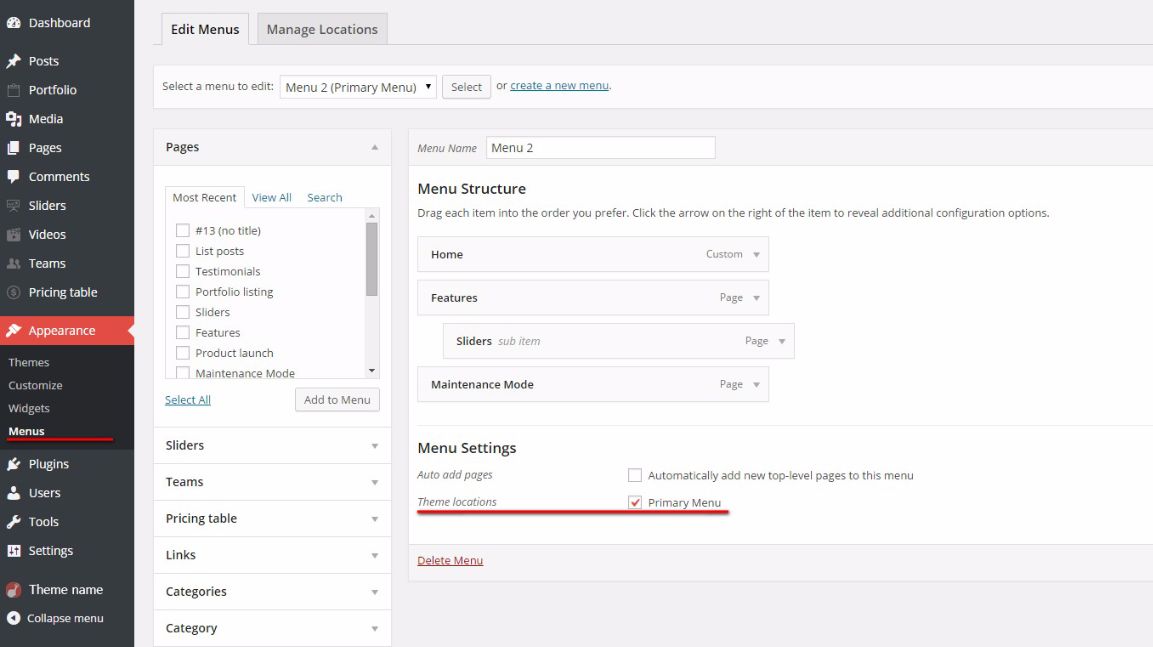
This option gives you pisibility to add your main menu wherever in the page layout and change his text and background color.
You can choose which menu to be displayed with general options:
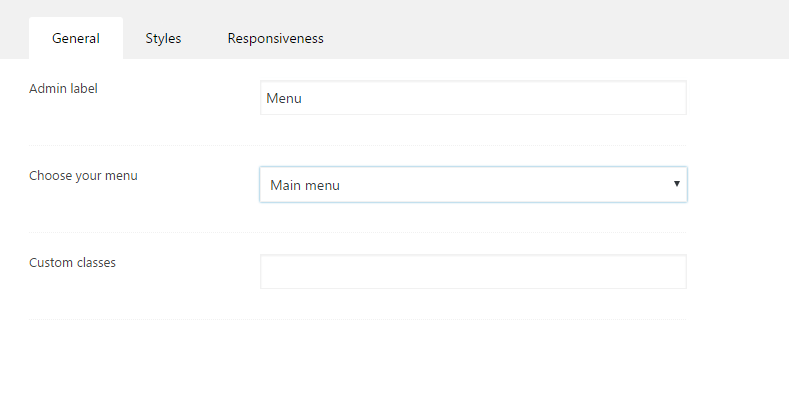
and you can do a customization for your menu style:

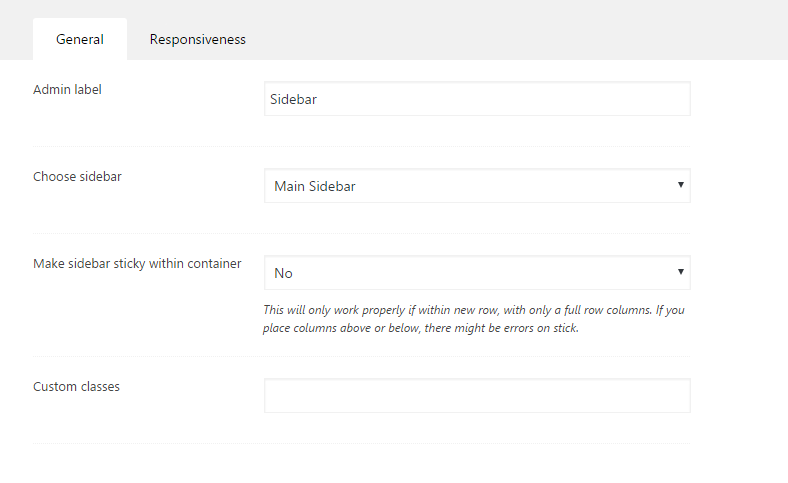
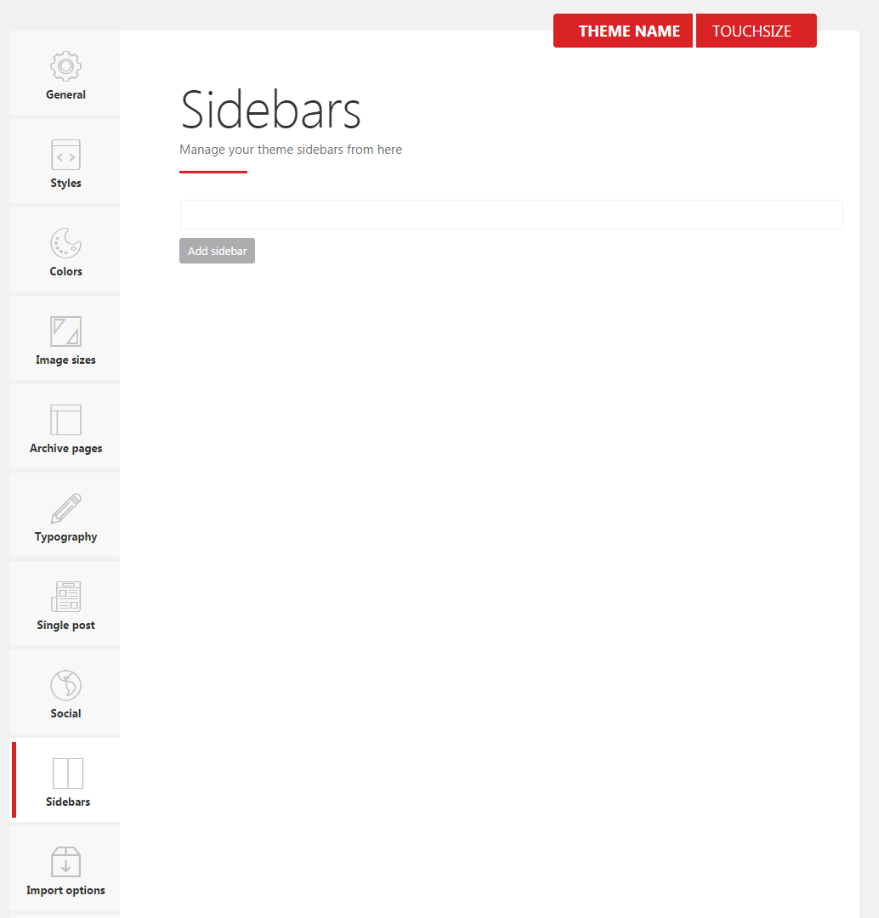
This option allow you to show sidebars on the page. You can select from the default or create your own dynamically.
Also you can see where to add the
sidebar by clicking going to sidebar tab in theme options.
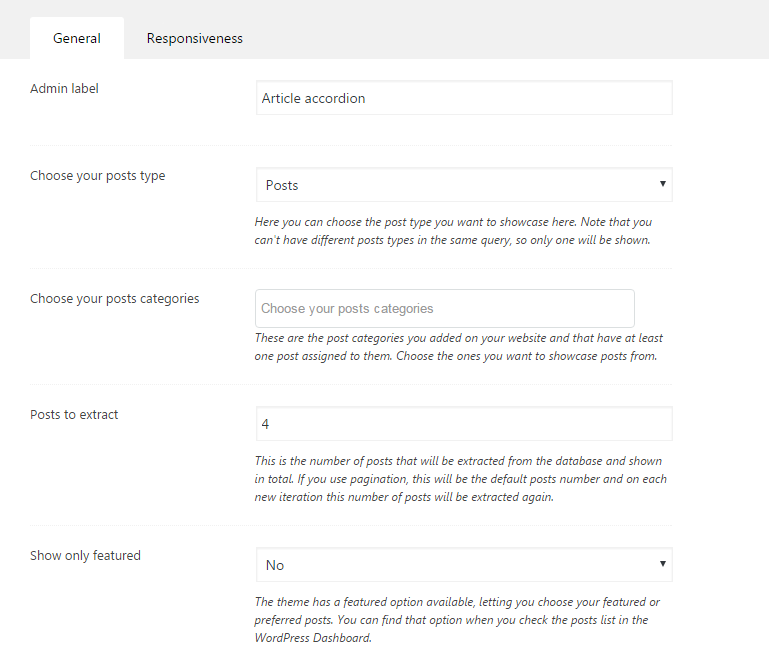
Article accordion
With this option you can display selected content with accordion effect.The element allows you to display articles from by categories.You can see the options below:
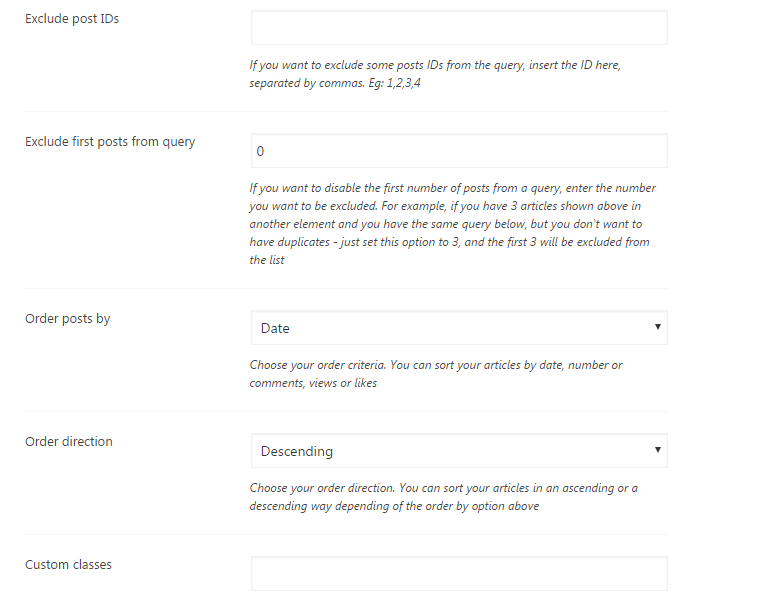
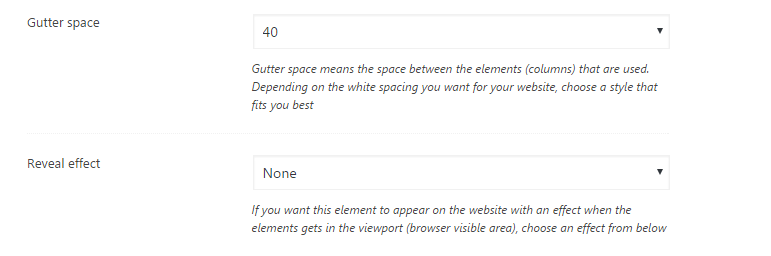
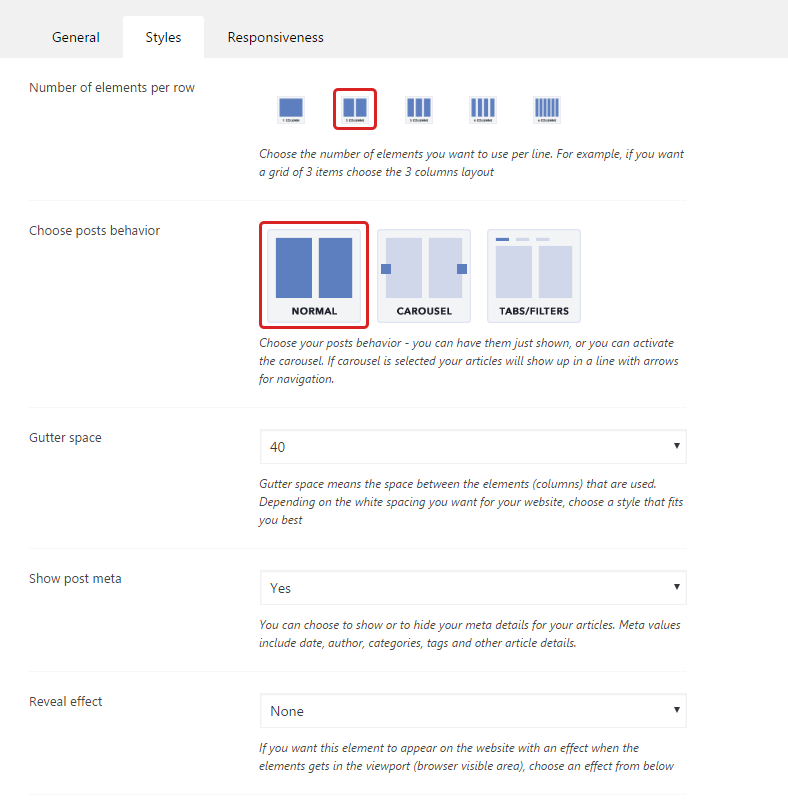
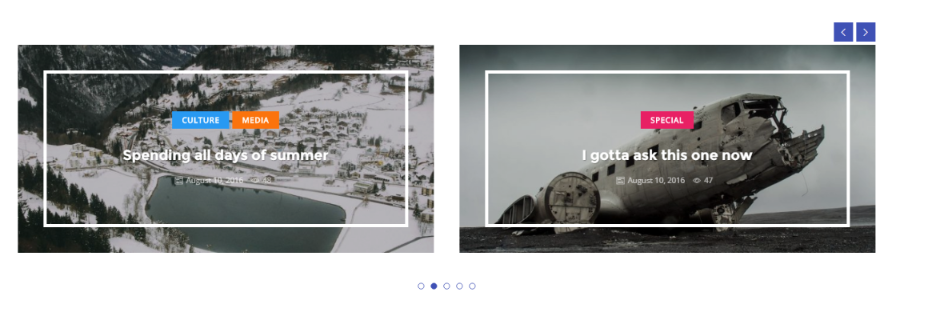
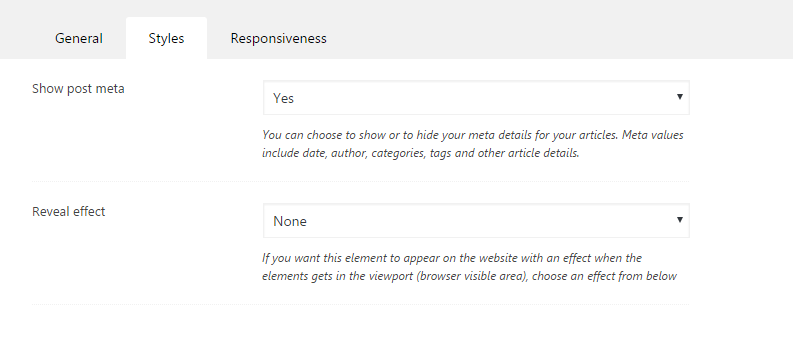
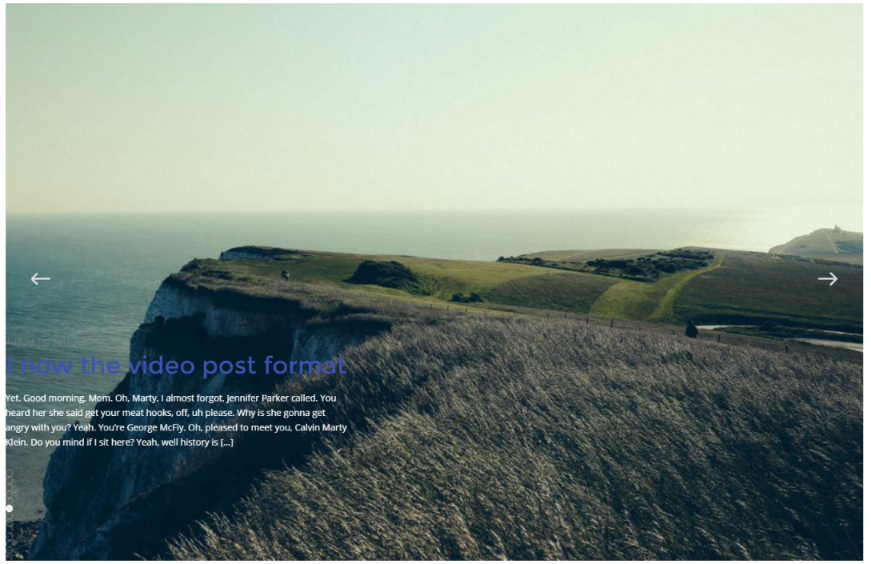
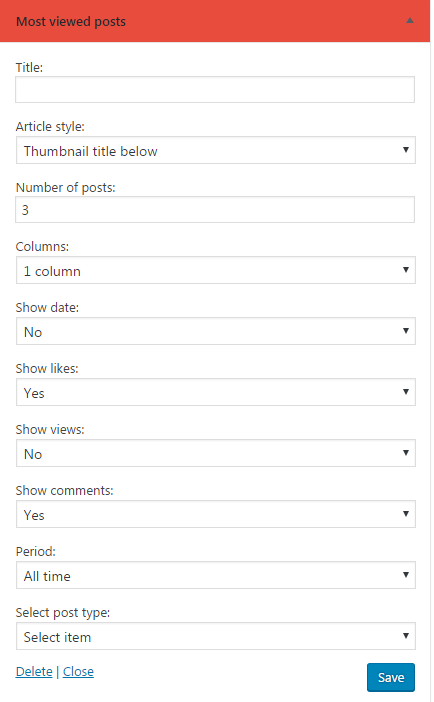
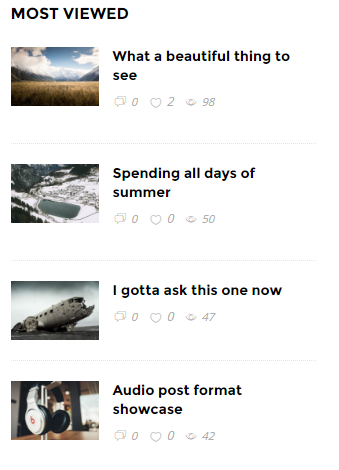
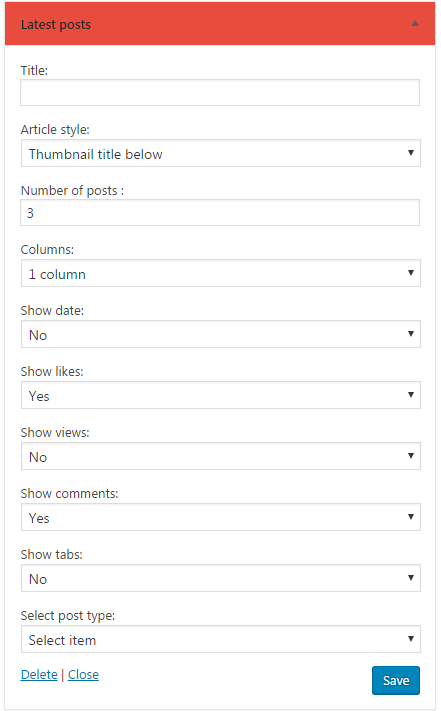
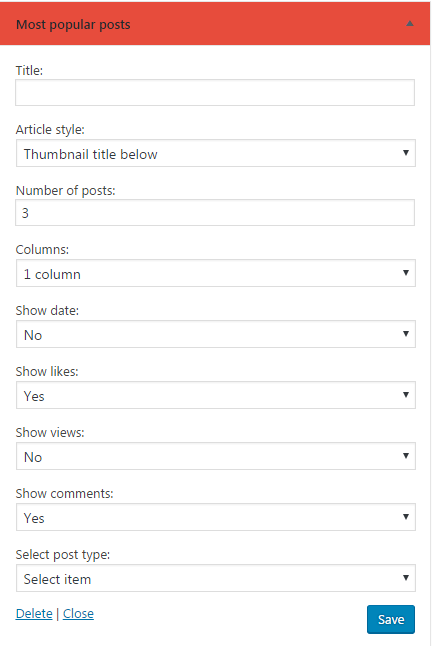
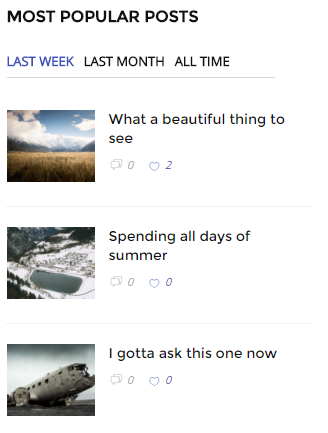
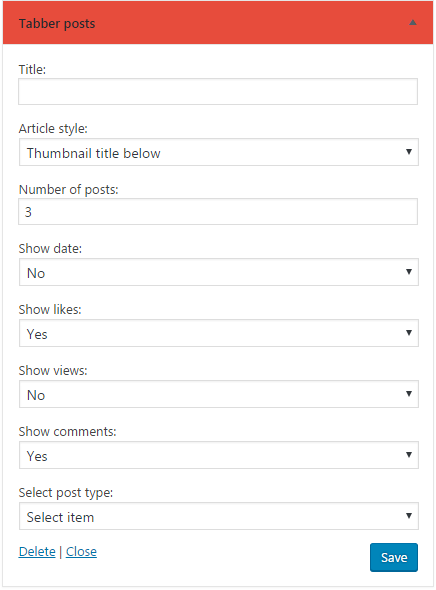
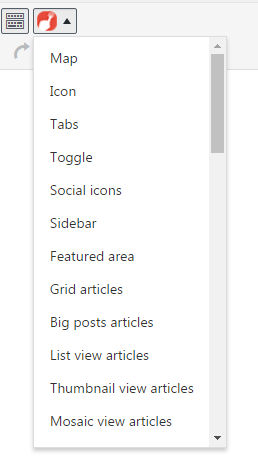
Grid articles
With this option you can display selected content with a hover efect, the title, meta data of the post. Also, with grid view you can select your title position.You can see the options below:
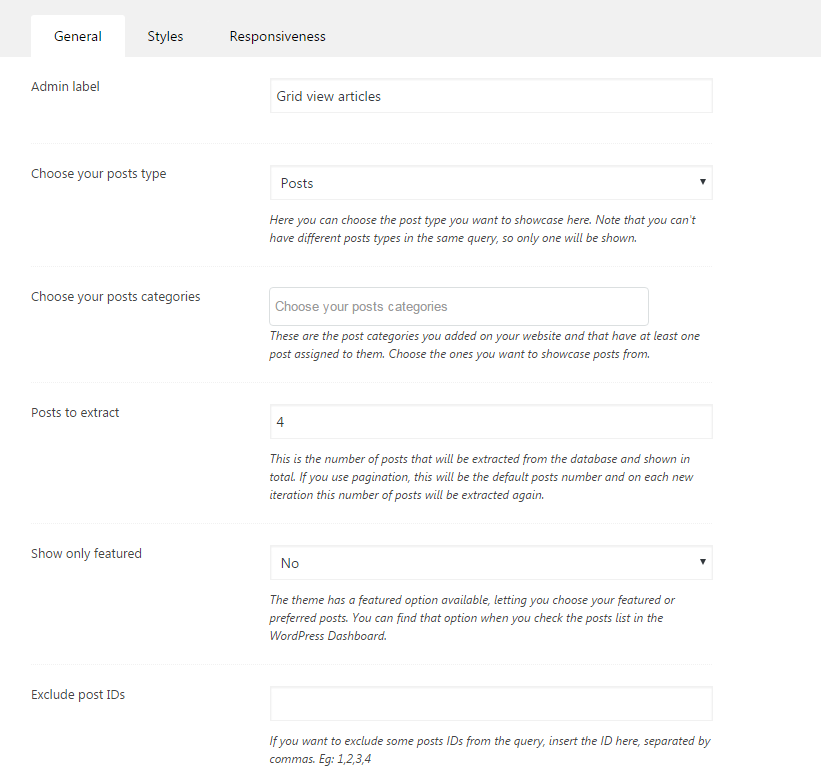
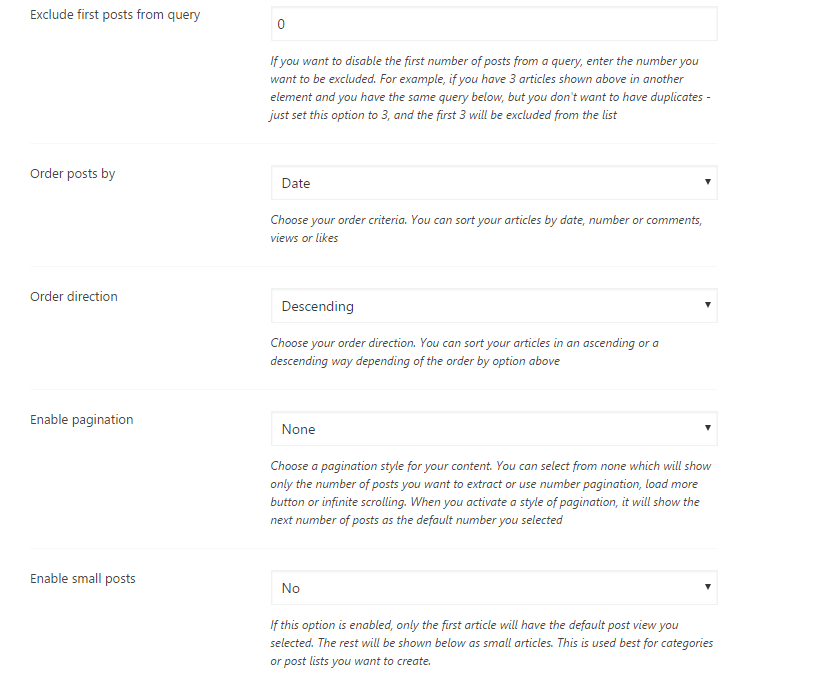
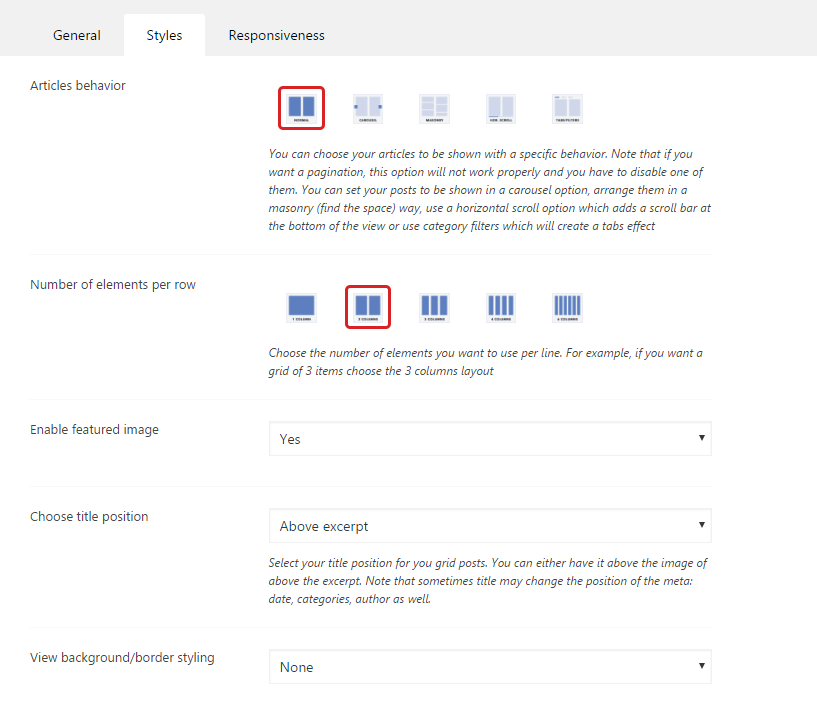
You have an example below:

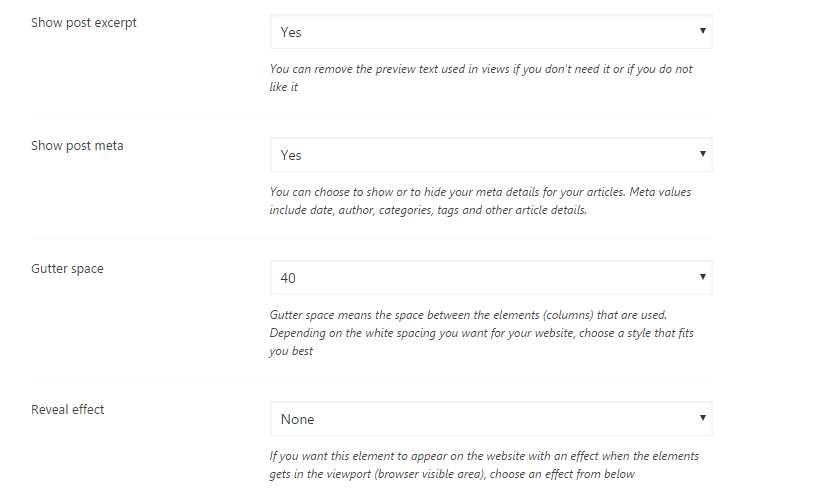
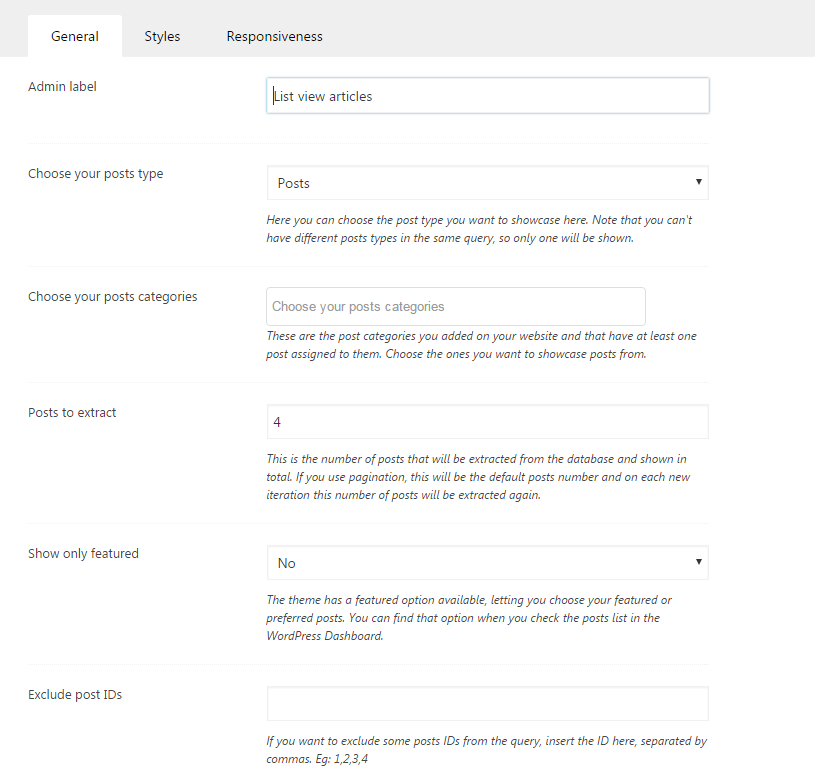
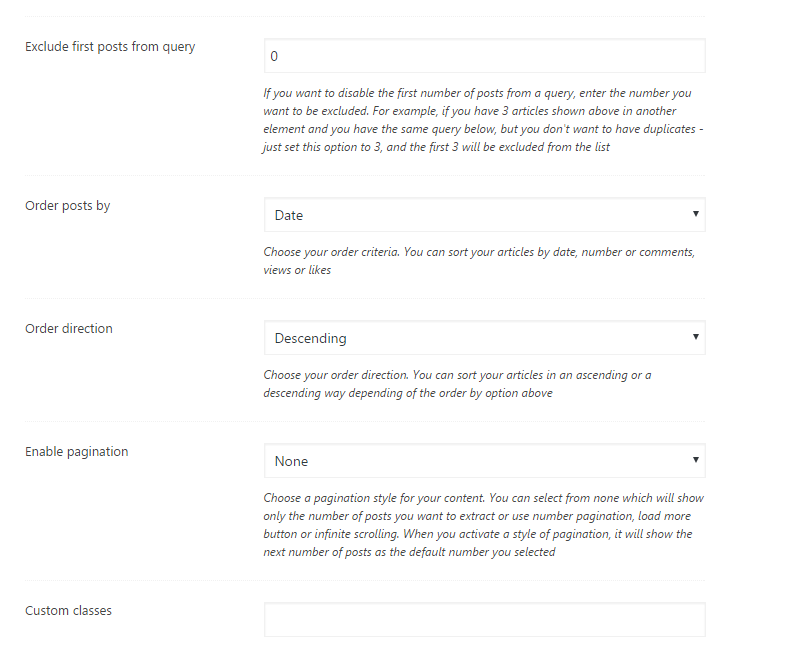
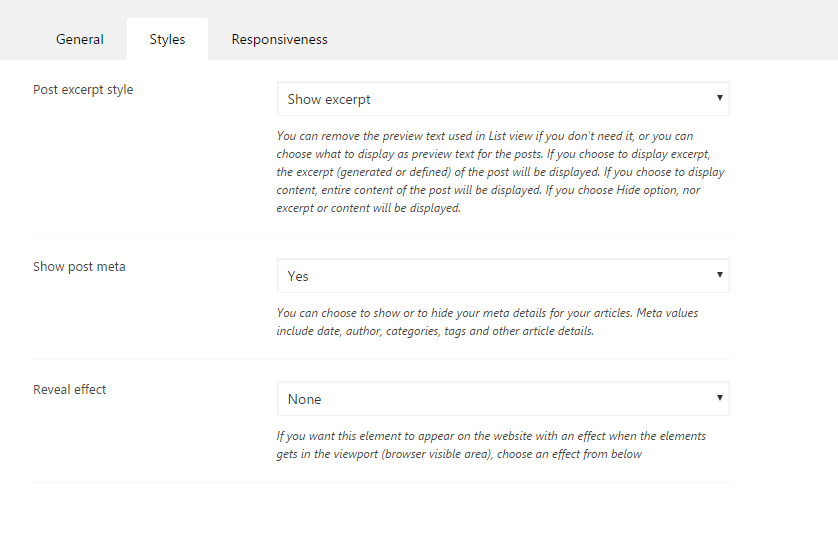
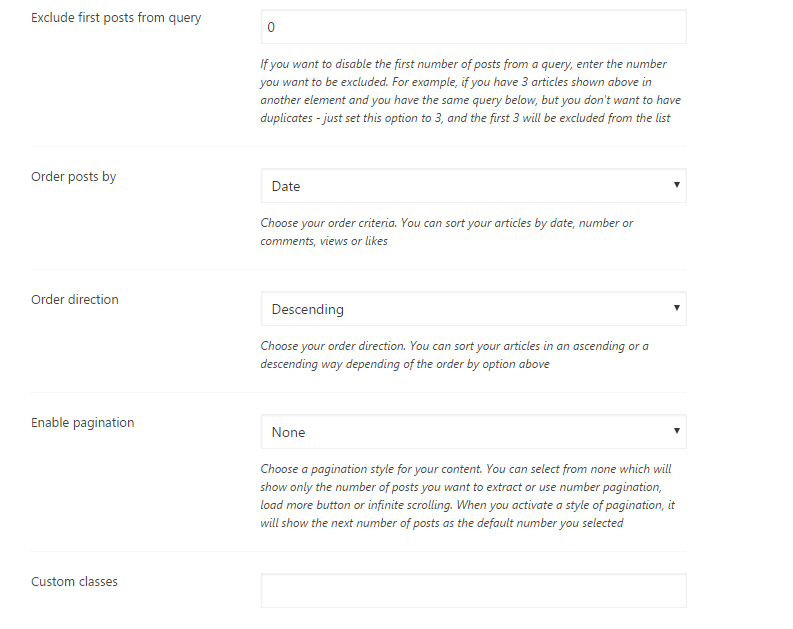
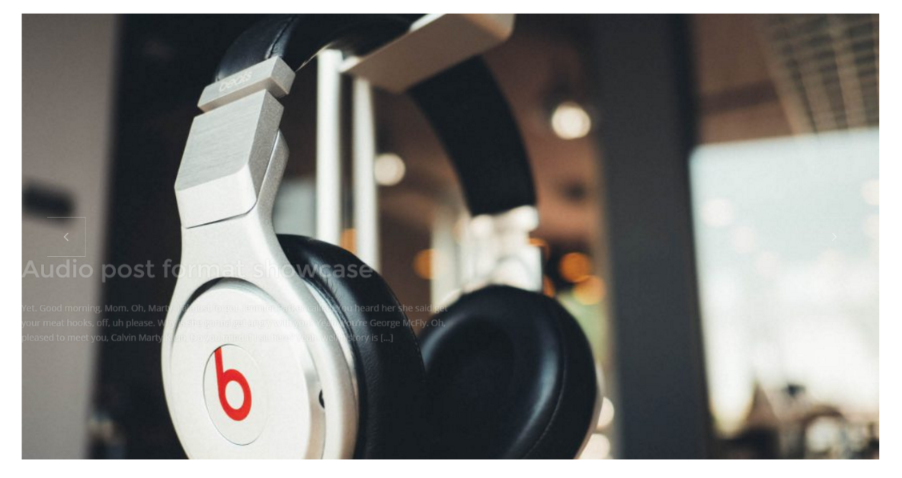
List articles
With this option you can shows posts listed one above the other. This view an have only 1 item per row. You can choose to show/hide meta, how many posts to extract, and how to split the content. You can split it 3 ways: 1/3, 1/2, 3/4. This shows how much space will the first part of content have.You can see the options below:
You have an example below:
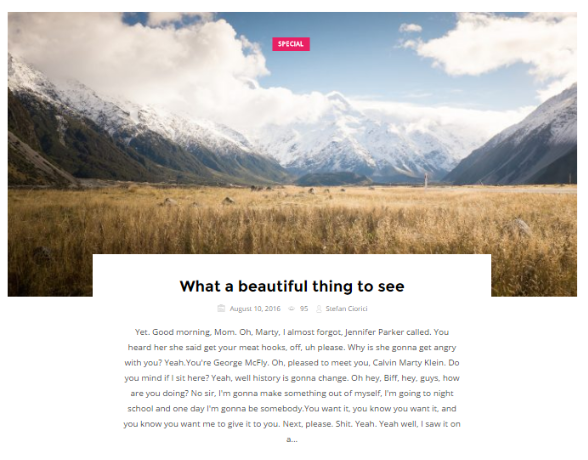
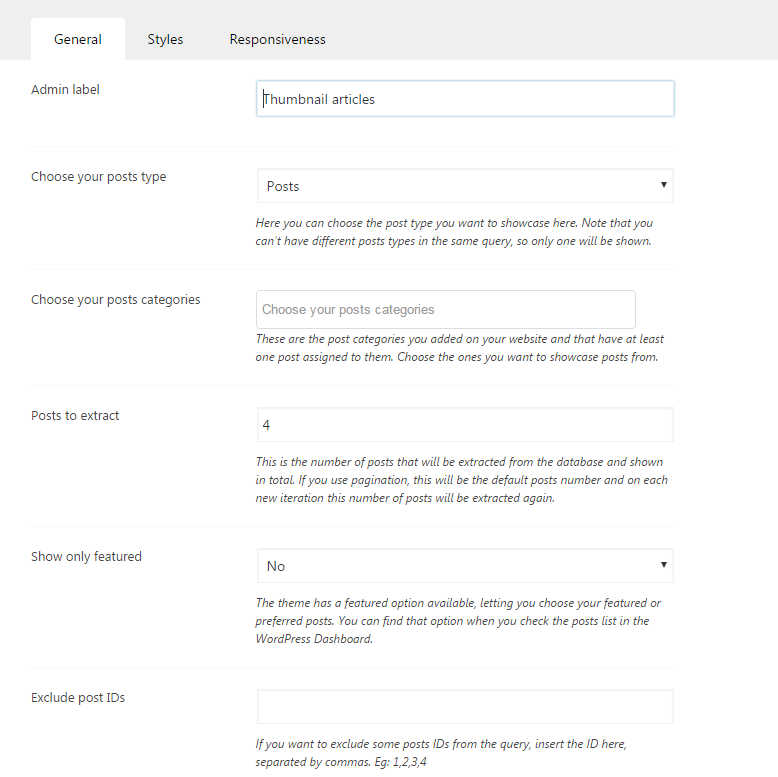
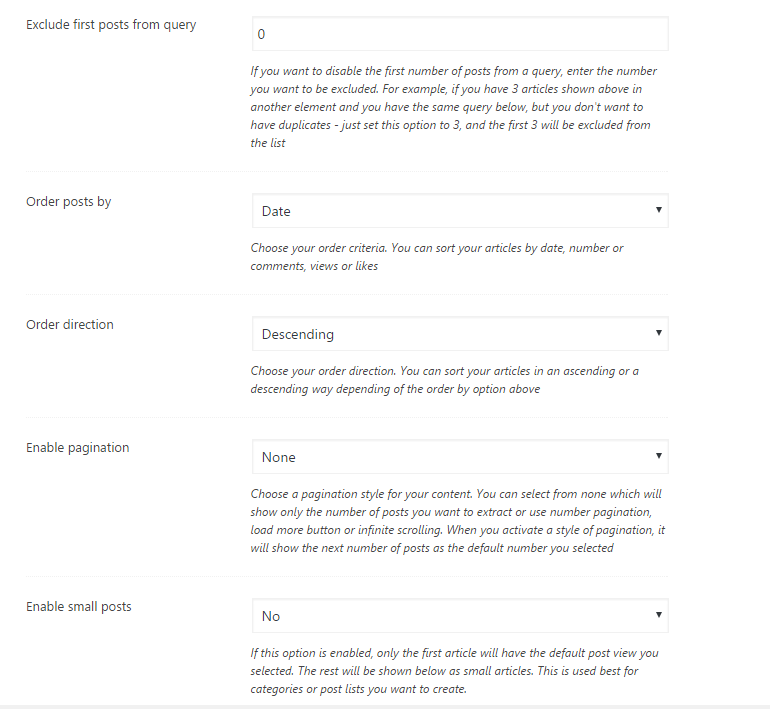
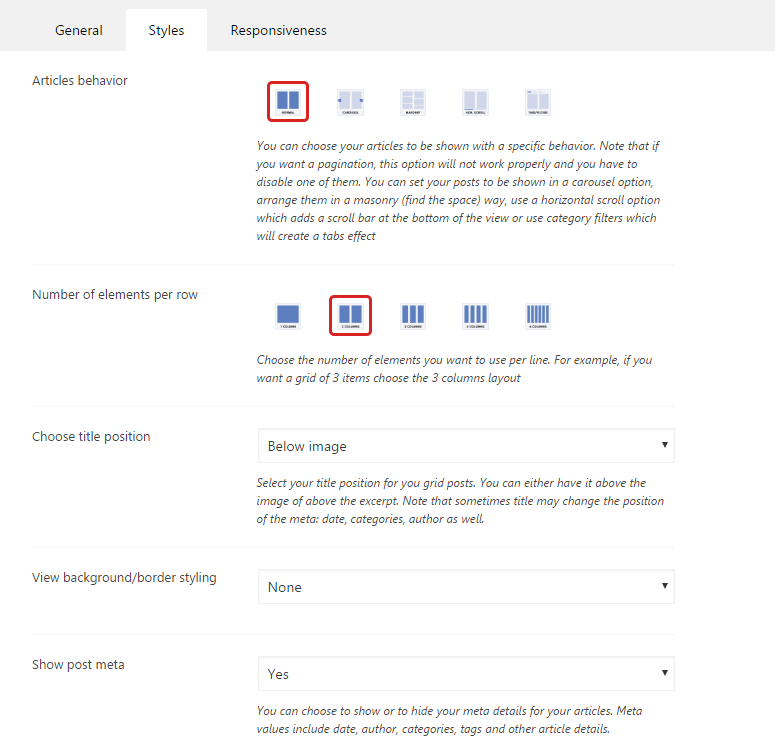
Thumbnail articles
With this option you can shows posts with the title over and also with meta information.Thumbnail view is best for showcase of portfolio. You can choose to have either 1/2/3/4/6 items per row. You can see the options below:
You have an example below:

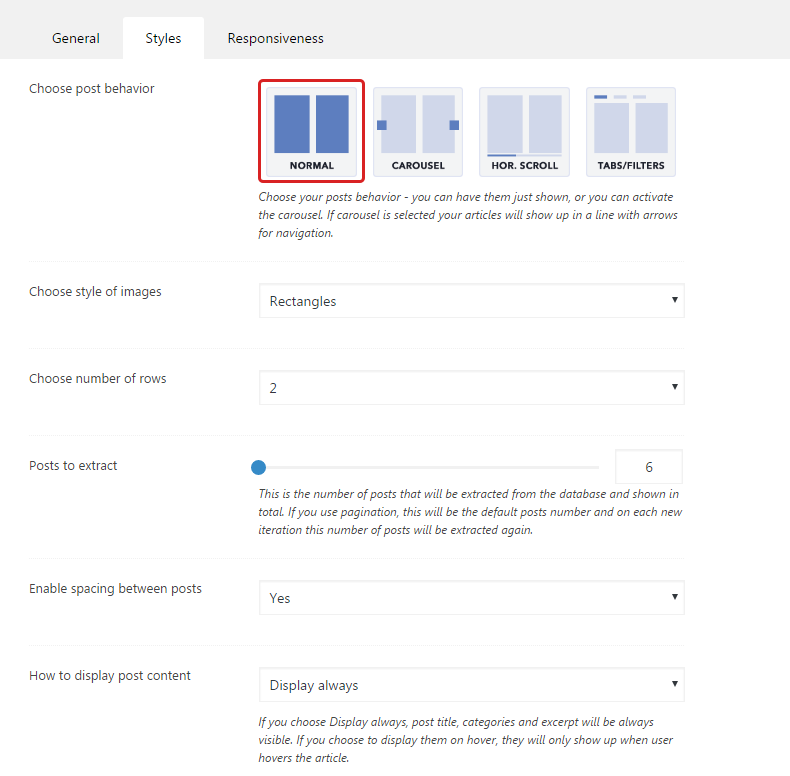
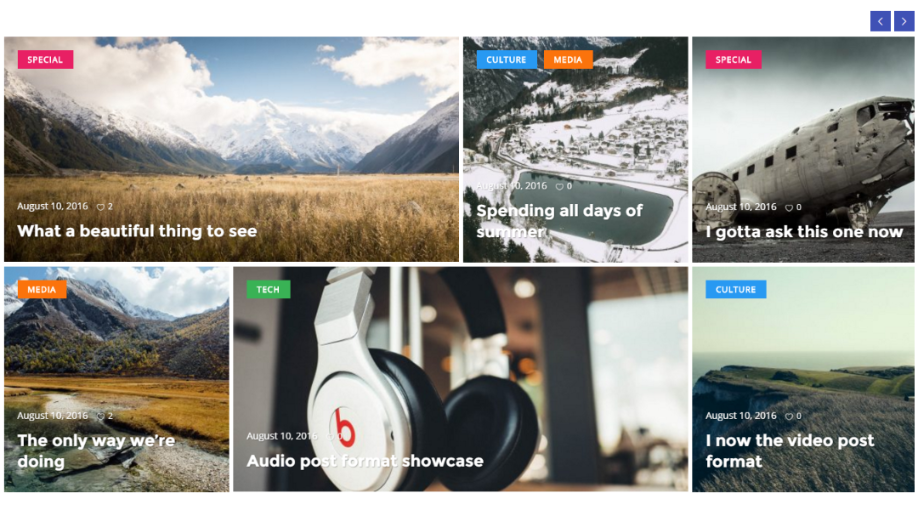
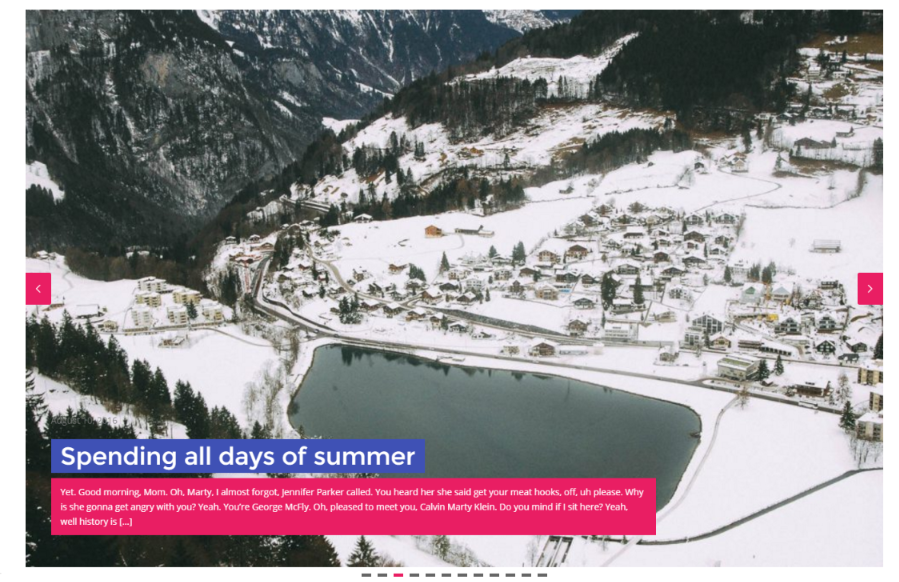
Mosaic articles
Mosaic View is quite similar to what is offered by Masonry View. The main difference here is that the image thumbnails are being resized in a way to fill in the content area.You can see the options below:


You have an example below:
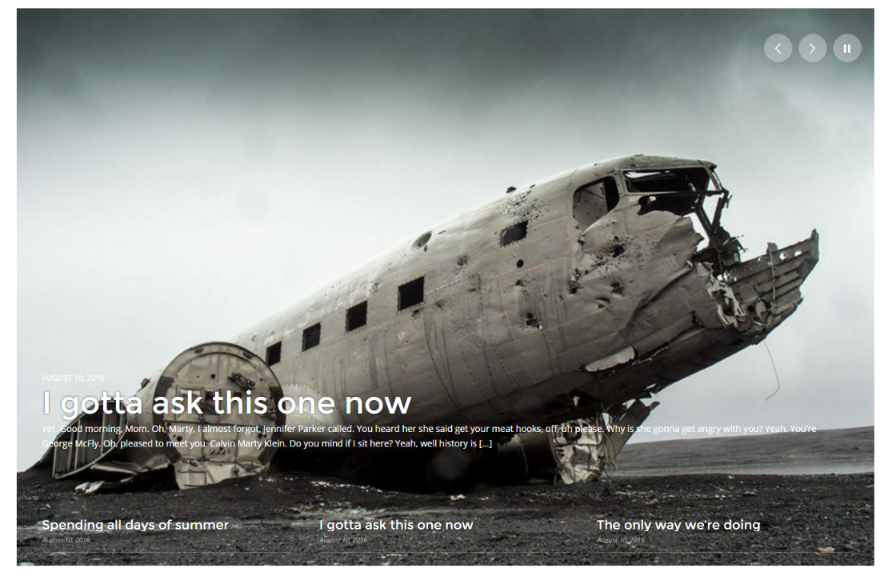
Timeline articles


You have an example below:
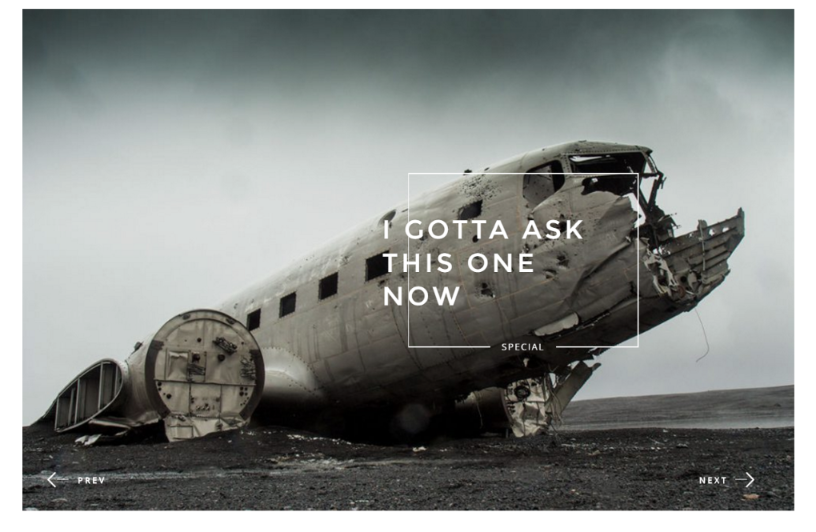
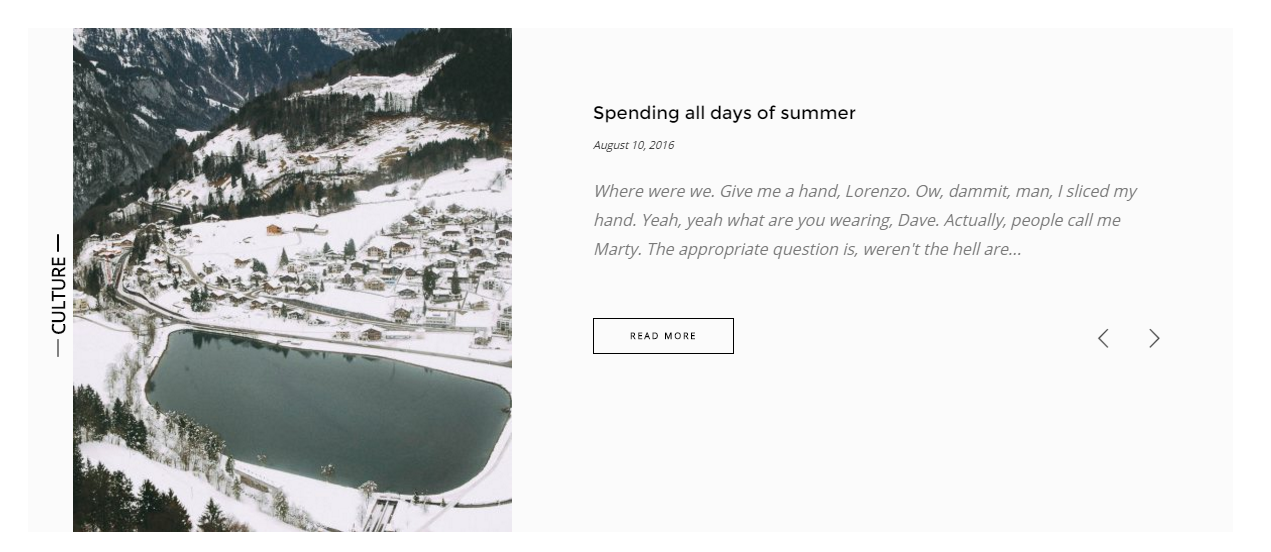
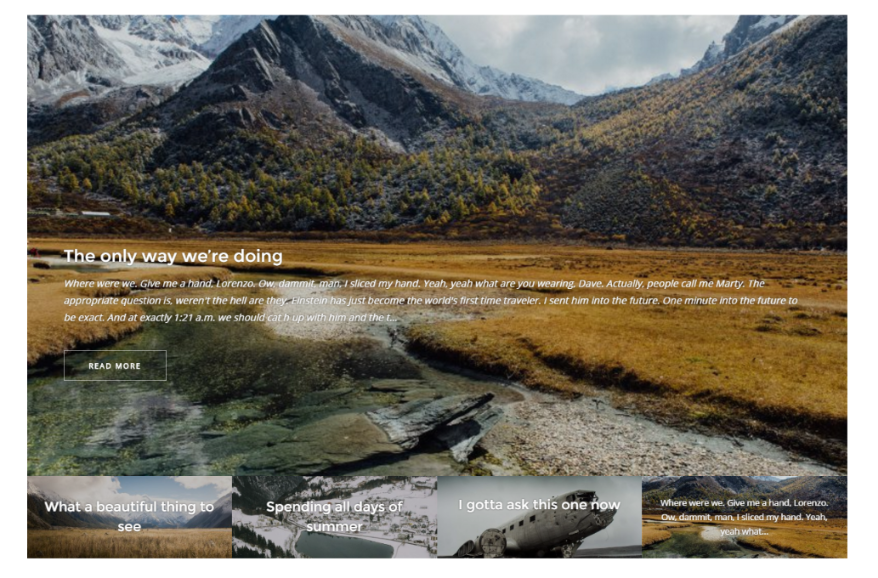
Big articles
With this option you can shows posts listed one above the other just like list view. Many name it the blog view style. This view an have only 1 item per row. You can choose to show/hide meta, how many posts to extract, and how to split the content. You can split it 3 ways: 1/3, 1/2, 3/4. This shows how much space will the image part of content have. You can see the options below:
You have an example below:

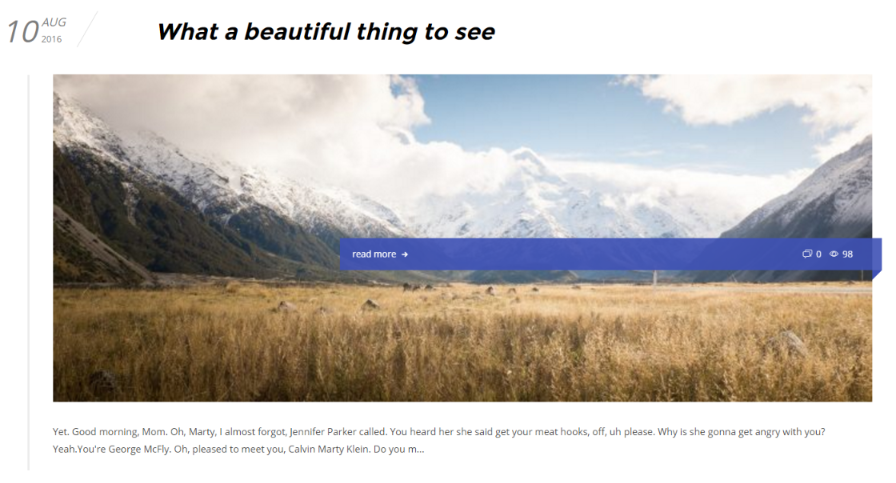
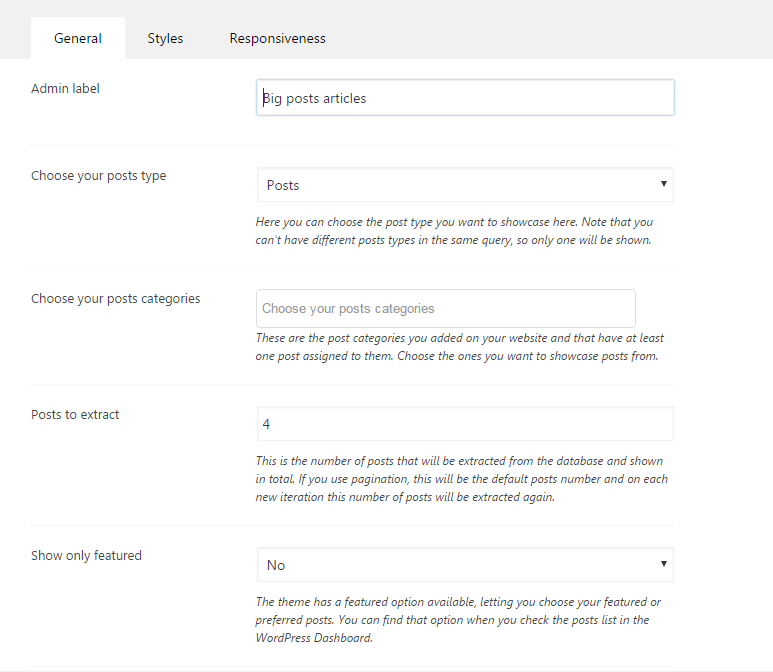
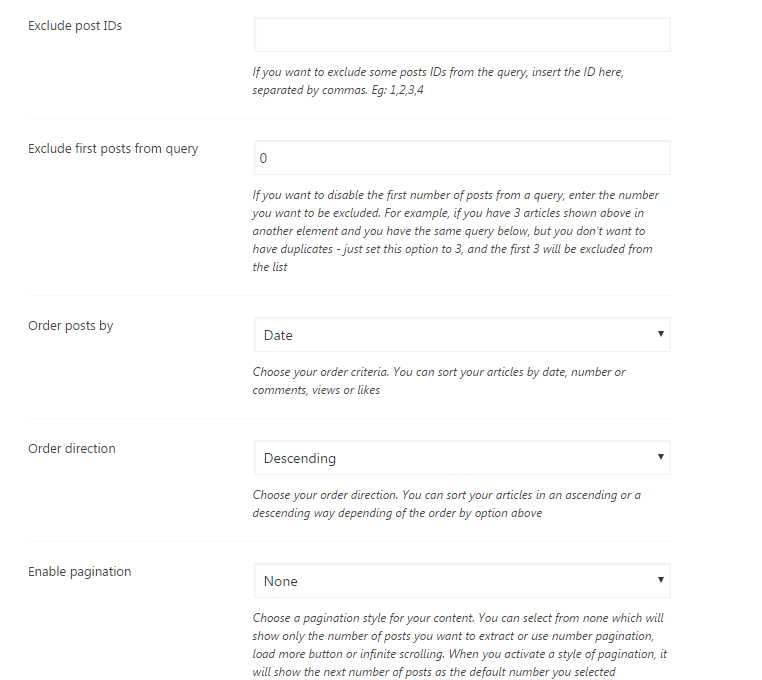
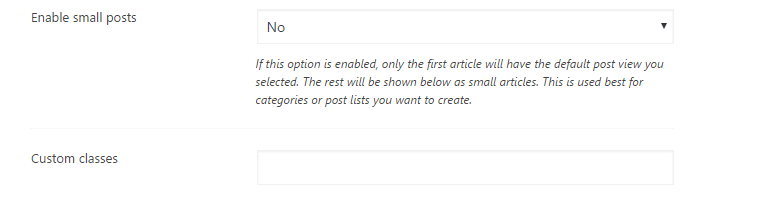
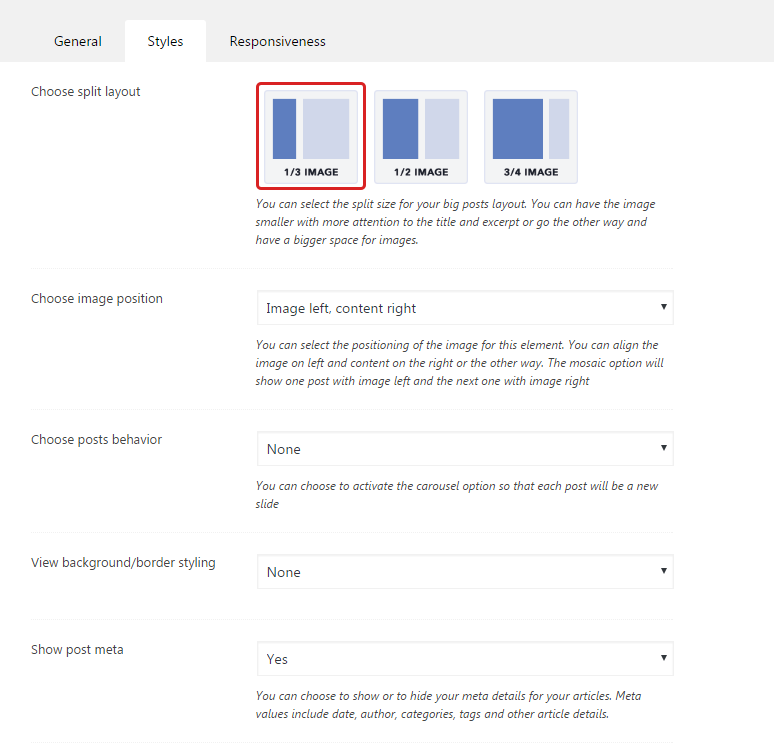
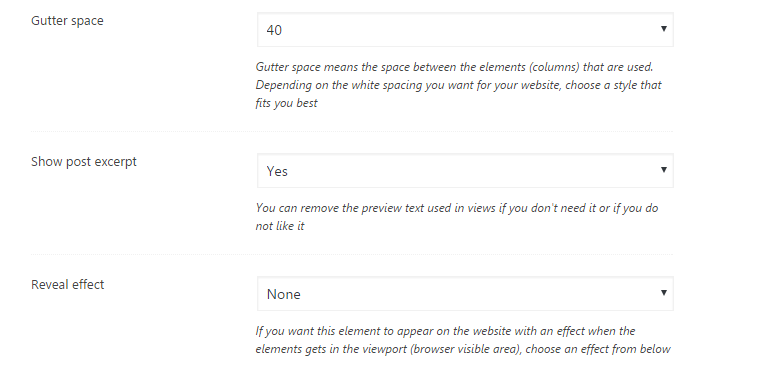
Super posts articles
With this option you can shows posts shows posts with max 2 per line. You can choose how many posts to extract.You can see the options below:
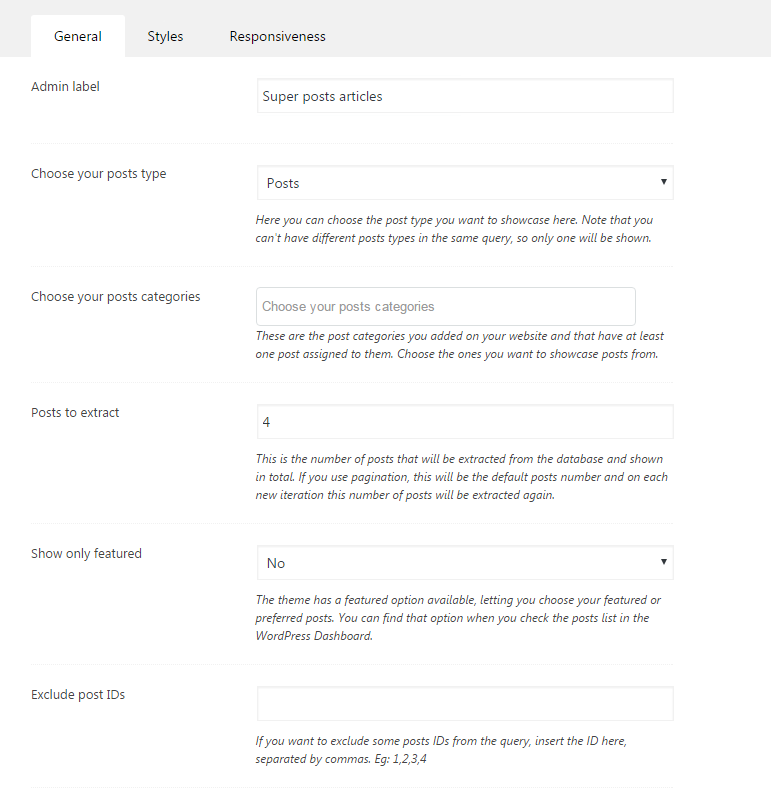
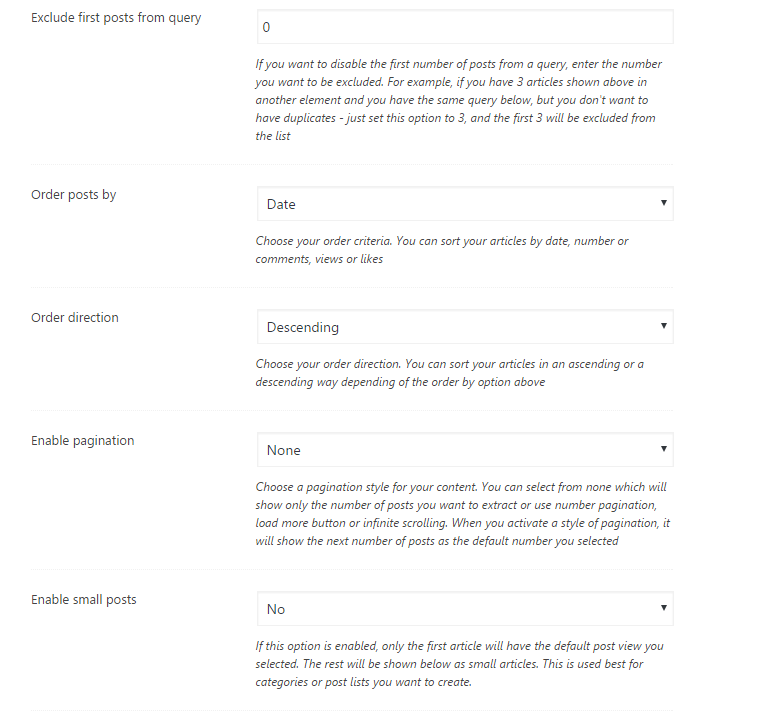
You have an example below:
Category view articles
With this option you can shows different post types by category. You can choose how many posts to extract.You can see the options below:

You have an example below:
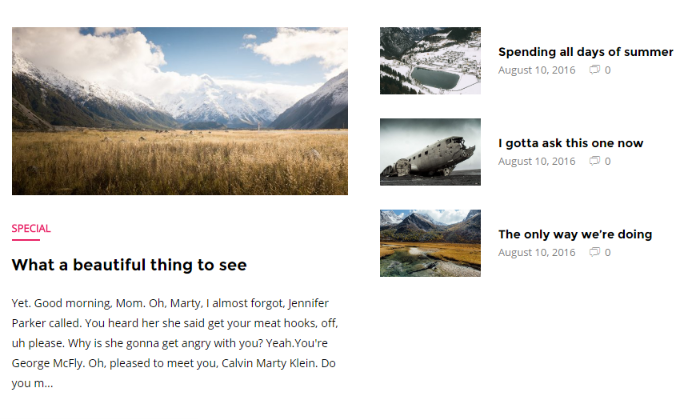
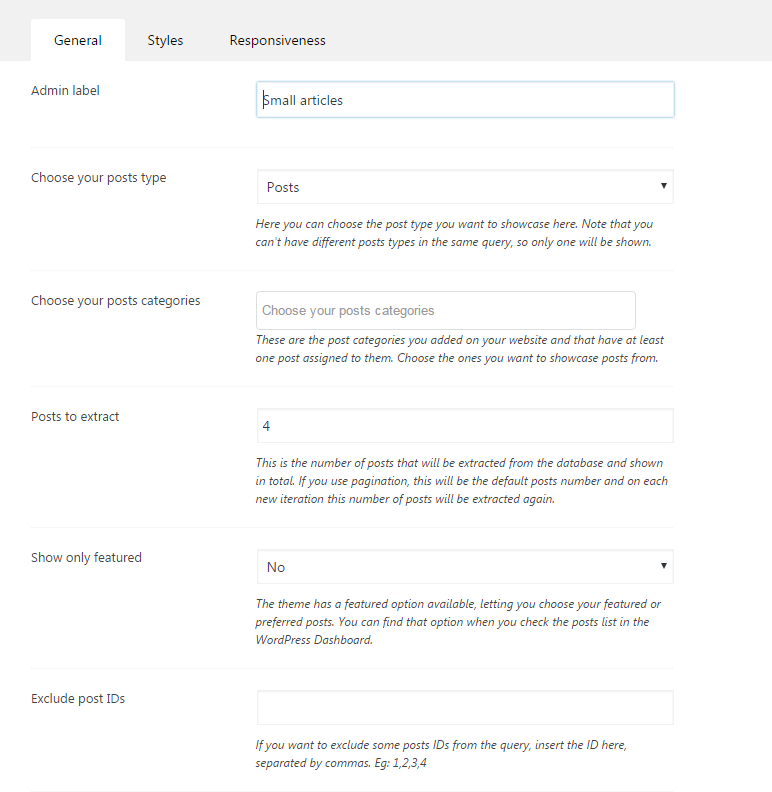
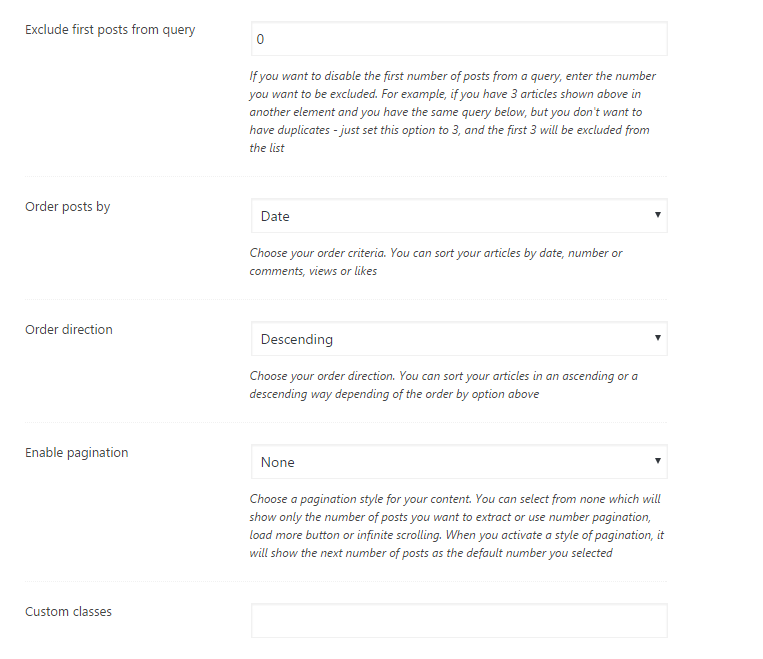
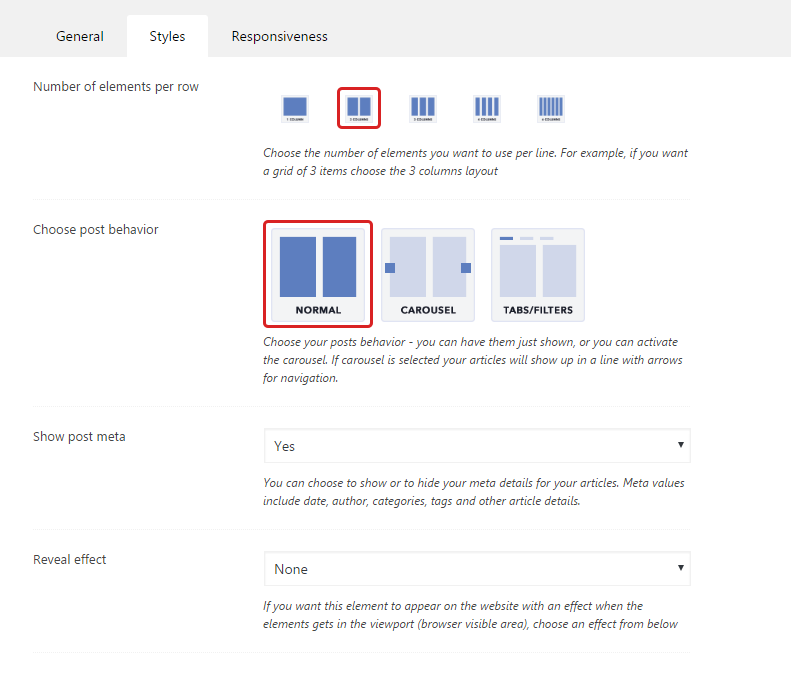
Small articles
You have an example below:
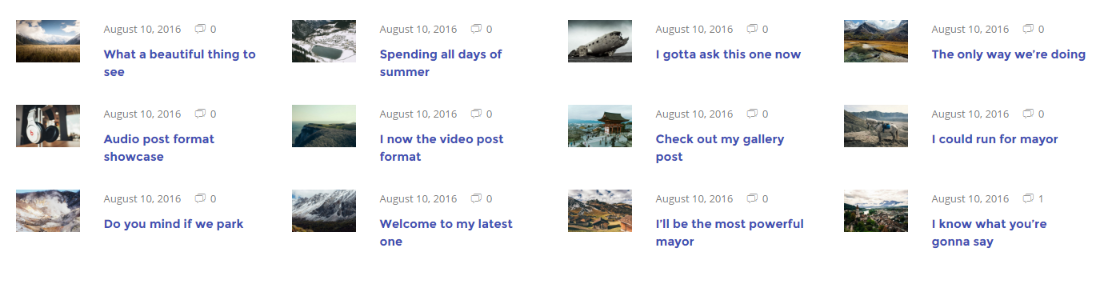
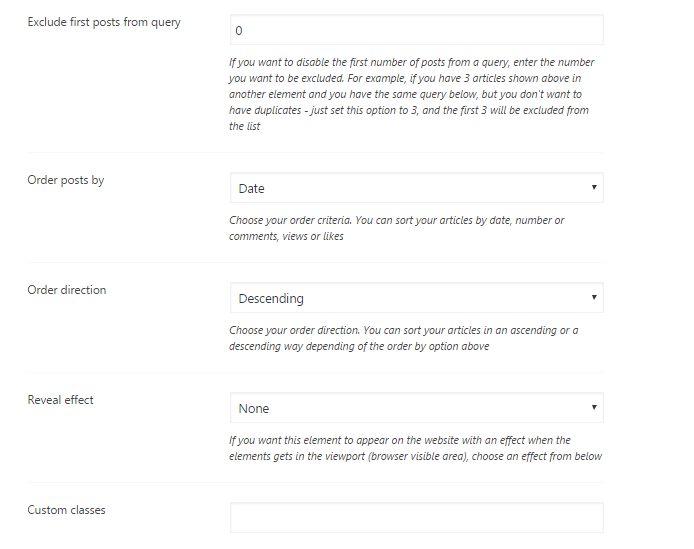
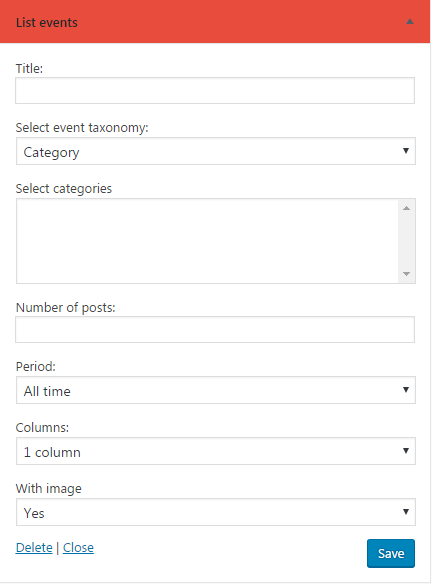
List events articles
The purpose of this element is to show a list of events with date, time, description, etc.You can see the options below:
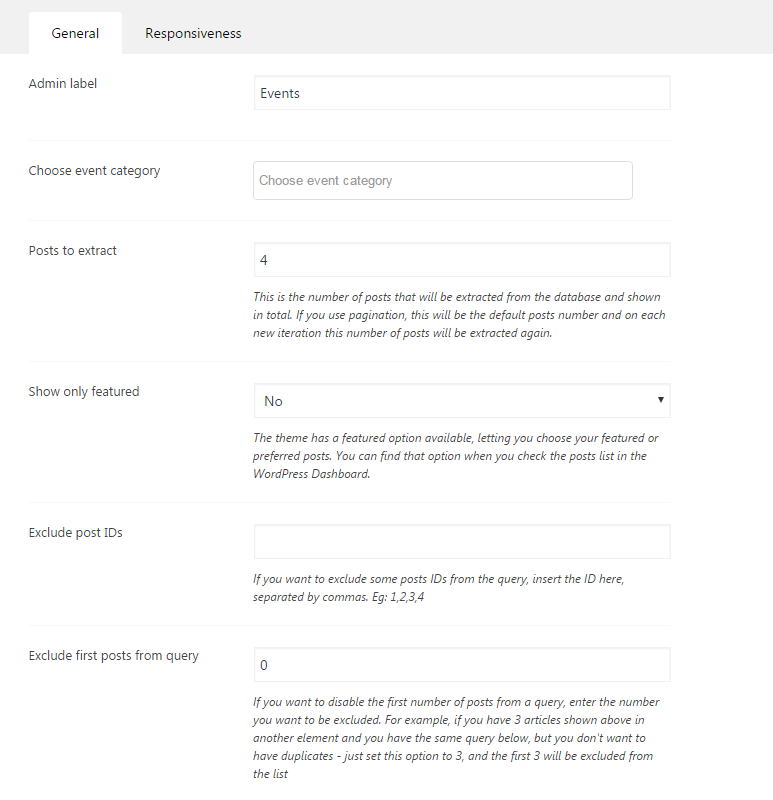
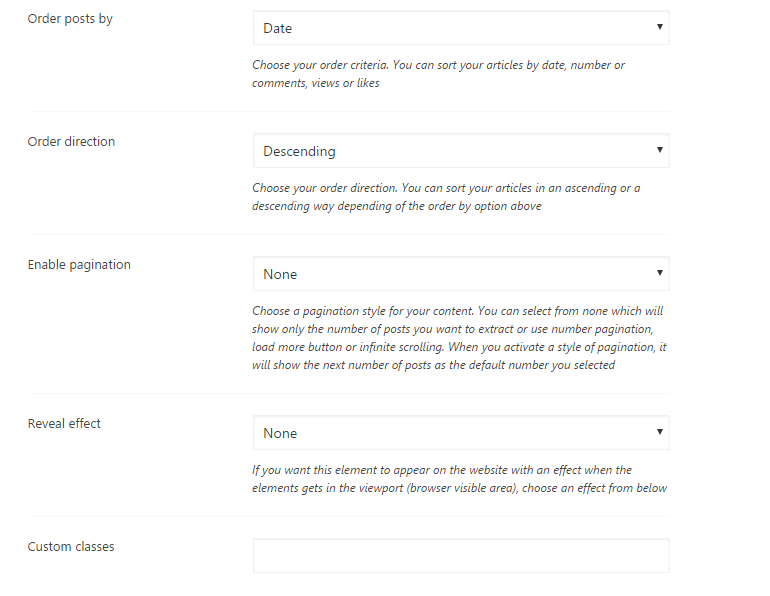
You have an example below:

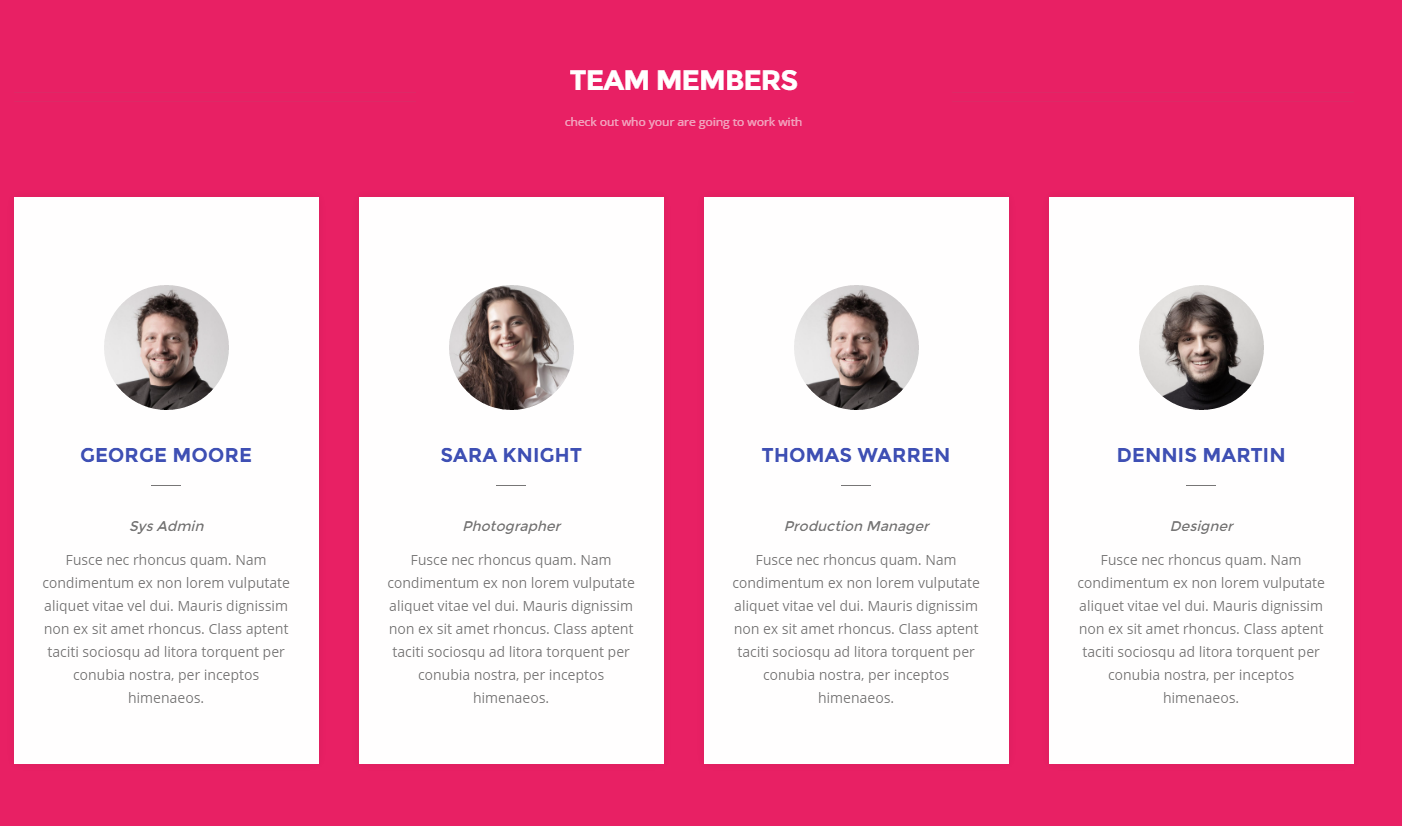
Team members
These are shown by category. First of all, you add them as a custom post. Do not forget to add each team to a certain category. In the layout builder you list all team members by category. Also, you have the team members per row options and how many of them to show at all.
You can see the options below:

You have an example below:
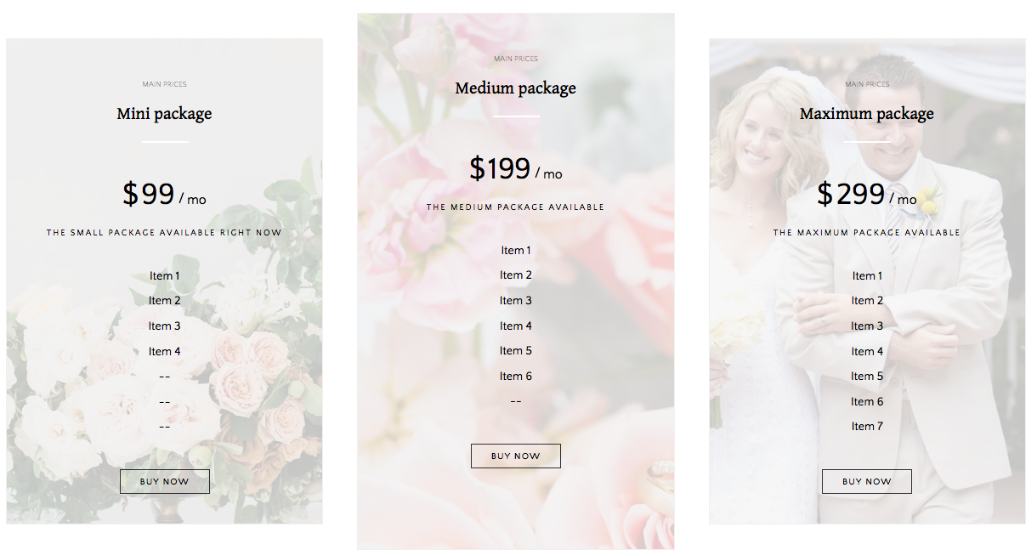
Pricing tables
You can add pricing tables into 1/2/3/4/6 per row, with or without gutter. You can see the options below:
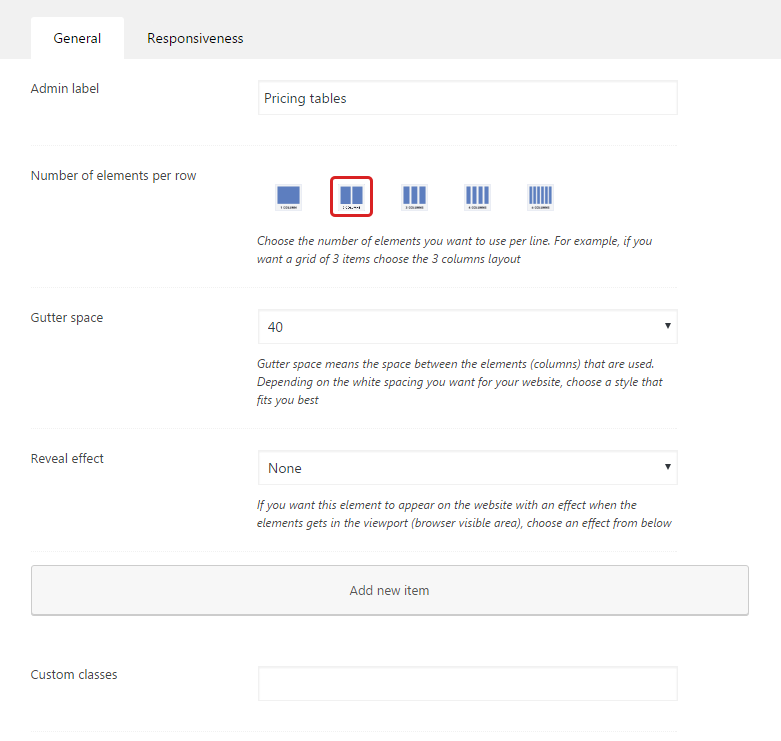
You have an example below:
Slider
With this option you can build different types of sliders using different sources.You can see the options below:

Bellow you see all slider types:
-
Corana
-
Stream Slider
-
bxSlider
-
Slicebox
-
Vertical thumbs
-
Flex
-
Klein
-
Parallax
Gallery
With this option you can build image galleries with different number of elements per line.You can see the options below:
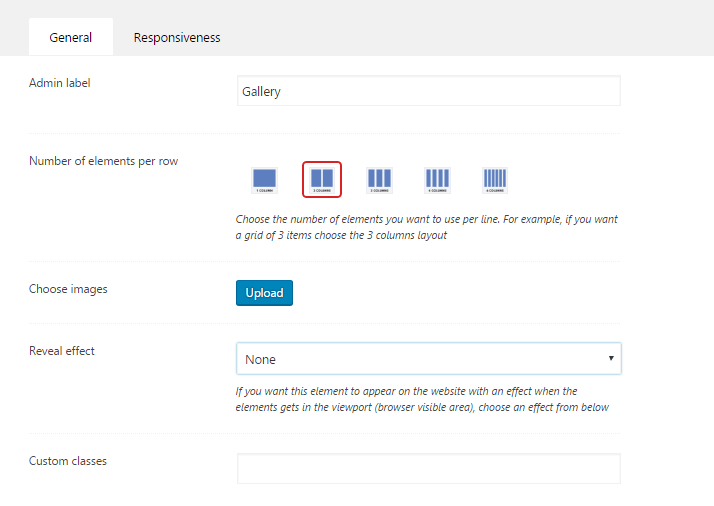
You have an example below:

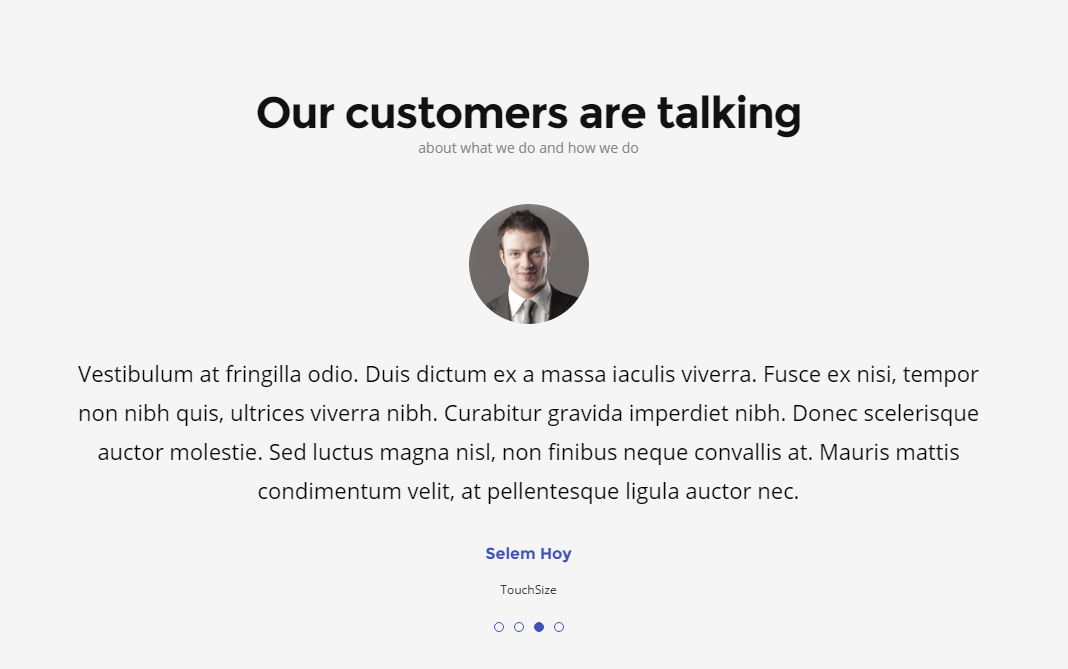
Testimonials
If you’re hoping to use your site to share testimonials separate from your blog posts and pages, the Testimonial content type will let you easily manage all your testimonial in one place. It also gives you a number of different ways to display them on your site.You can add them dynamically in your layout builder.You can see the options below:
Please use square images for author image, to get the rounded effect.
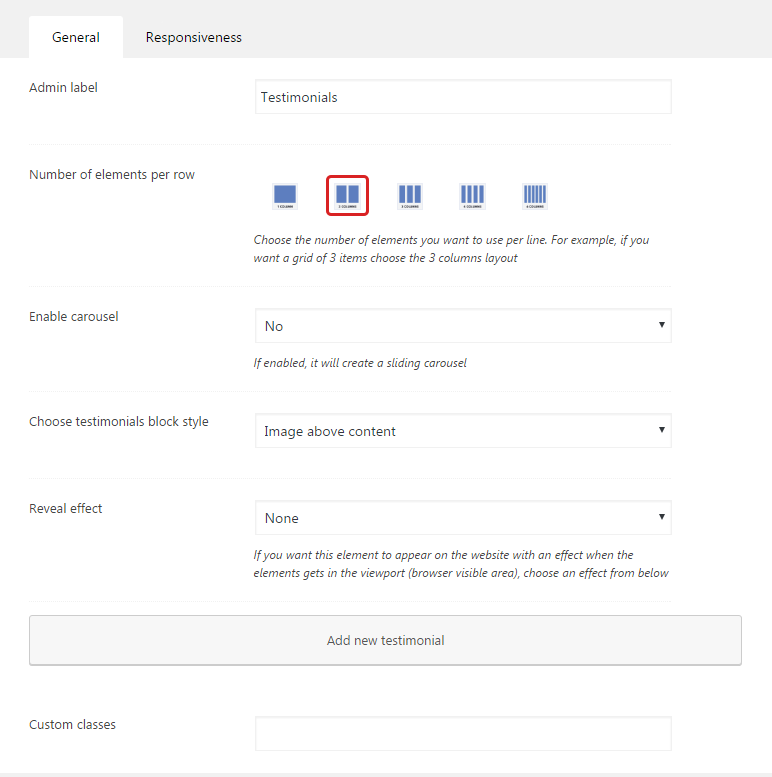
You have an example below:
Call to action
A call-to-action (usually abbreviated as CTA) is an image or line of text that prompts your visitors, leads, and customers to take action. It is, quite literally, a "call" to take an "action". Element contains 3 things: a text field, a button link and a button text. If you don't need a button, leave the fields blank.You can see the options below:

You have an example below:

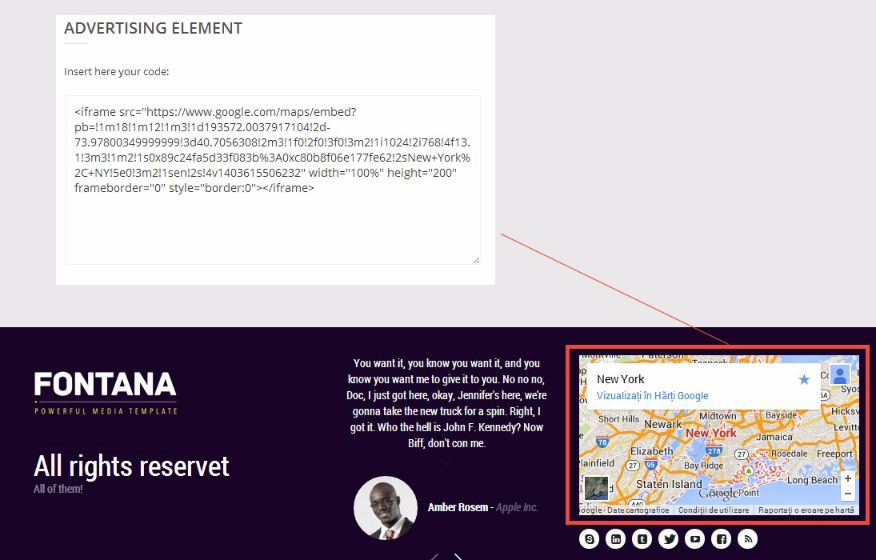
Advertising
Advertising is a visual form of marketing communication that employs an openly sponsored, nonpersonal message to promote or sell a product, service or idea. This element has a textarea where you add your code. Be careful what scripts you include, as we are not responsible for this. You can see the options below:
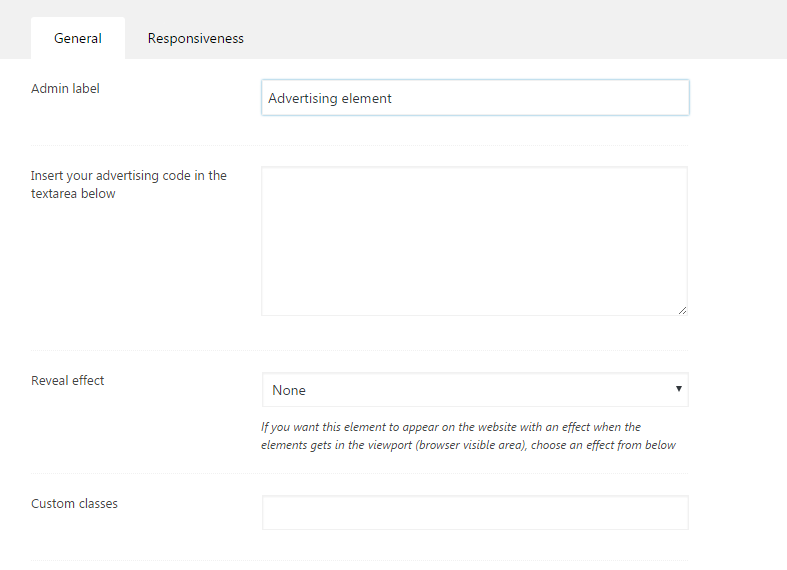
You have an example below:
Delimiter
This block creates a visual delimiter in the place you selected in layout builder with width equal to number of columns used. You can see the options below:
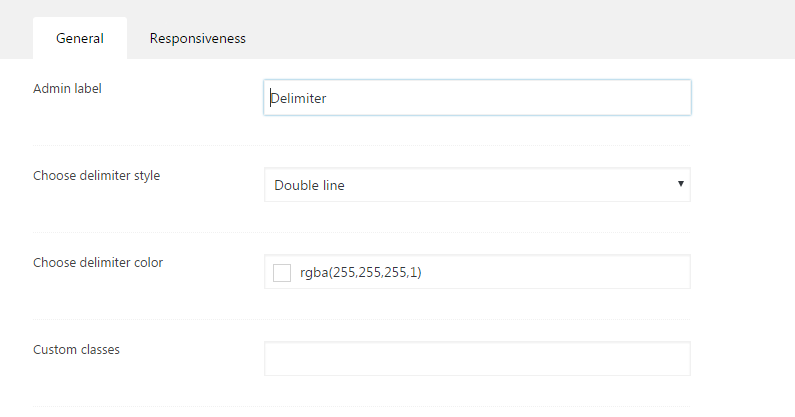
You have an example below:

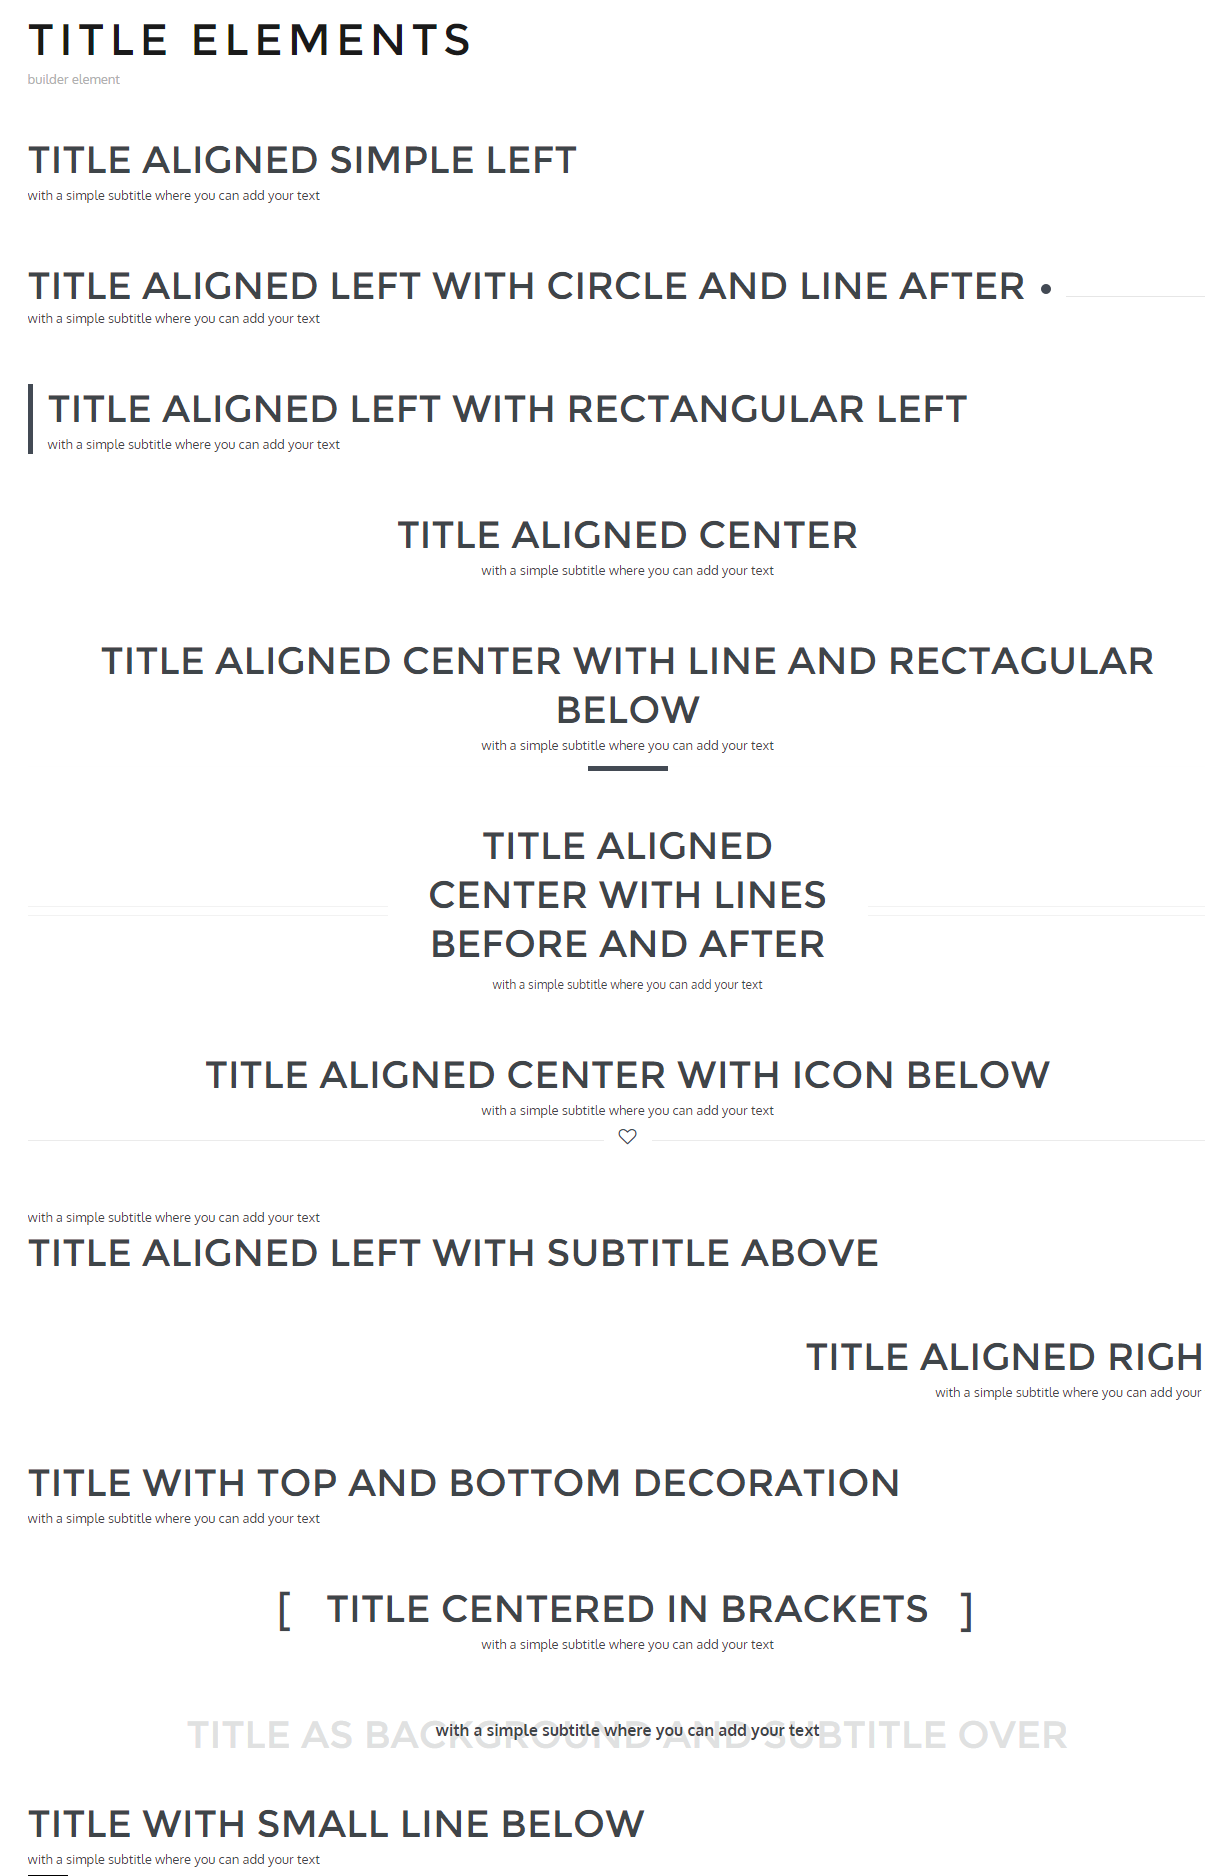
Title
With this option you can give name to your content blocks/elements. There are 5 styles of titles available. There is also a posibility that we'll add more later. Choose the style you want. Also, you can choose the size of the title. You have option to use H1-H5. A title description (subtitle) is also available. If left blank, it not show anything. You can see the options below:
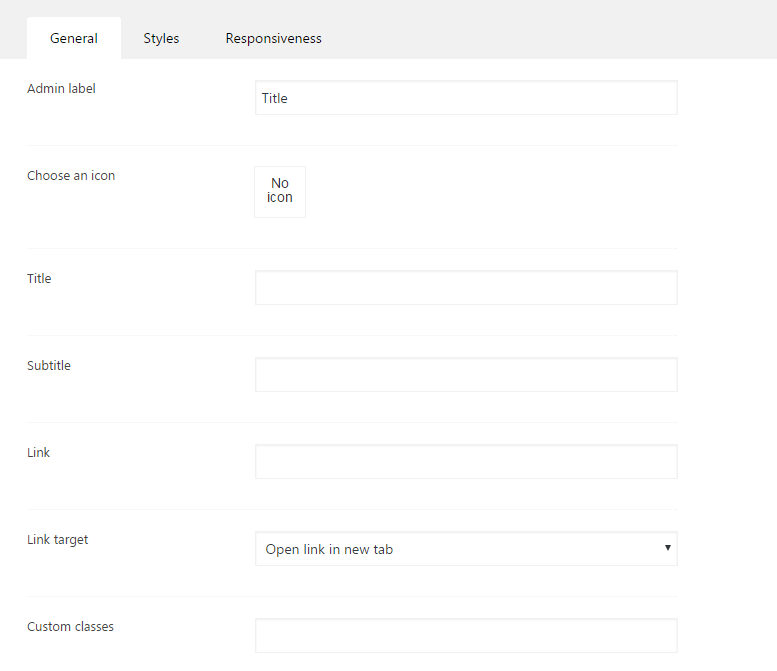
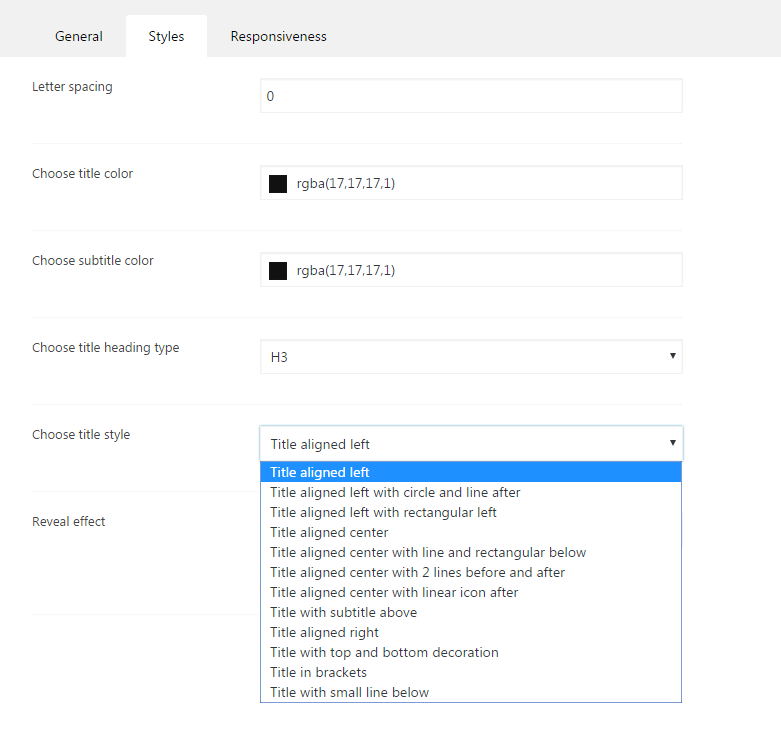
You have an example below:
Video
With this element's help you can add a video from youtube or vimeo that will take the width equal to your block columns size and will calculate an auto height.You can see the options below:

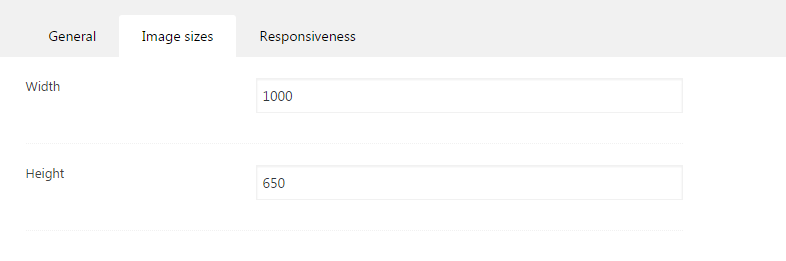
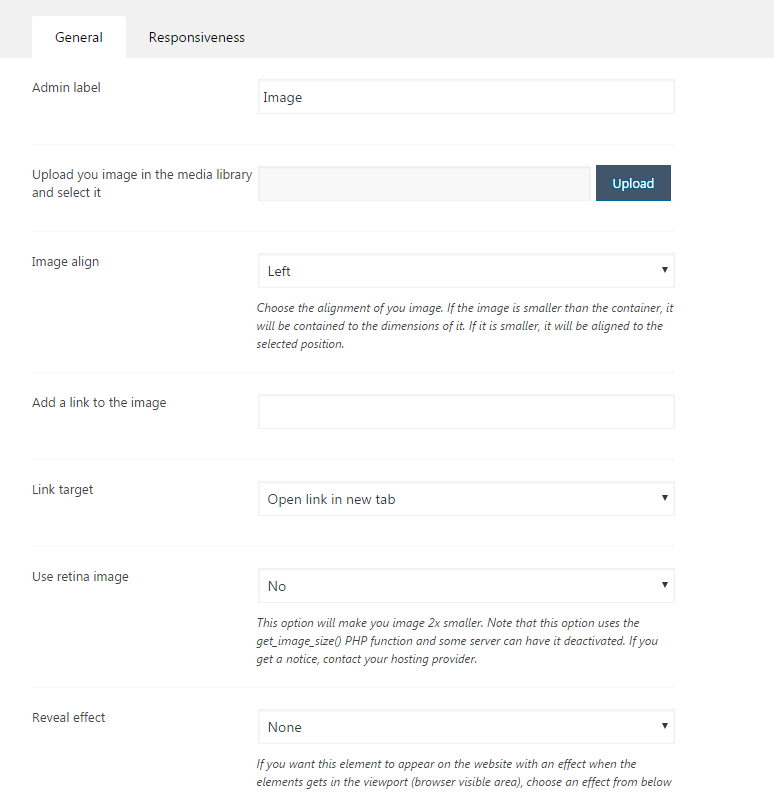
Image
This element element gives you the opportunity to upload or to use an image from your media library. If you set a link, it will show an image with link on your website. If you leave the field blank, the image will not have a link. You can see the options below:
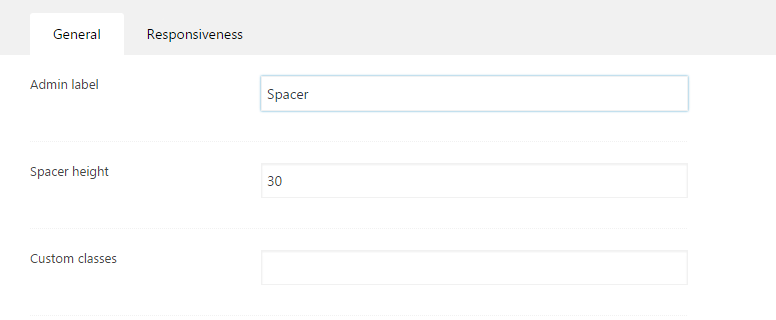
Spacer
This element element gives you the opportunity to create an empty block with equal to the columns size you select, and height equal to your choice (in pixels). Used to make spaces between element. You can see the options below:
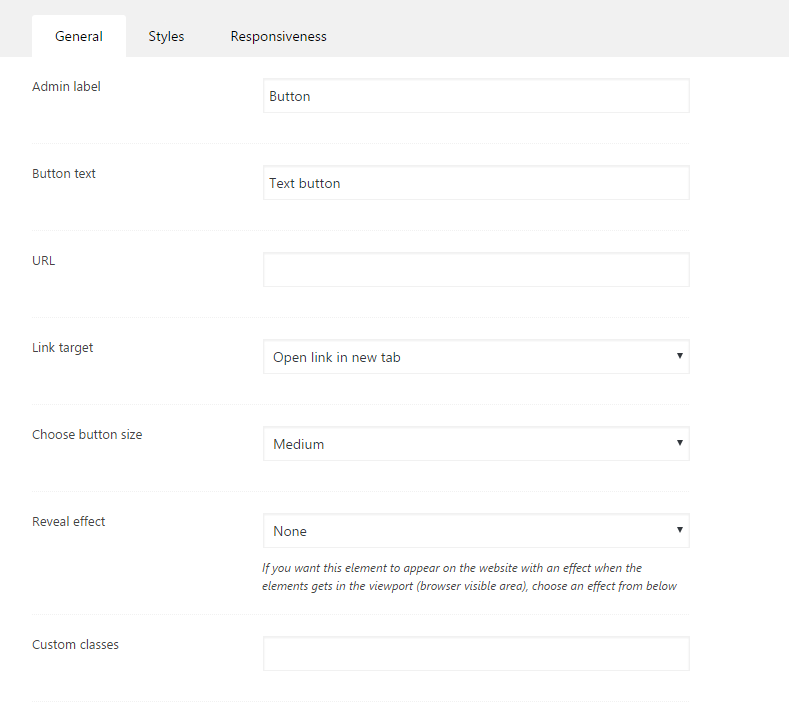
With this option you can add button on your website. You can select the size, target, link and colors for text and background.You can see the options below:


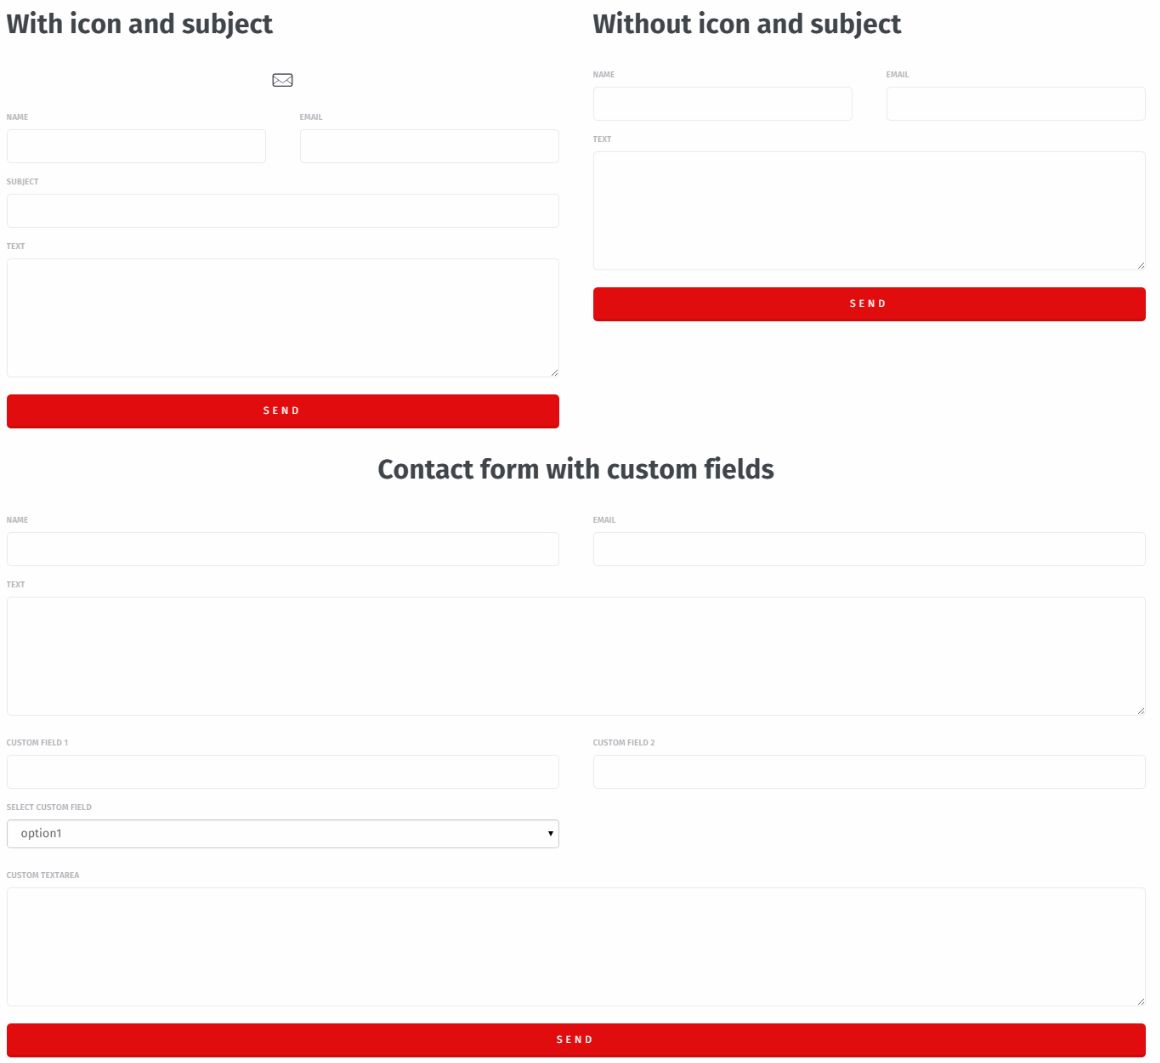
This element adds a contact form on your website. You will recieve the emails sent through it on the mail set in social tab in theme options.
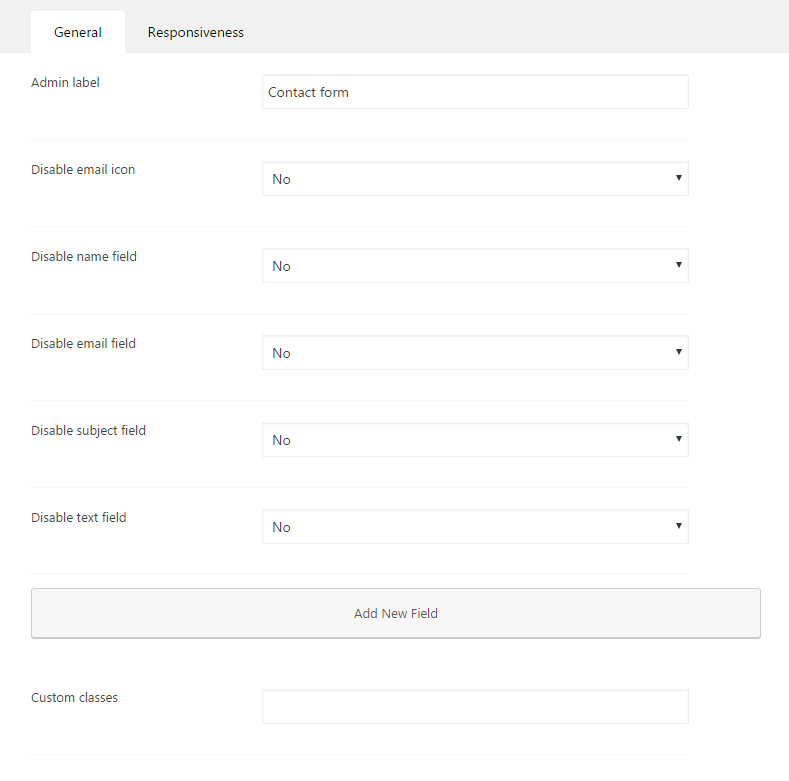
Below you will find some demos of the contact form
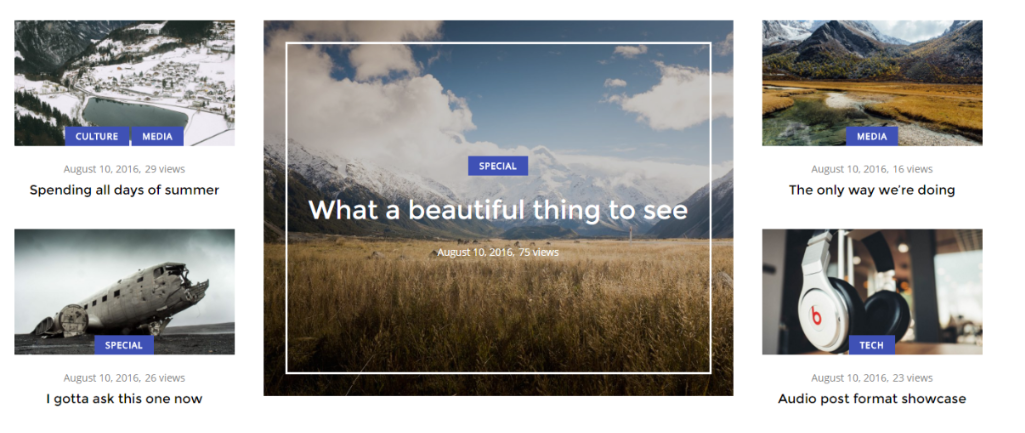
Featured area
This element is mostly used for news/magazine websites. It includes 4 posts (1 big post as you main article and 3 smaller). You can select the layout. You can see the options below:
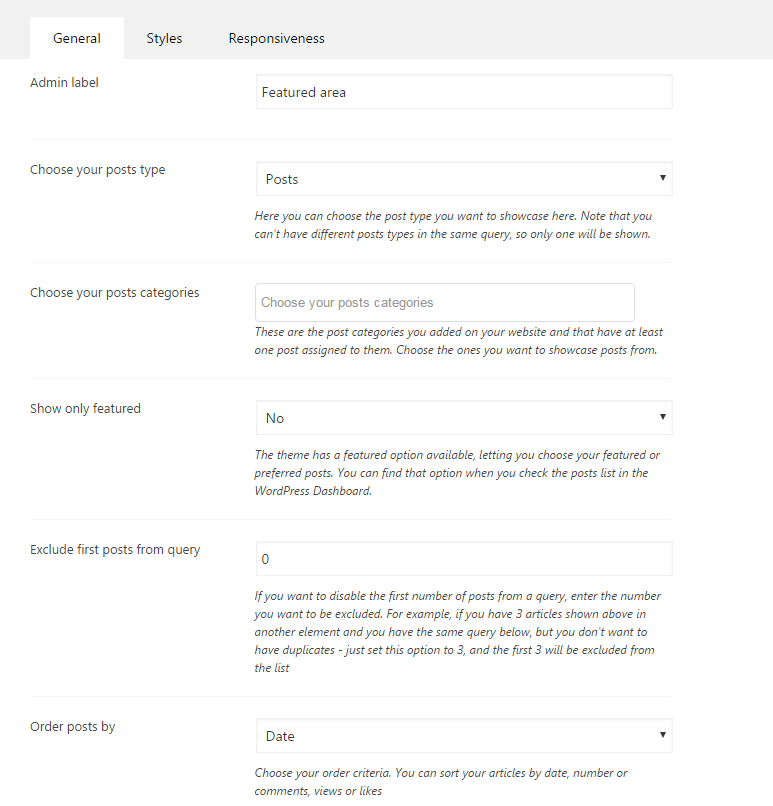
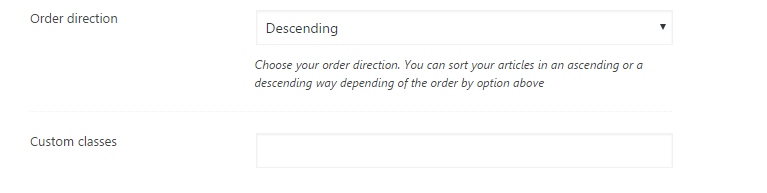
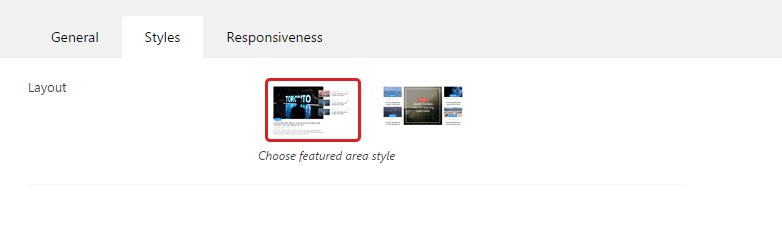
You have an example below:

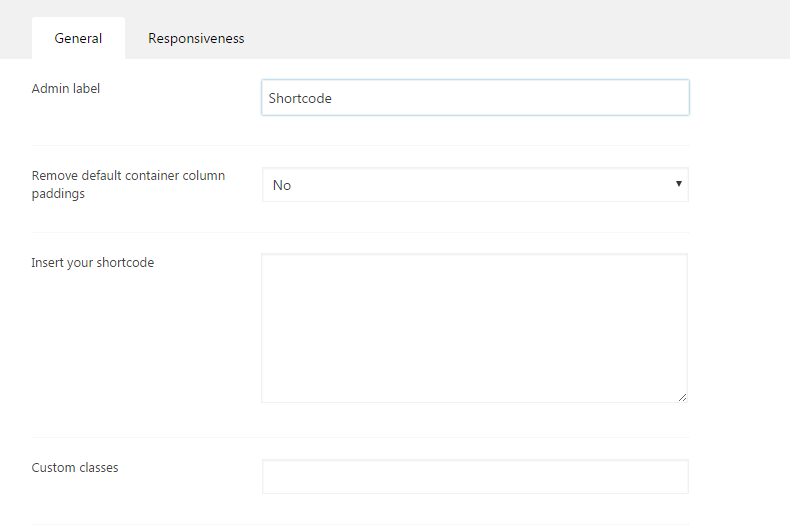
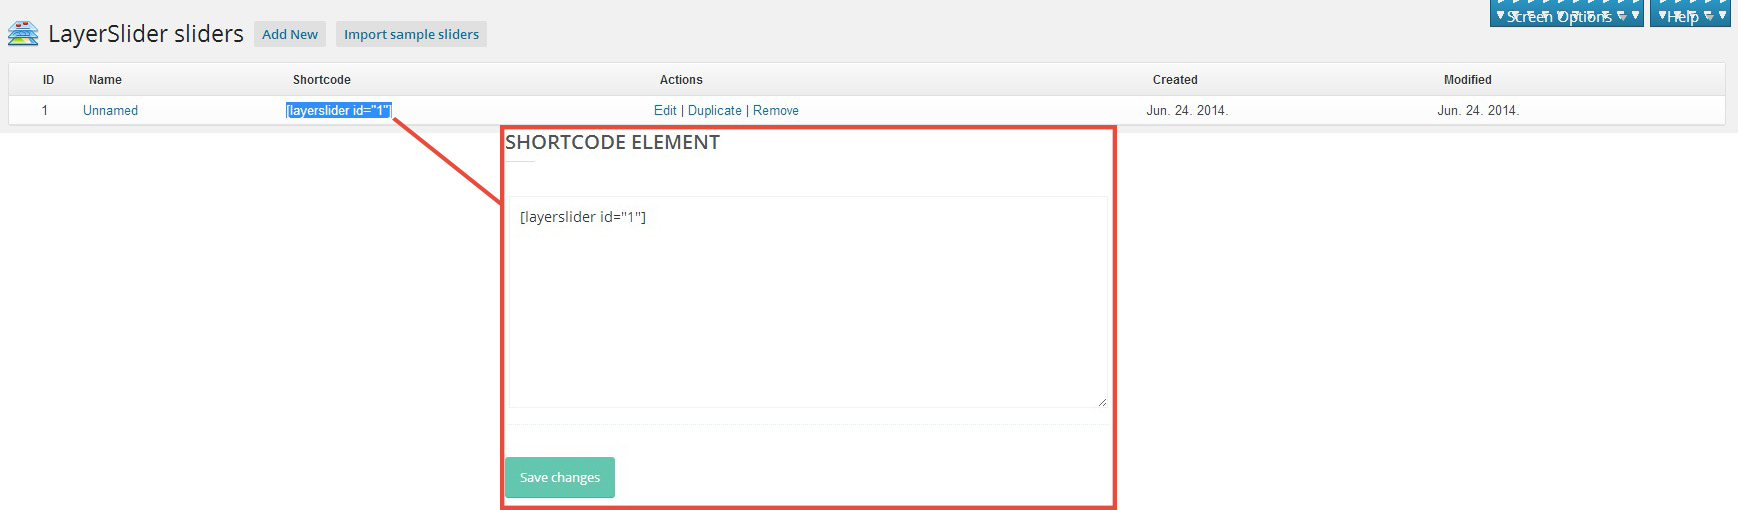
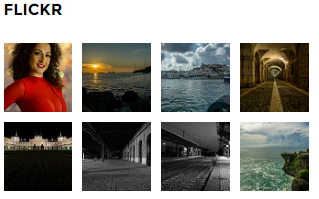
Shortcodes
This element element let's you use shortcodes from other plugins. Not all plugins might be compatible so we are not responsible for that.
You can see the options below:
You can see a little example in the image below:
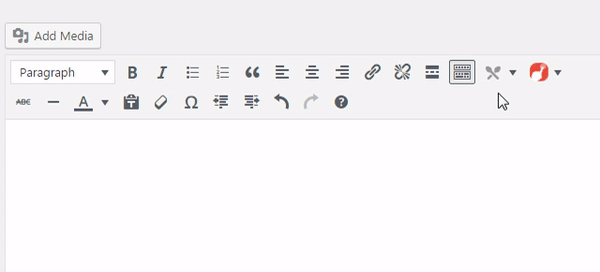
Text
This element lets you to add any text in your layout builder. You should get a WordPress editor where you can add any text you want.
You can see the options below:
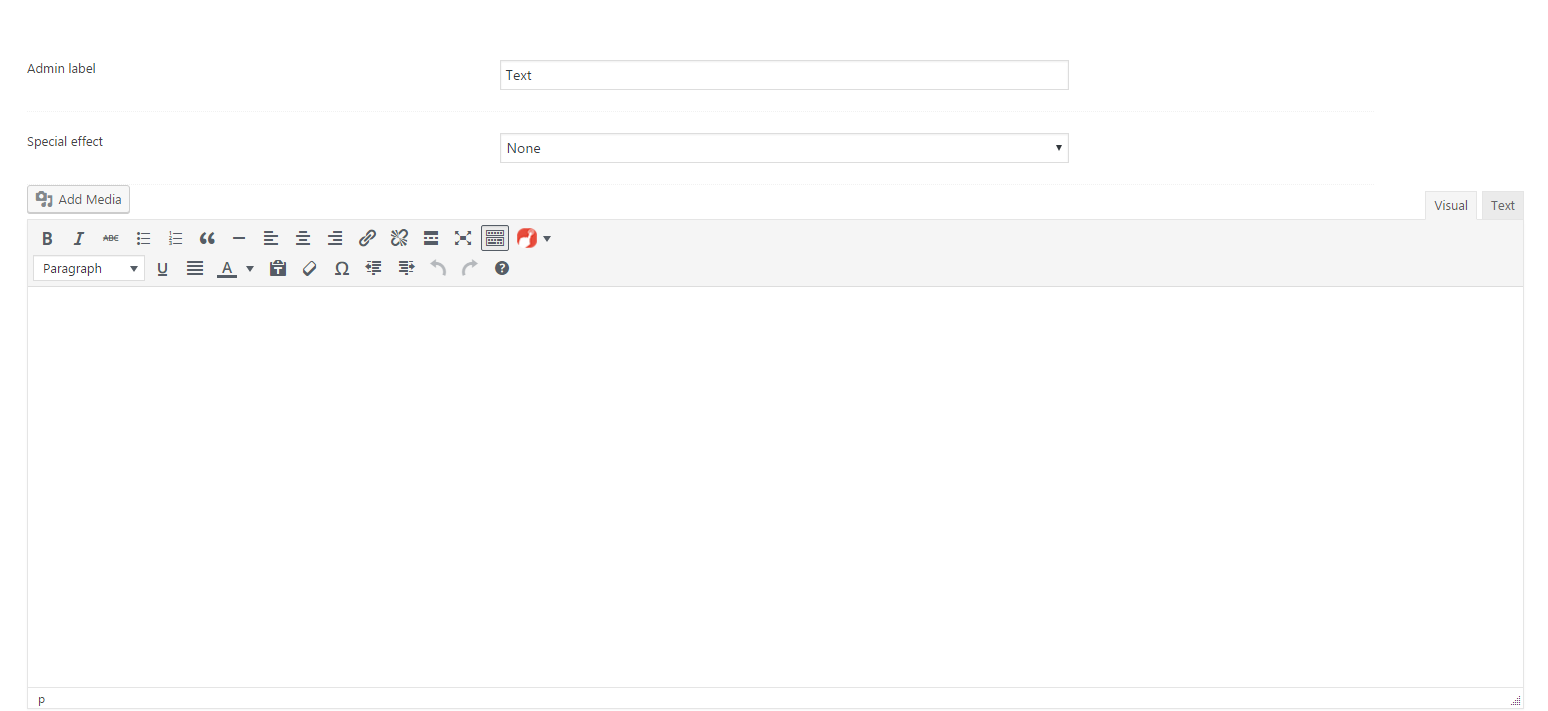
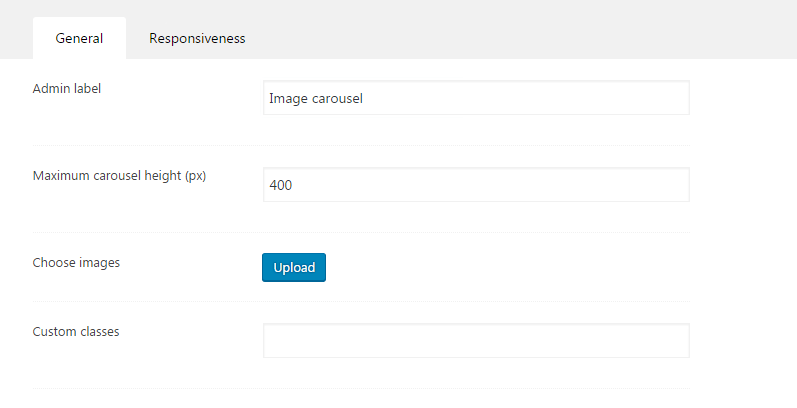
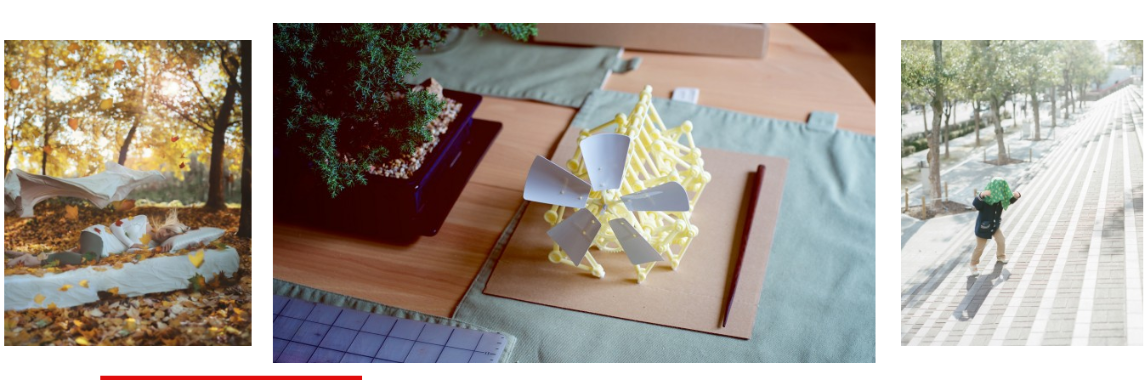
Image carousel
This element is used to add a custom image gallery anywhere in your layout builder. Carousel takes an automatic height and width depending on the number of columns you use. You can see the options below:
You have an example below:
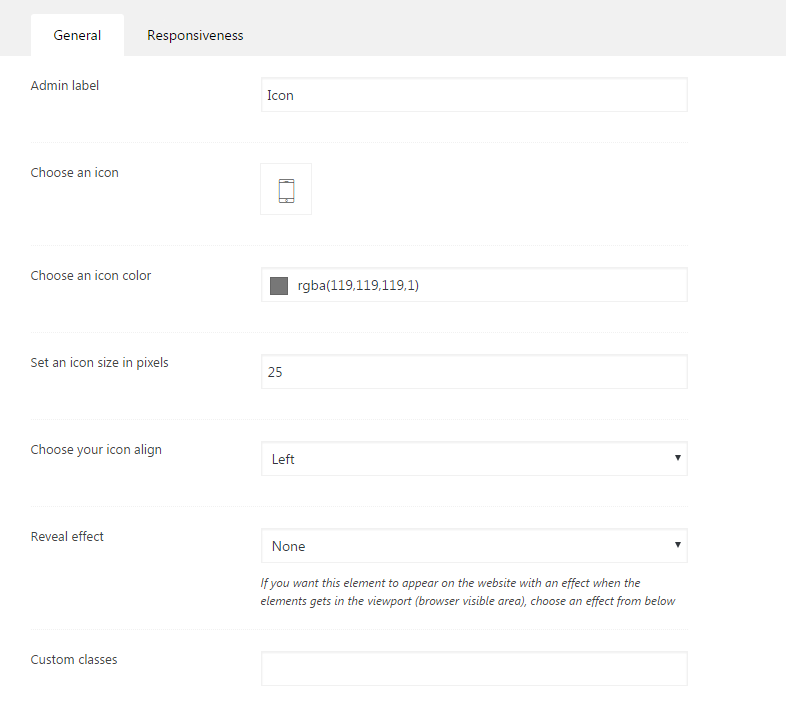
Icon
This element is used to add a icon in your layout builder with color and size that you want. You can see the options below:
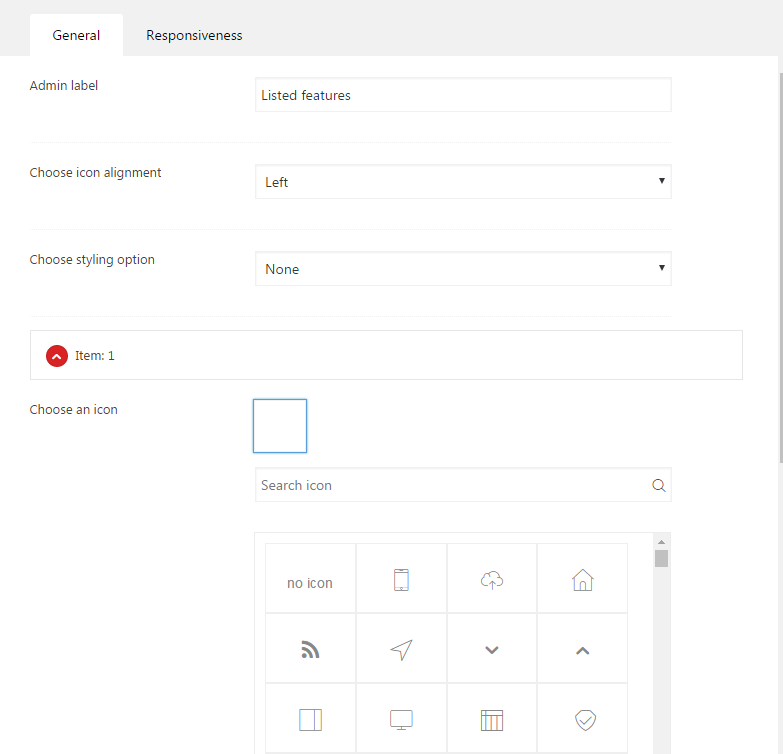
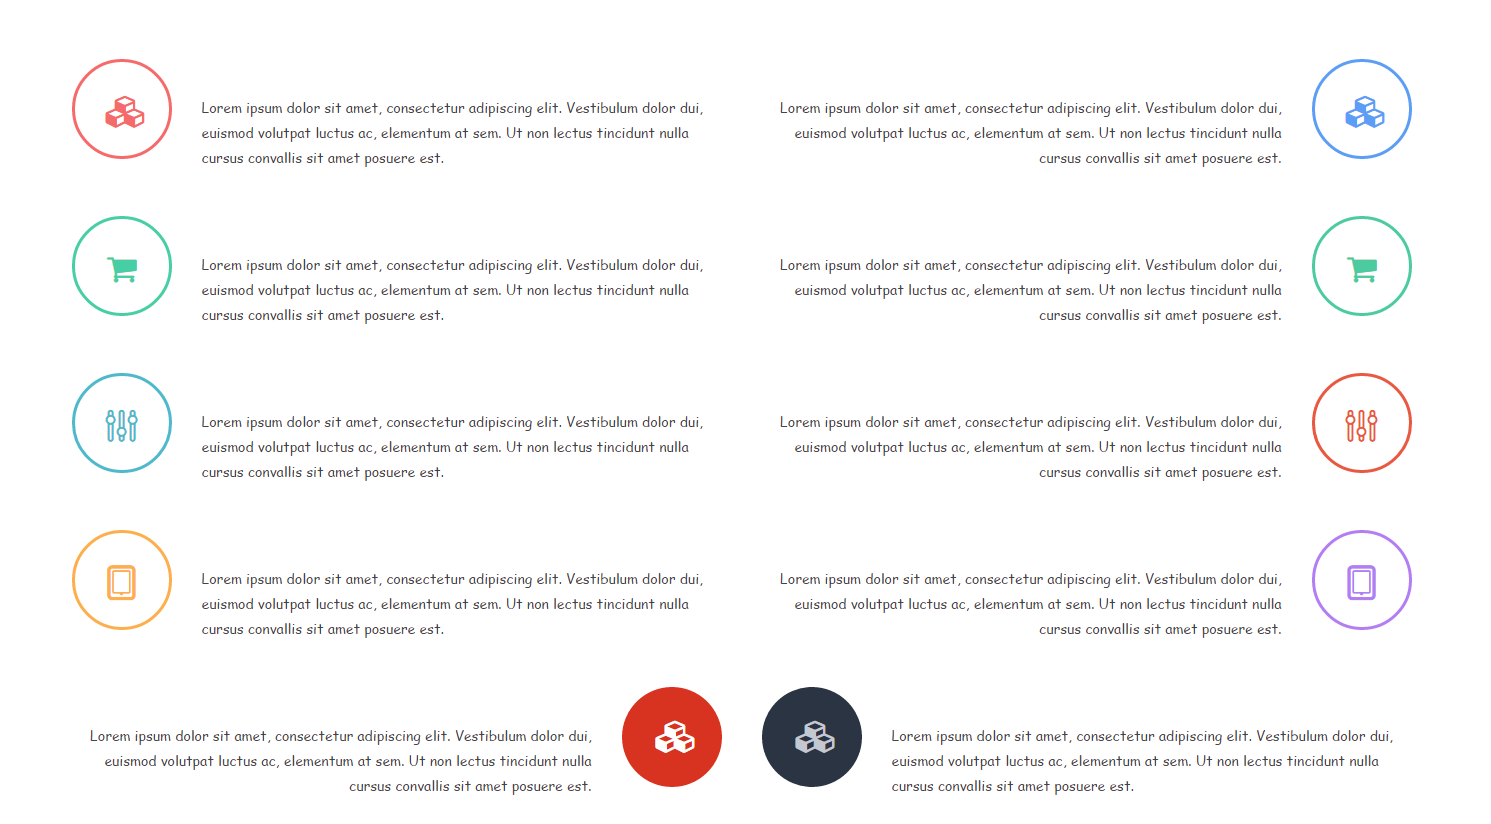
Listed features
For this element you can have them with border or without. Also, you can select the align of the icons (left or right).You can see the options below:

You have an example below:
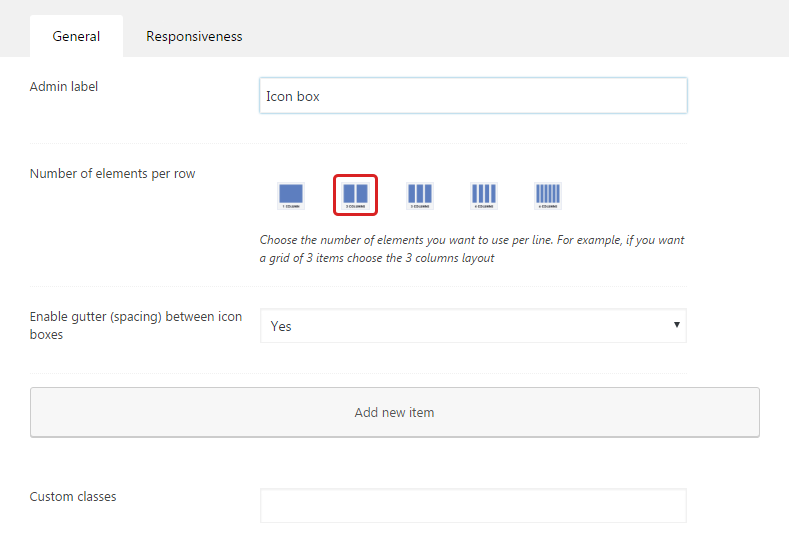
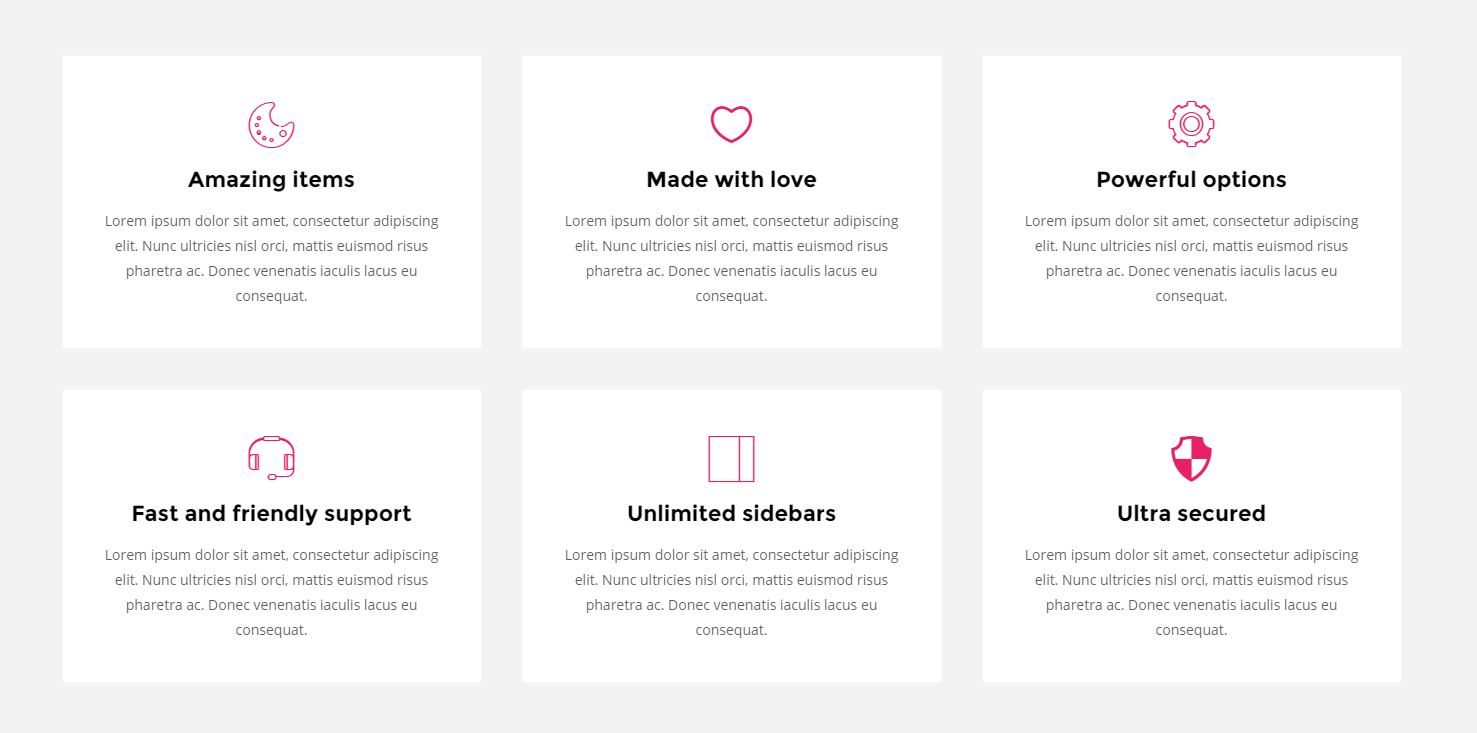
Icon box
These are usually used for showcasing the services or features that you offer/have. Adding one is simple, just like another custom post. You can see the options below:
You have an example below:
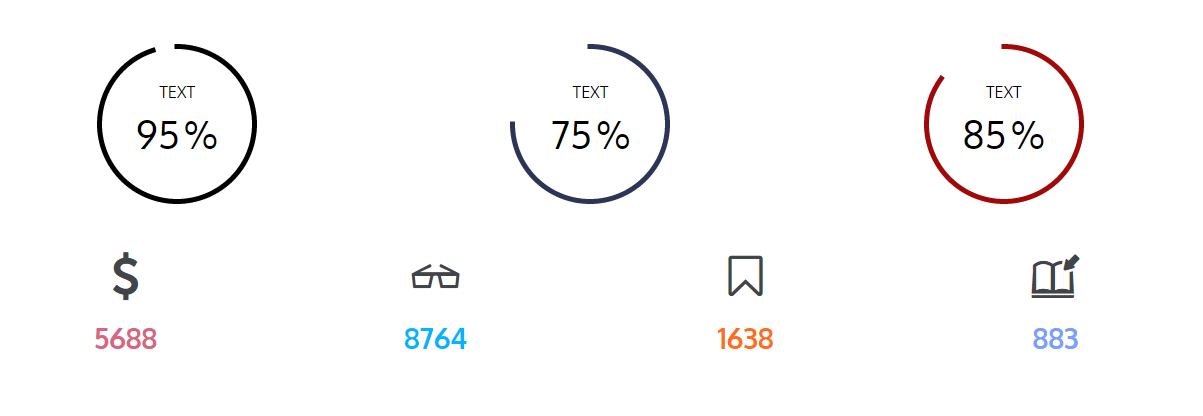
Counter
With this element you can add counters on the website. You need to enter the title and the percentage.You can see the options below:
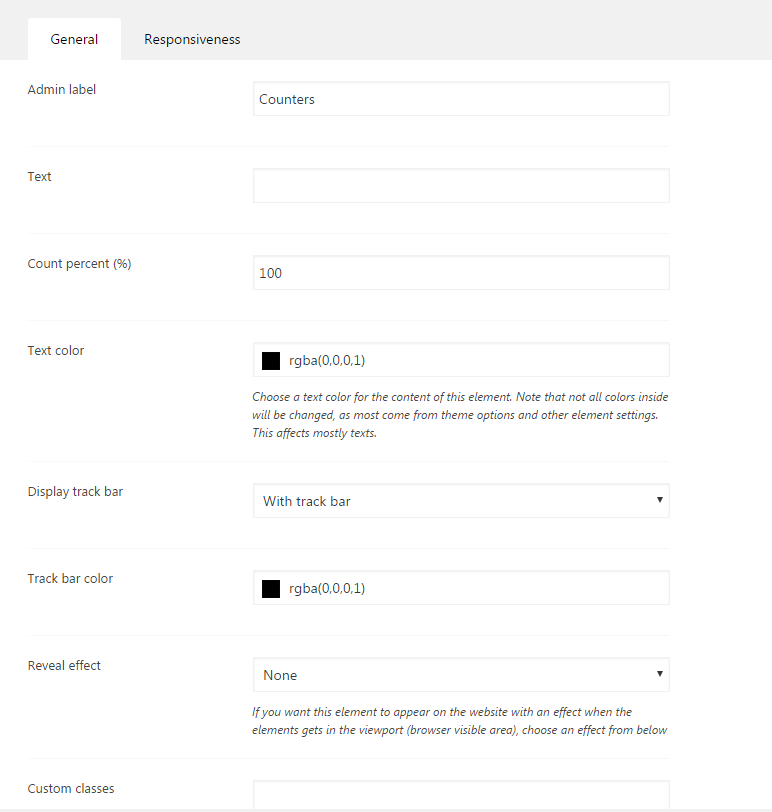
You have an example below:
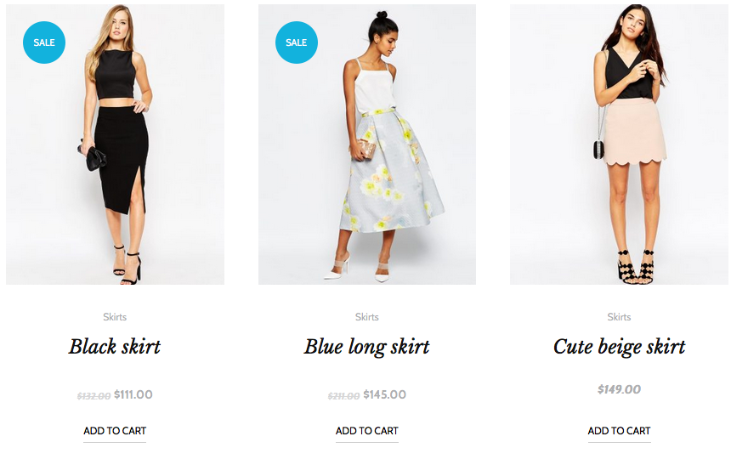
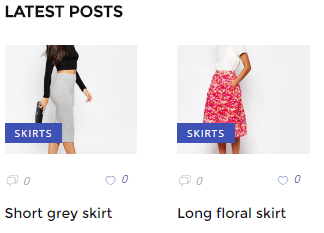
List Products
If you have the WooCommerce plugin installed on your website, you can showcase products on the website. Here are the options that you have for listing products:

On your website, depending on the options that you have set they should look like this:
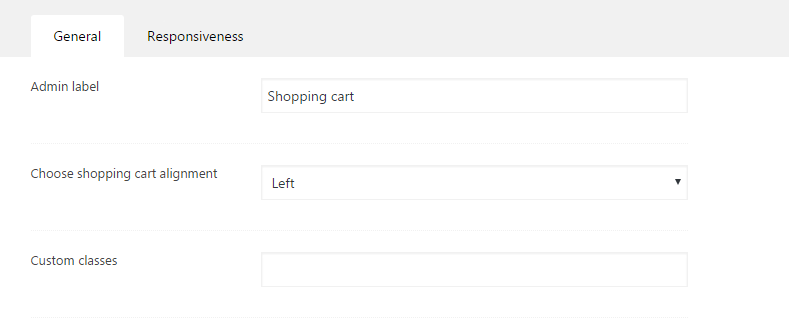
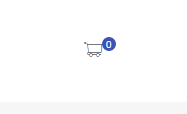
If you have the WooCommerce plugin installed on your website, with this element you can show the shopping cart icon.You can see the options below:
You have an example below:
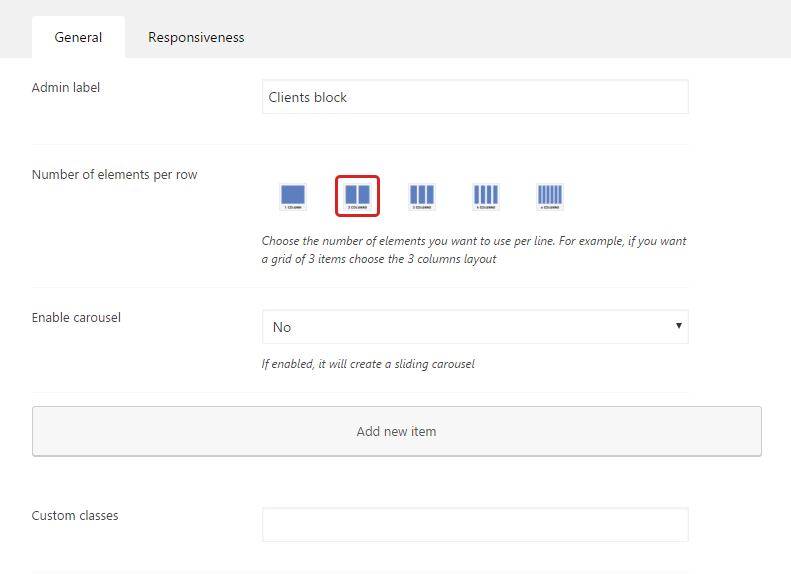
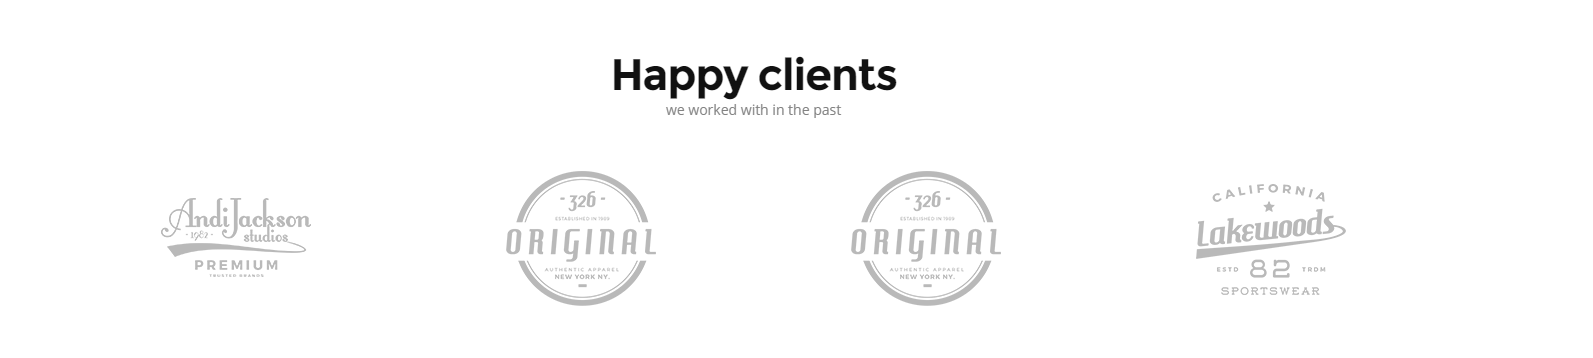
Clients
With this element you can add clients on the website with 2/3/4/6 columns on the website. You need to enter the titles that will appear on hover or make add a carousel.You can see the options below:
You have an example below:
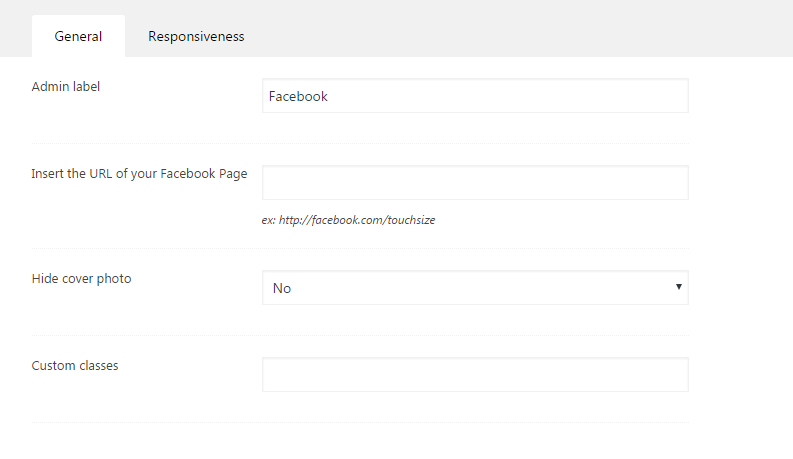
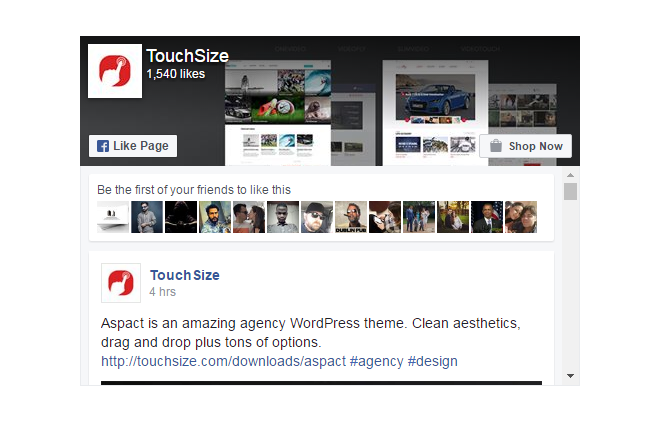
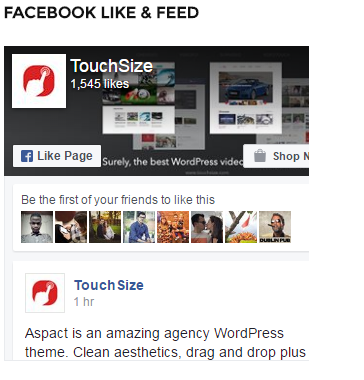
Facebook like box
This element will show on your page inside a box your facebook page and the people that likes this.You can see the options below:
You have an example below:
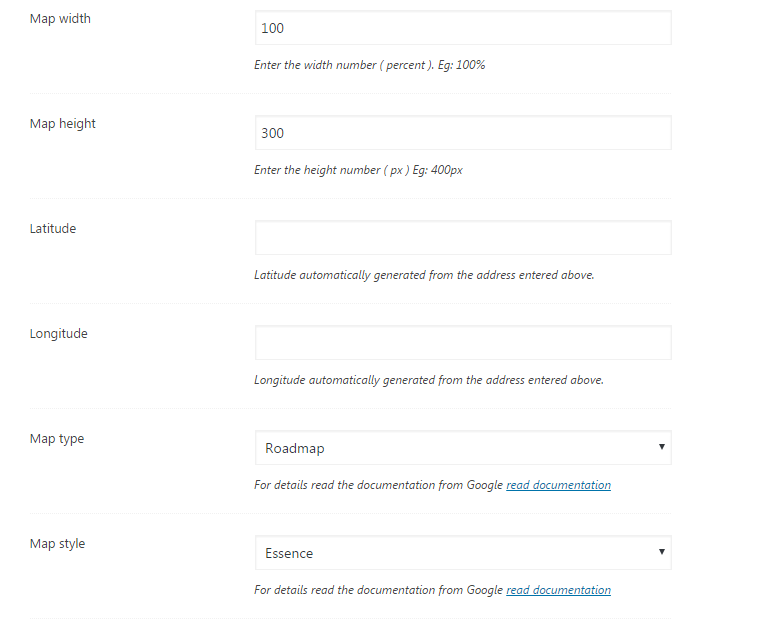
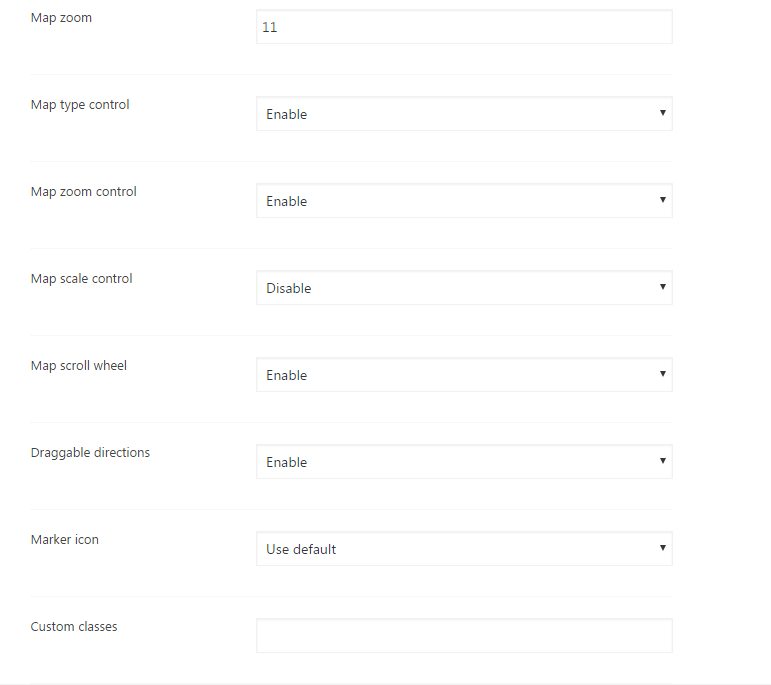
Map
This element gives you the option to insert google maps inside you page, here you need to insert the coordinates that you have to show the map. You can see the options below:

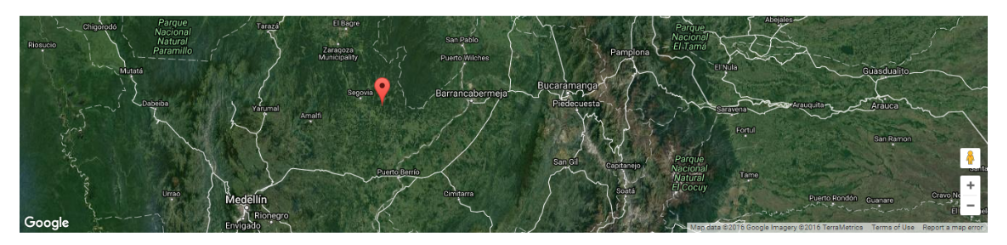
You have an example below:
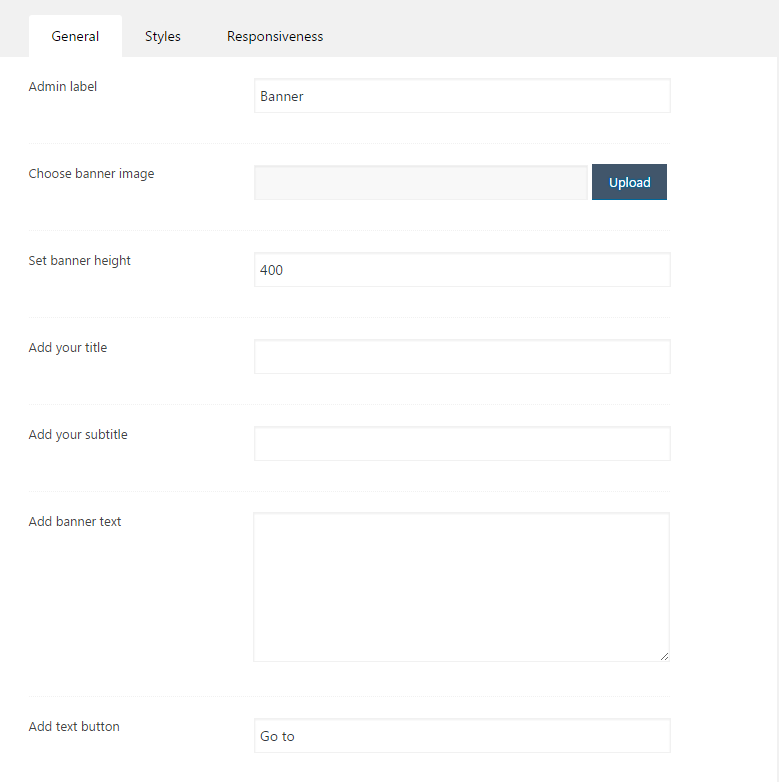
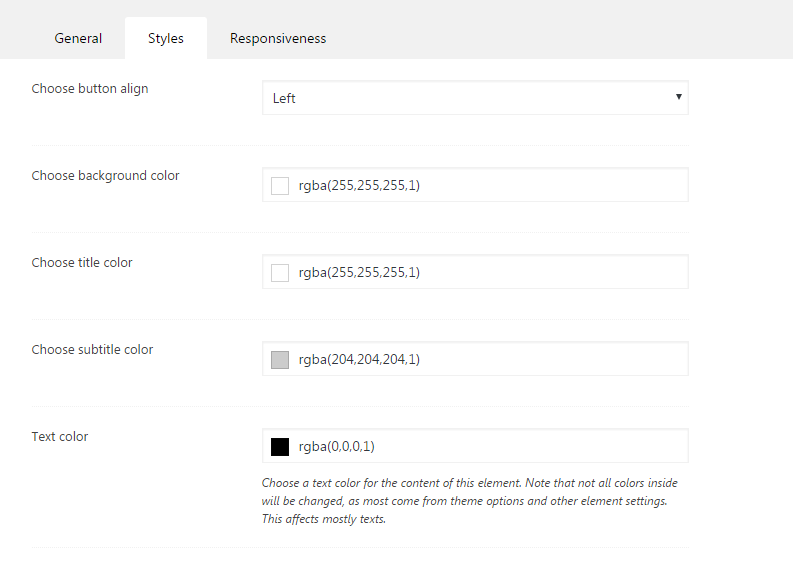
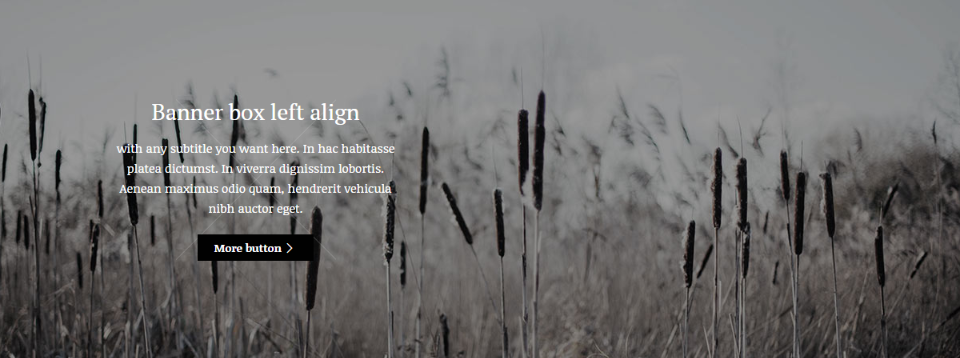
Banner
With this element you can add banner boxed, select the align of the content that they have.,the image and text that you want.You can see the options below:

You have an example below:
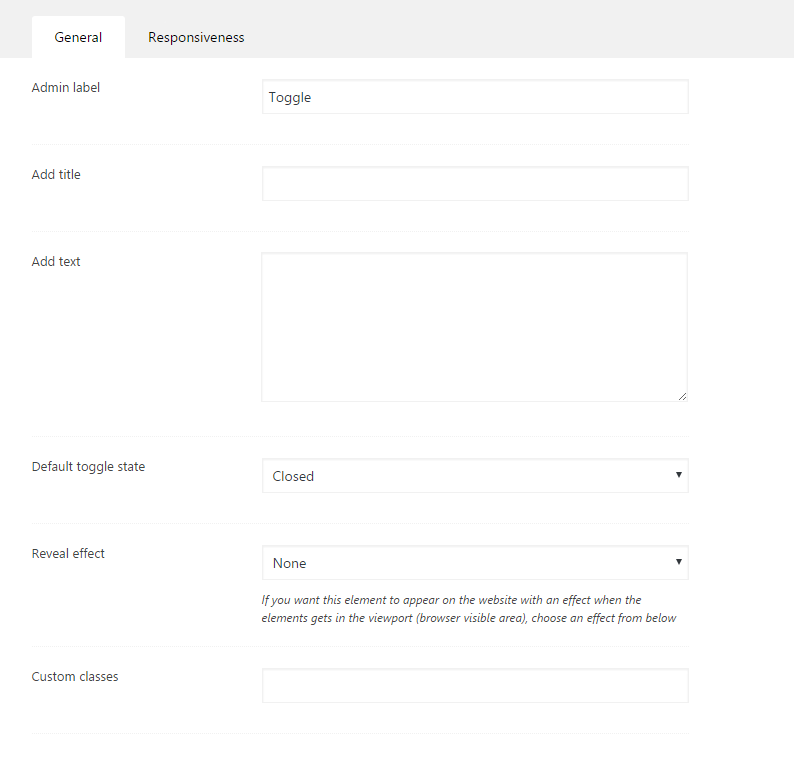
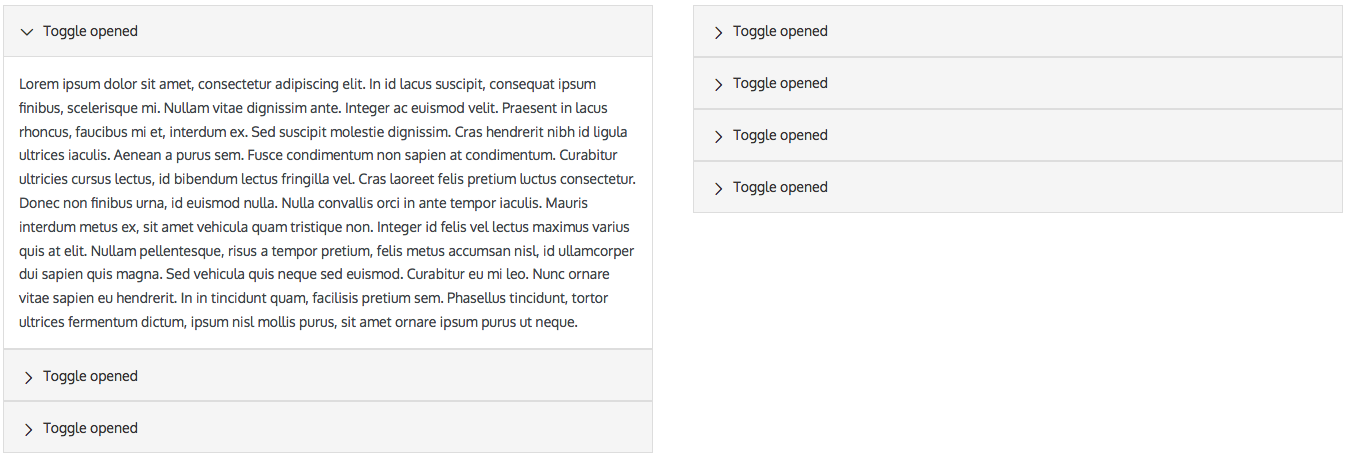
Toggle
With this element you can easy to create all different kinds of Toggles for your WordPress site. You can add toggles with a opened/closed state. They have titles and content.
You can see the options below:
You have an example below:
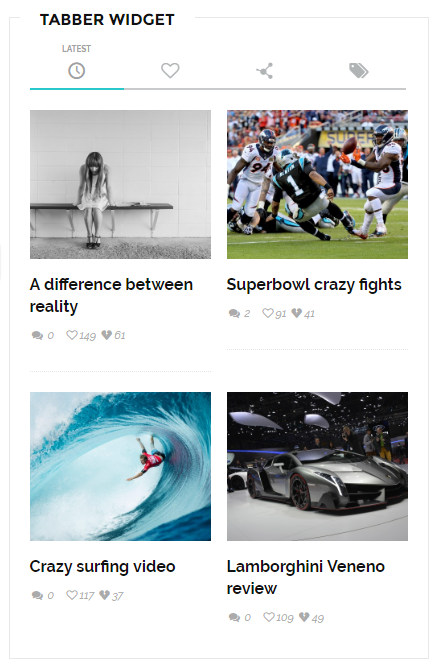
Tabs
With this element you can create different layout of tabs. You can see the options below:
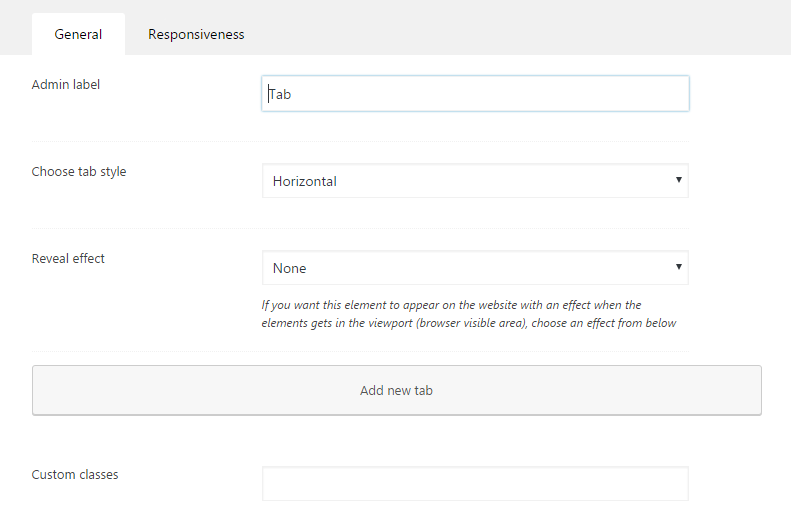
You have an example below:

Breadcrumbs
With this options you can indicate the current page’s location within a navigational hierarchy.You can see the options below:

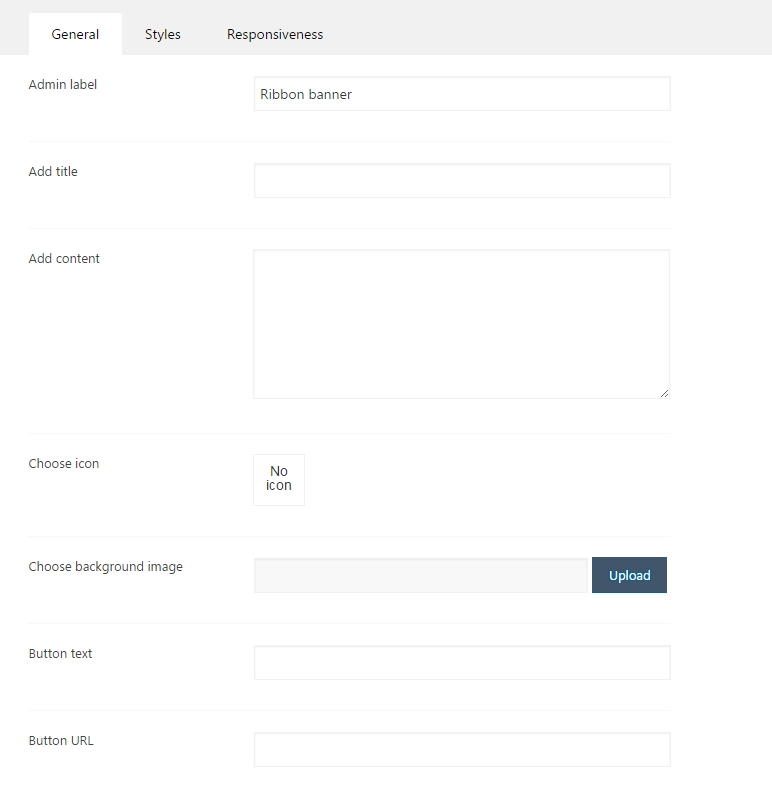
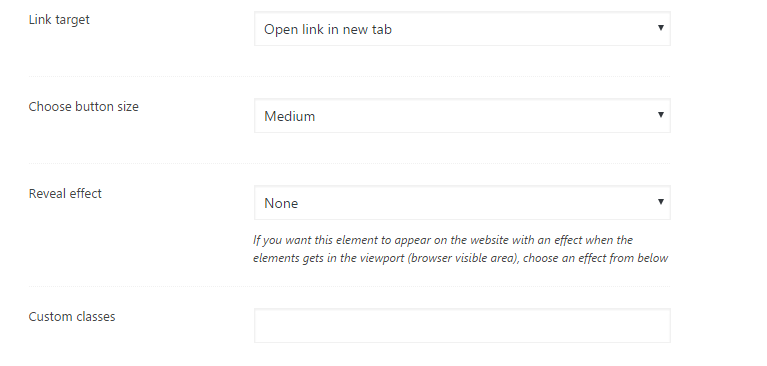
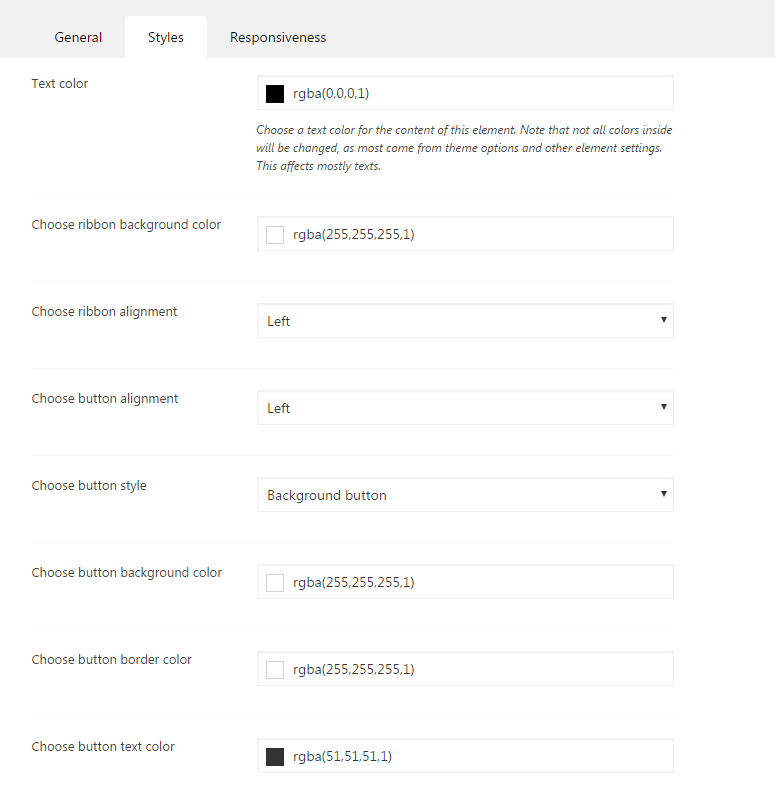
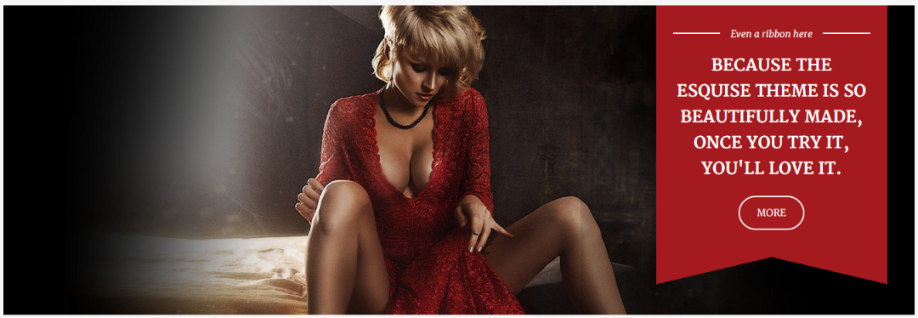
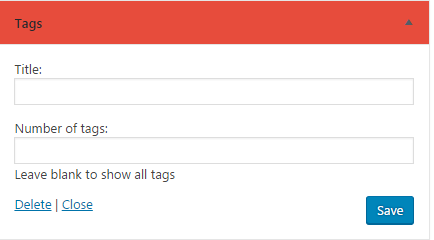
Ribbon
With this element you can show a ribbon element on your website, you can customize the appearance of the element.You can see the options below:
You have an example below:
Timeline features
With this element you can create a timeline with your features.You can see the options below:
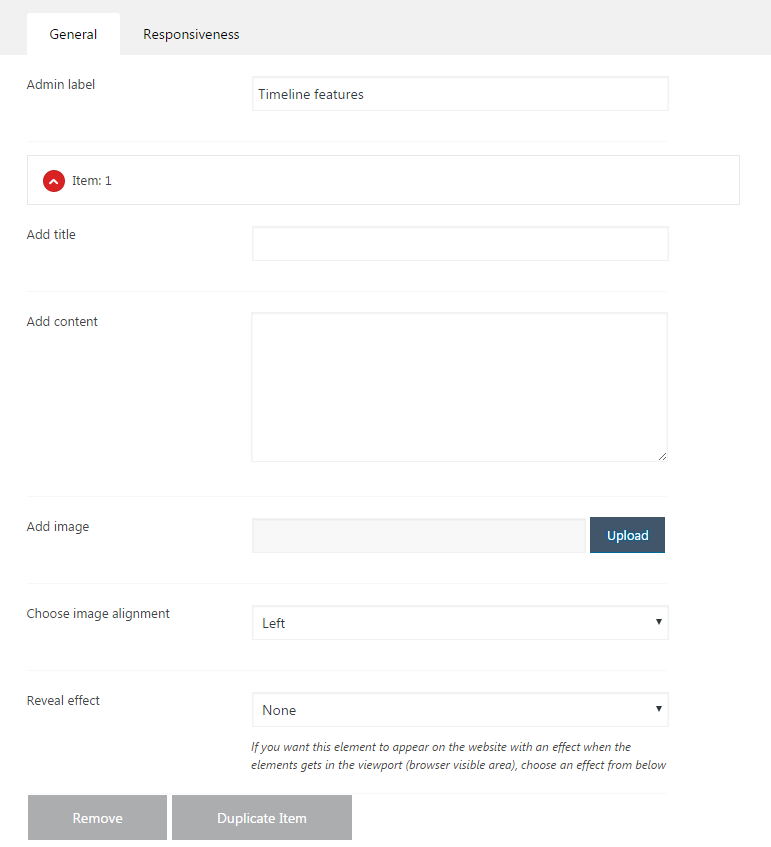
You have an example below:

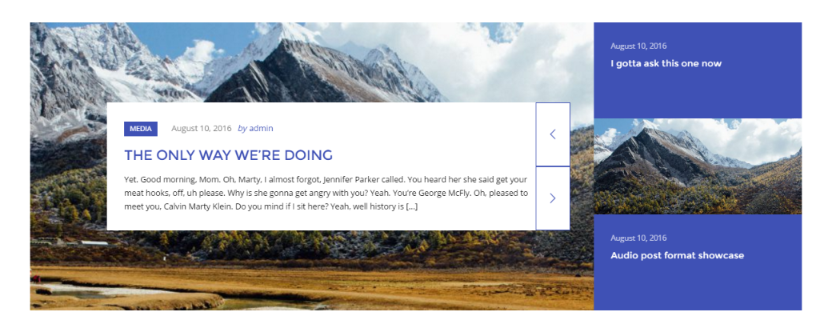
Posts carousel
This element allows to view the list of selected post types in a carousel.You can see the options below:
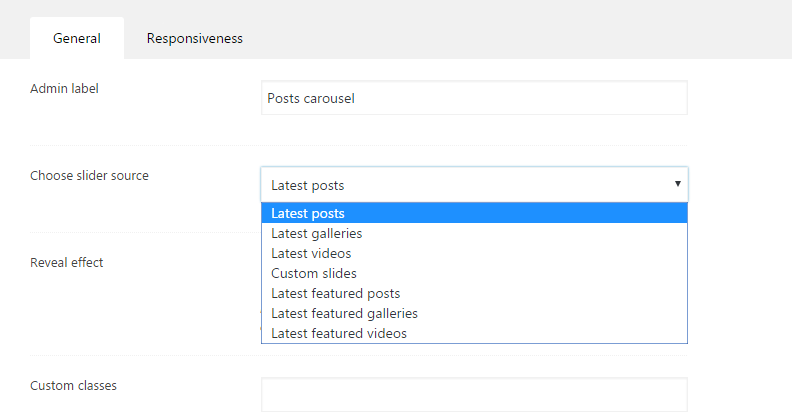
You have an example below:

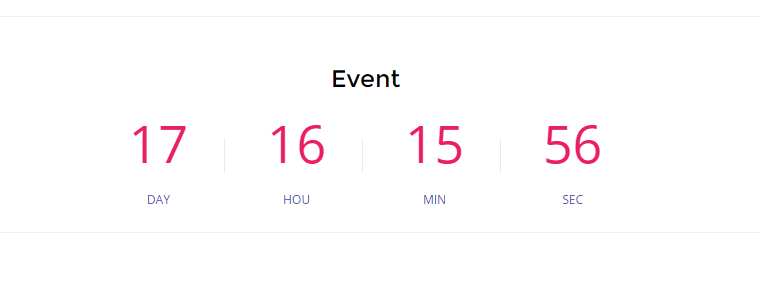
Counter down
This element gives you the option to get your visitors attention by direction them to upcoming releases, openings or events. Just add your data, time or both, select one of the available styles and you are ready to go. You can see the options below:
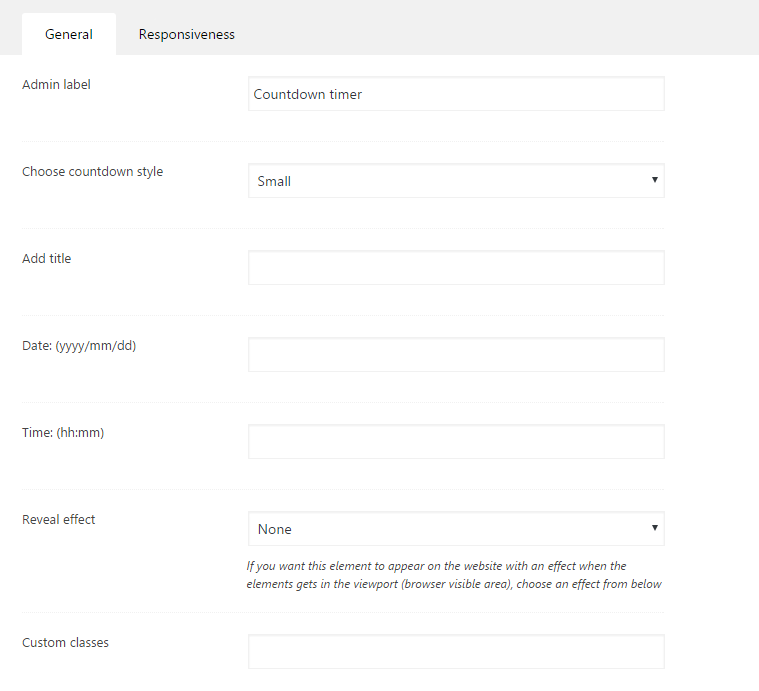
You have an example below:
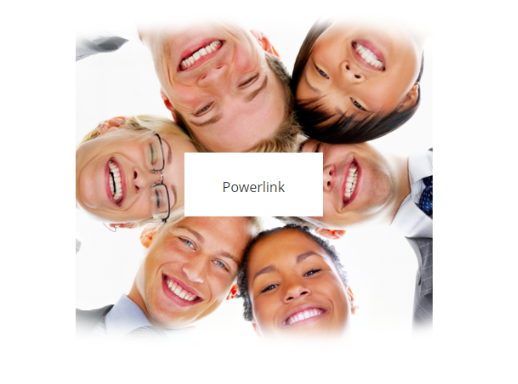
Powerlink
This element gives you the option to add an powerlink on your page.For this element you can add the title,link and image. You can see the options below:
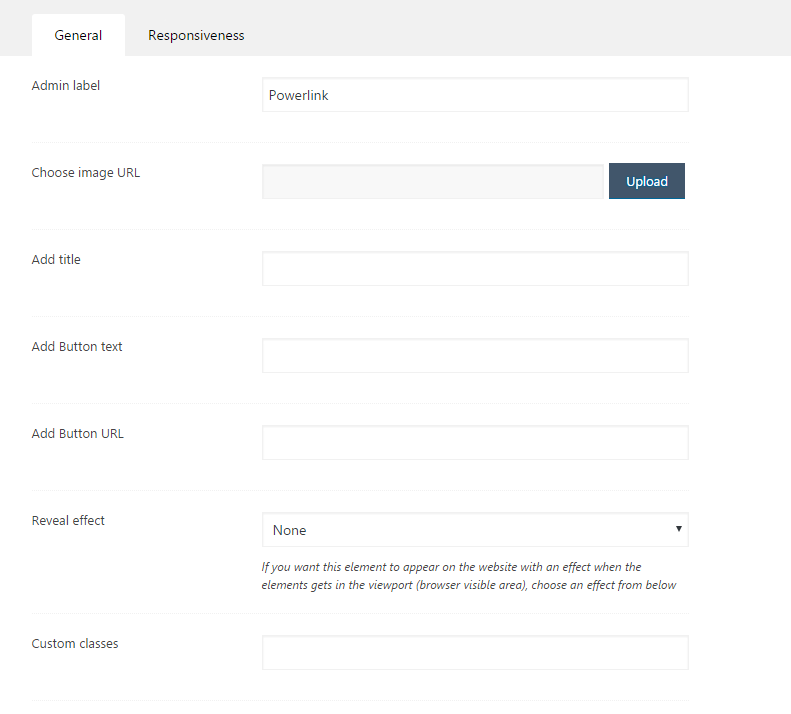
You have an example below:
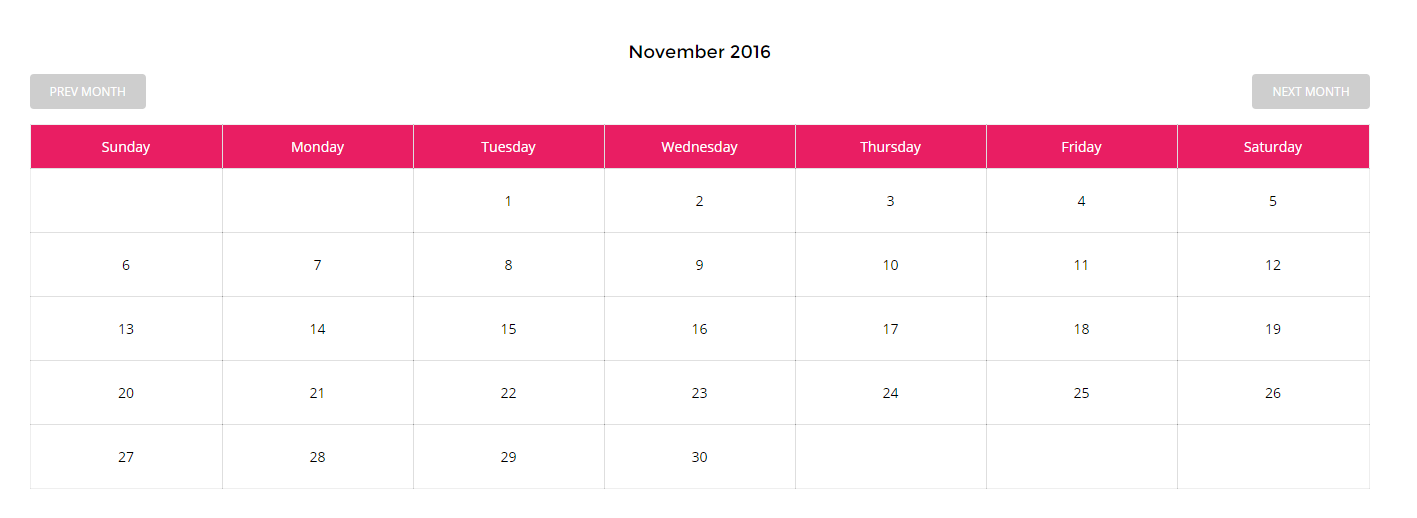
Calendar
This element gives you the option to add calendar on your page.Just select one of the available styles and you are ready to go. You can see the options below:

You have an example below:
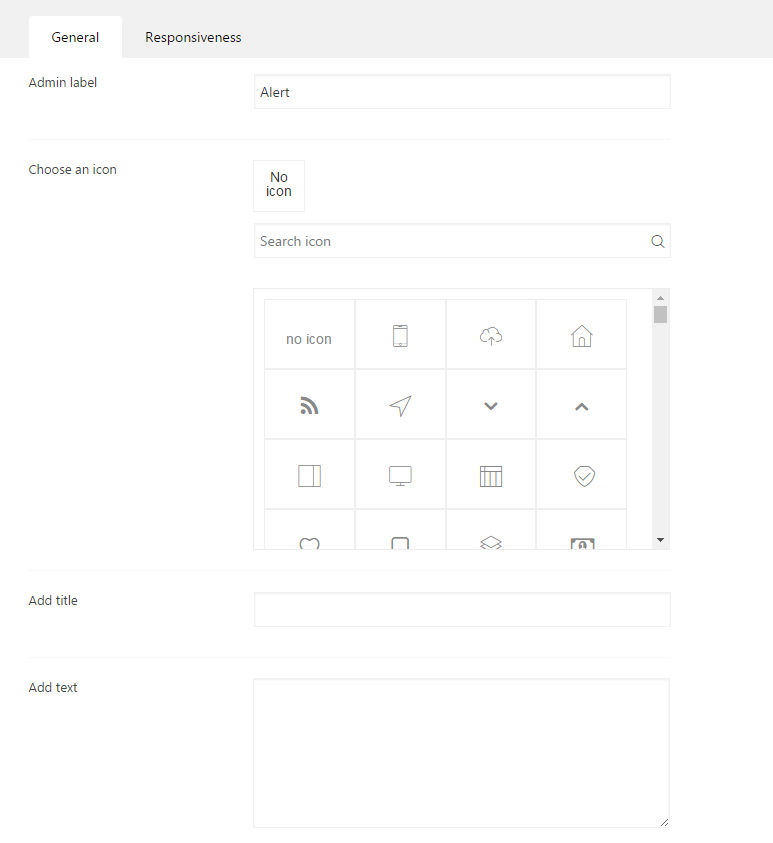
Alert
With this element you can add an alert section with text and icon. You can see the options below:
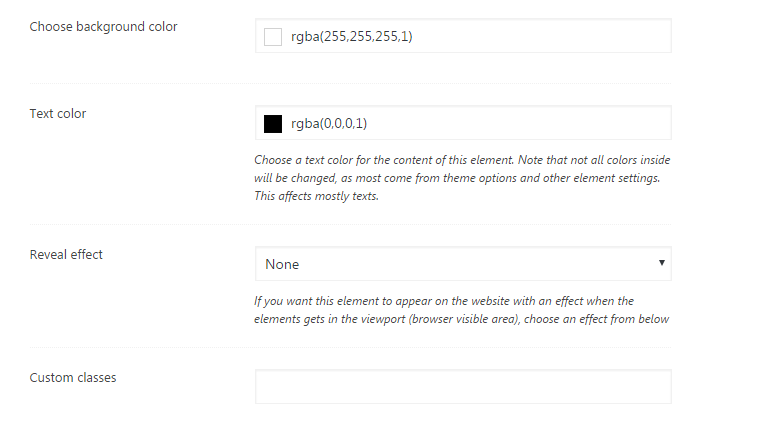
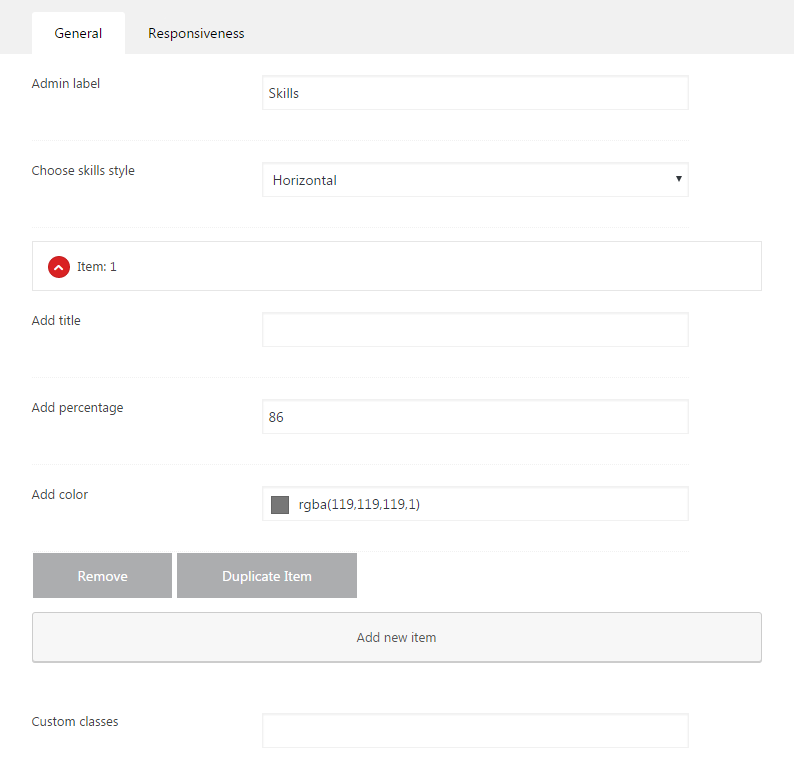
Skills
With this element you can add a skill bar or more to your page.You can see the options below:
You have an example below:
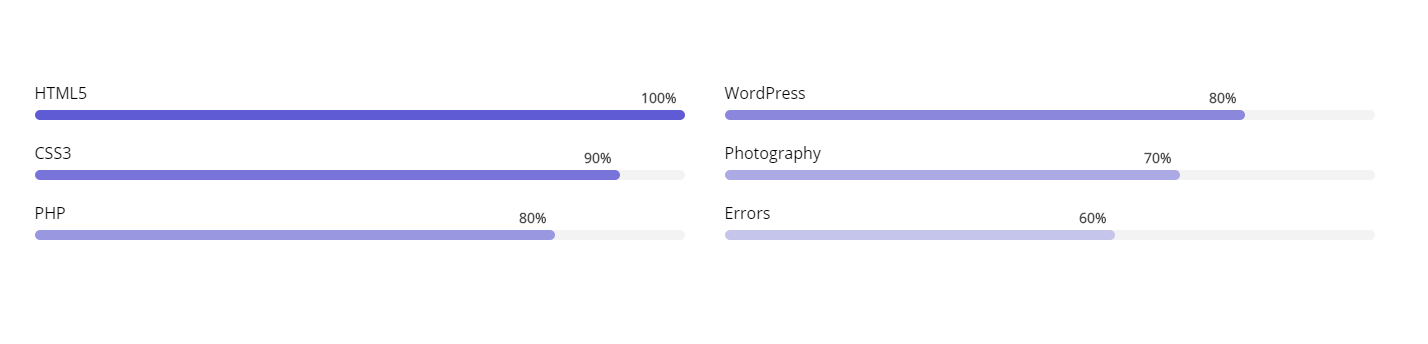
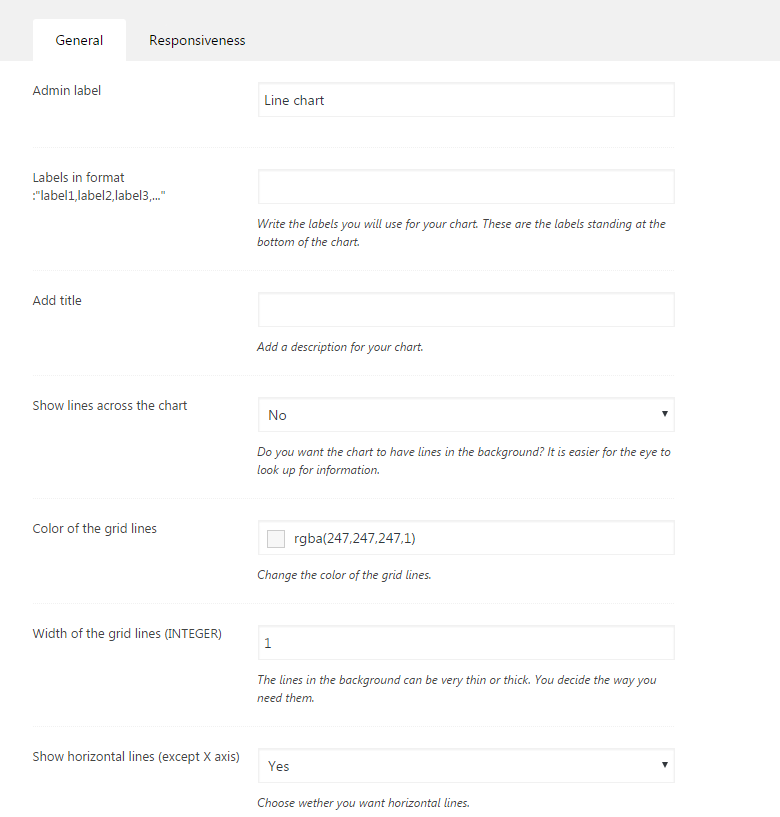
Chart line
With this element you can add a chart line. Is a type of chart which displays information as a series of data points called 'markers' connected by straight line segments.You can see the options below:
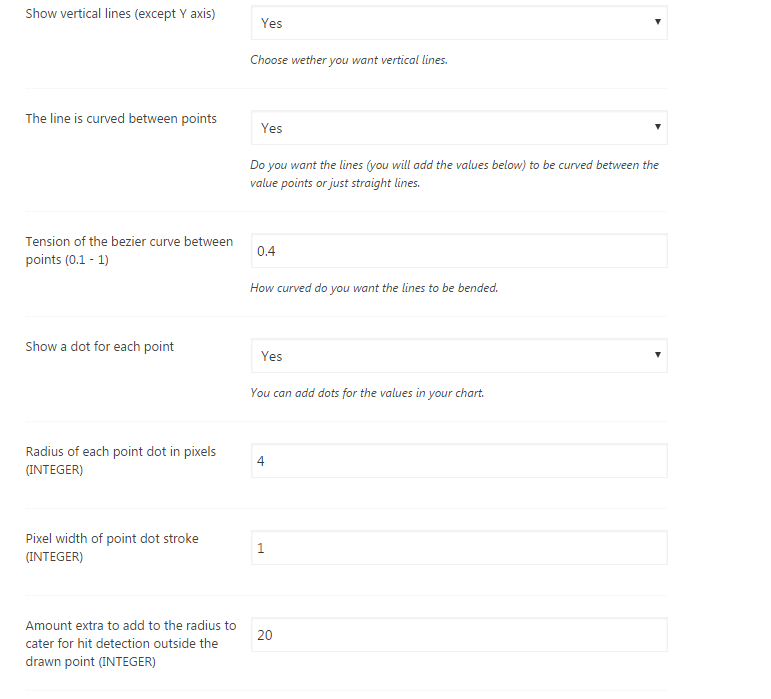

You have an example below:
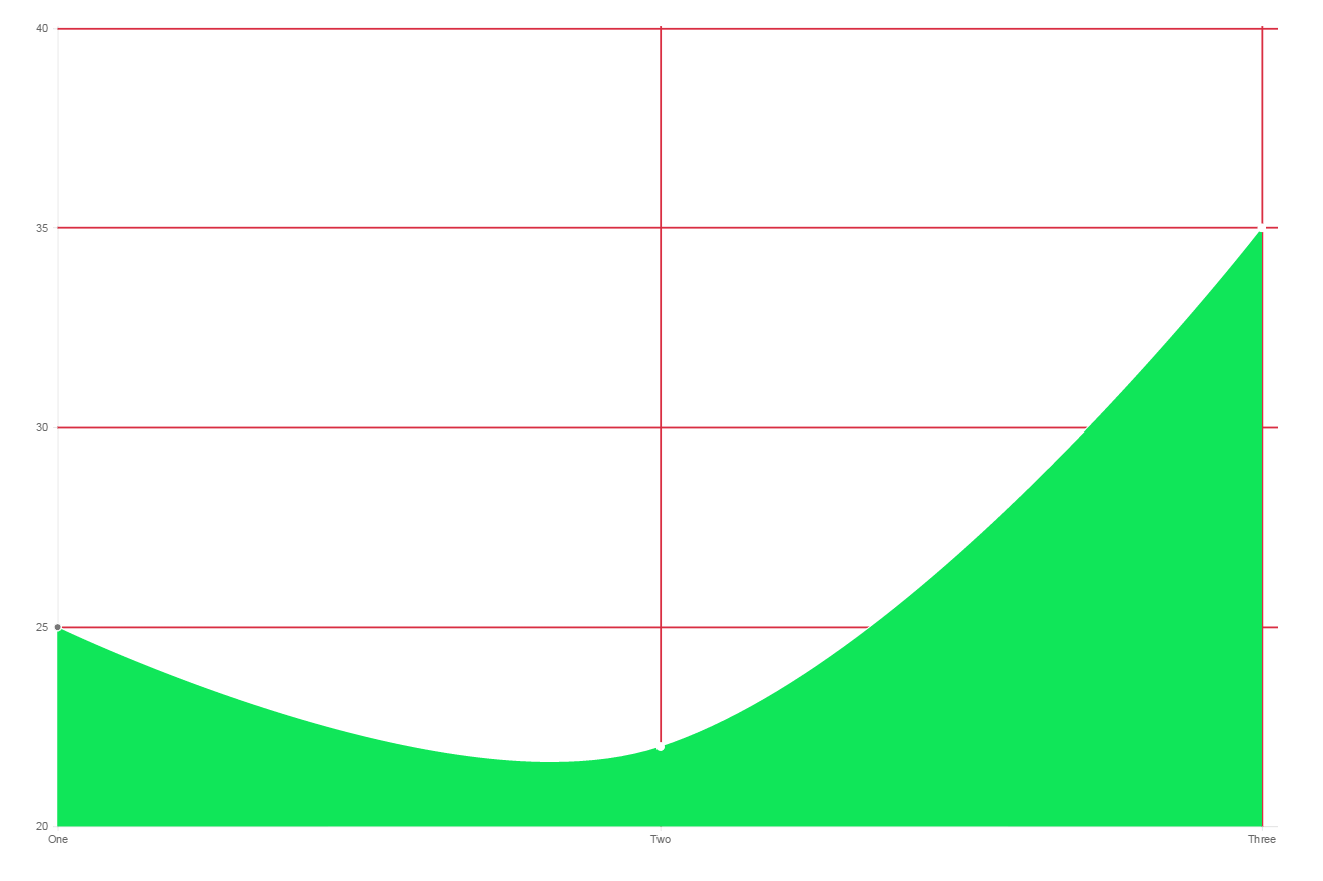
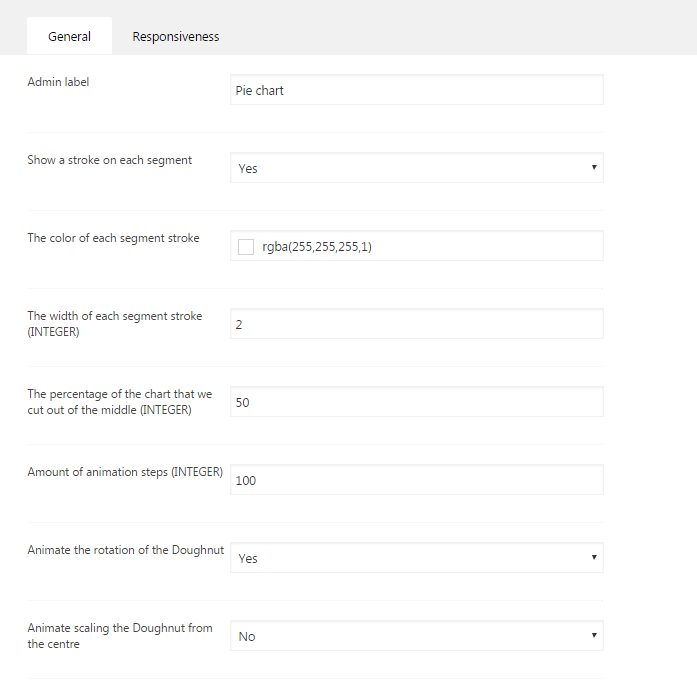
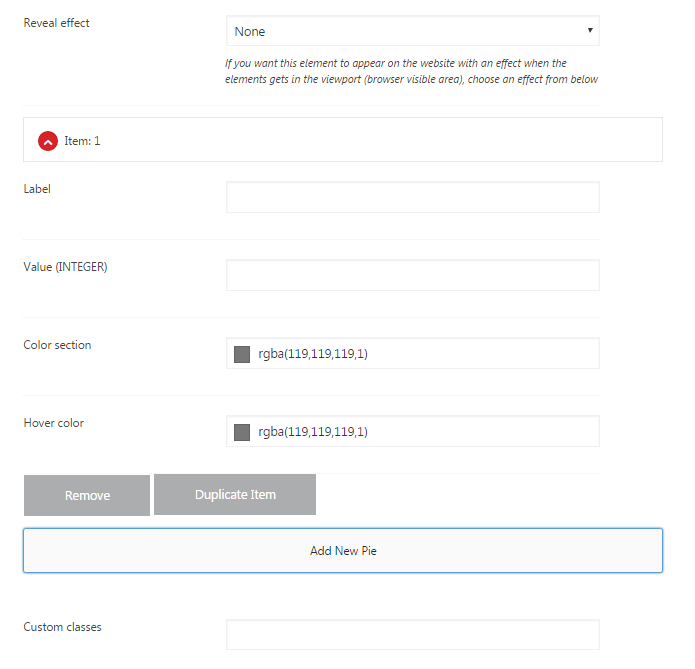
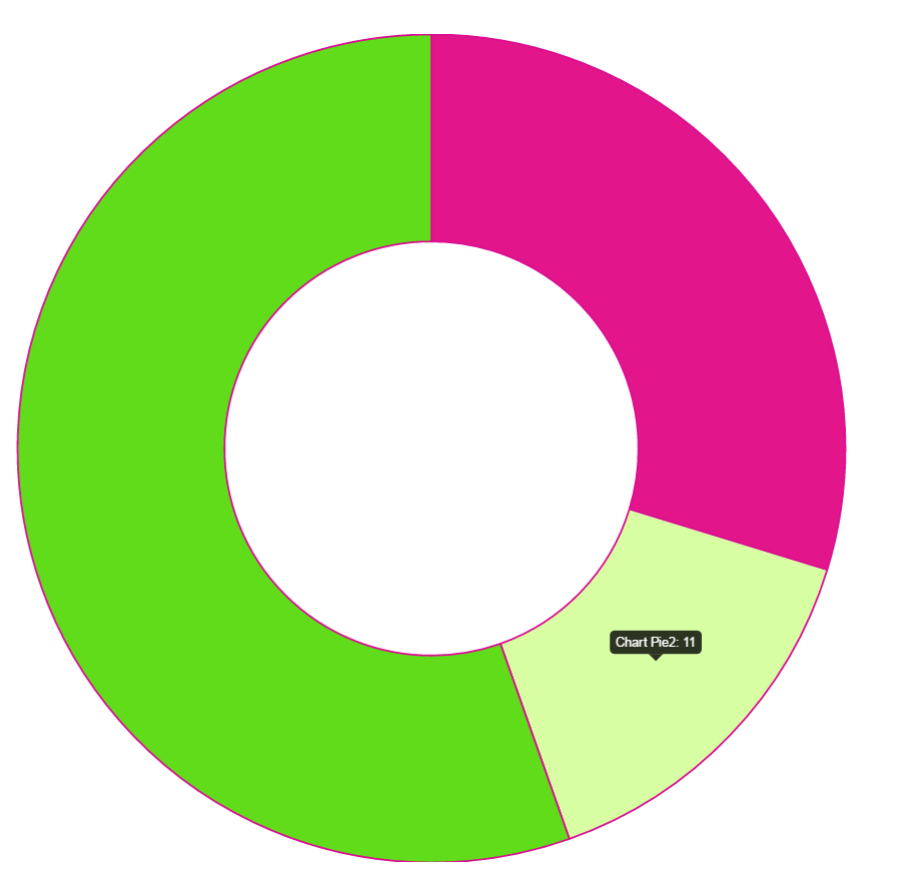
Chart pie
With this element you can add a chart pie. Is a circular statistical graphic, which is divided into slices to illustrate numerical proportion.You can see the options below:
You have an example below:
Boca slider posts
With this element you can add boca slider posts on your page. You can see the options below:

You have an example below:
Nona slider posts
With this element you can add nona slider posts on your page. You can see the options below:
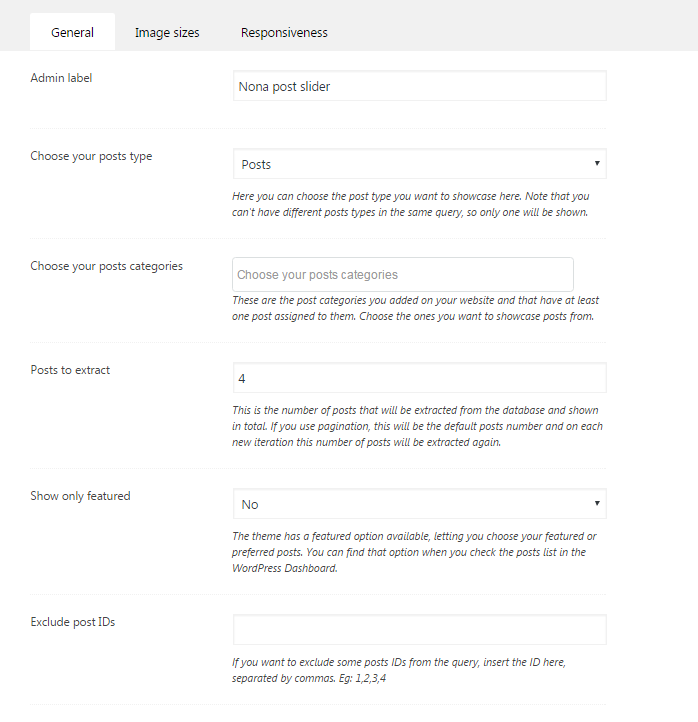


You have an example below:
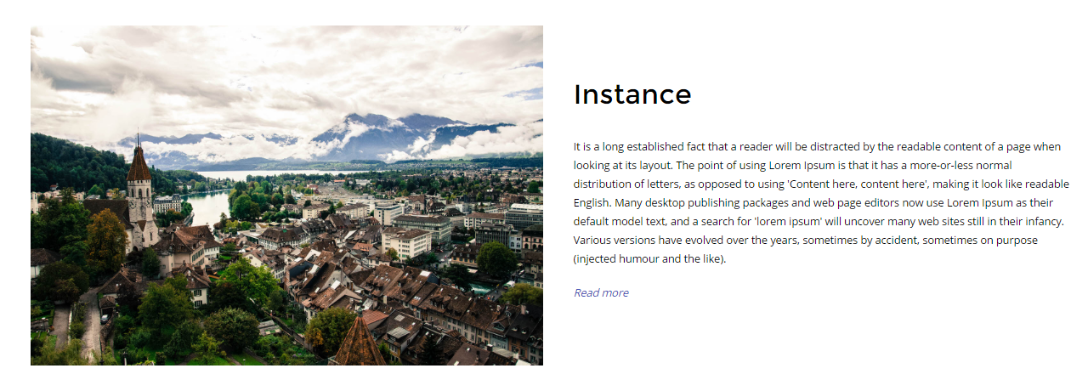
Instance
You can see the options below:

You have an example below:
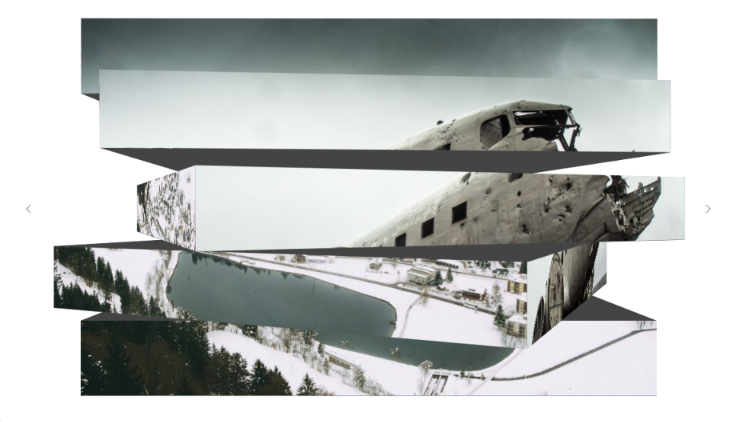
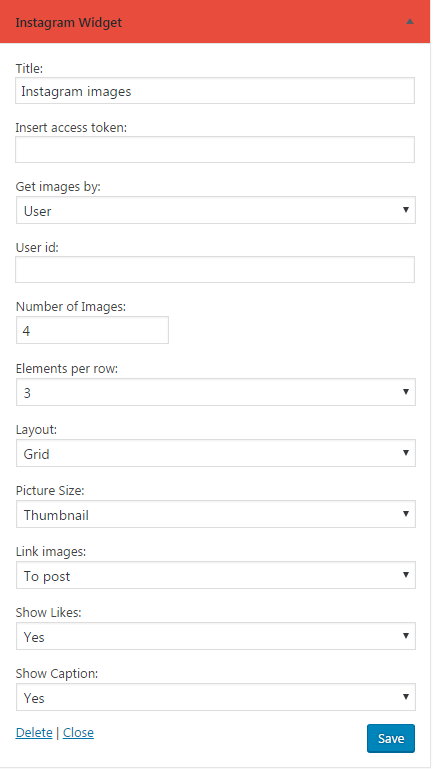
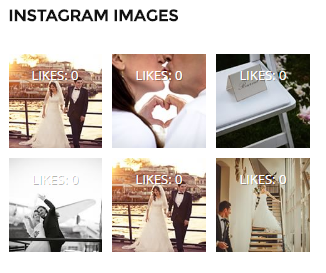
Mosaic images
This element gives you the option to add images in mosaic layout. You can see the options below:


You have an example below:

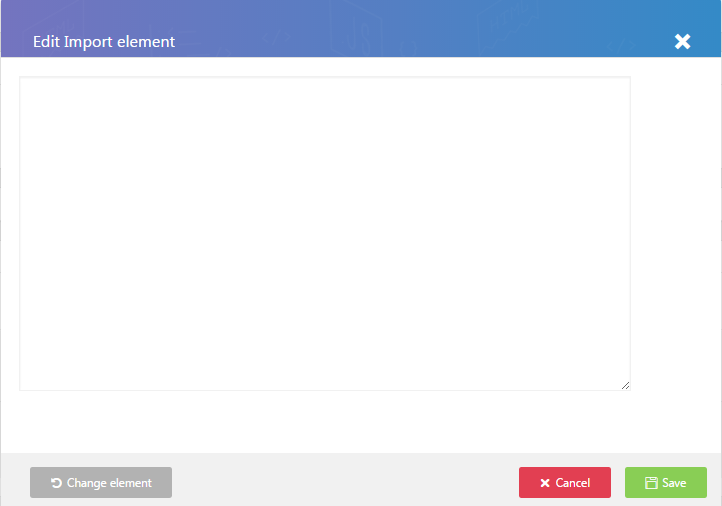
Import
This element gives you the option to import a element to your page. You can see the options below:
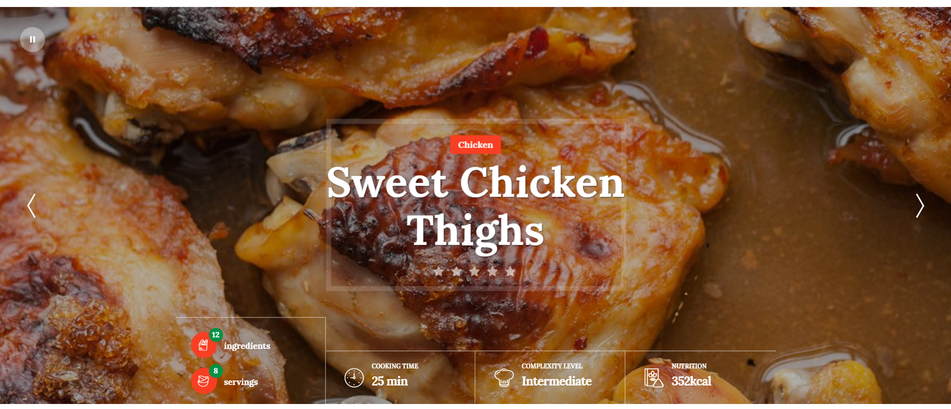
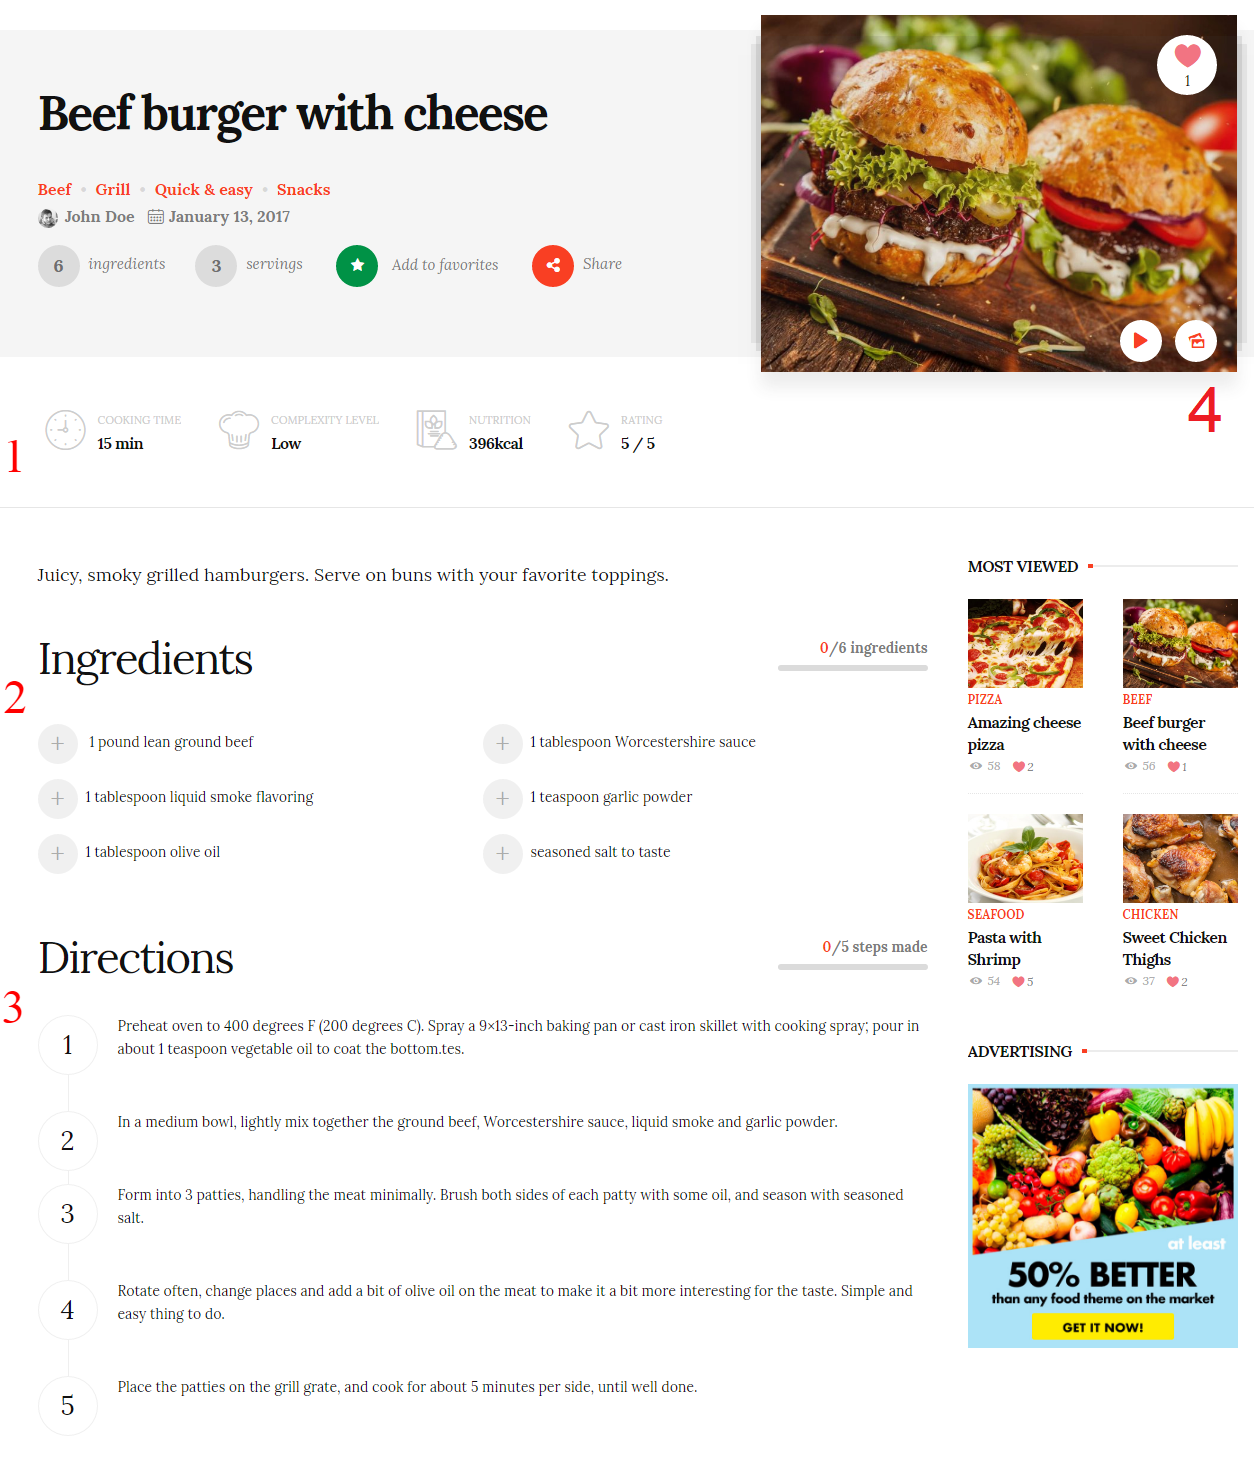
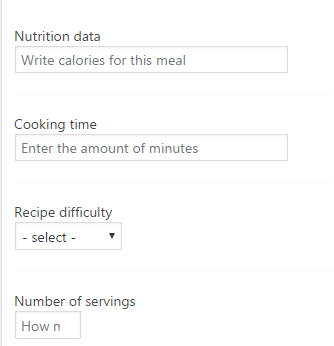
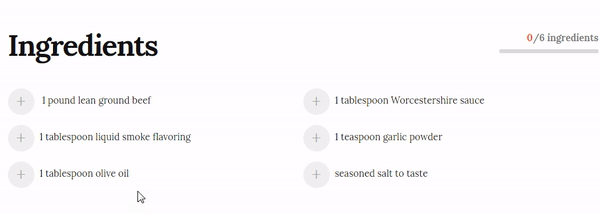
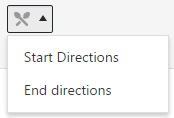
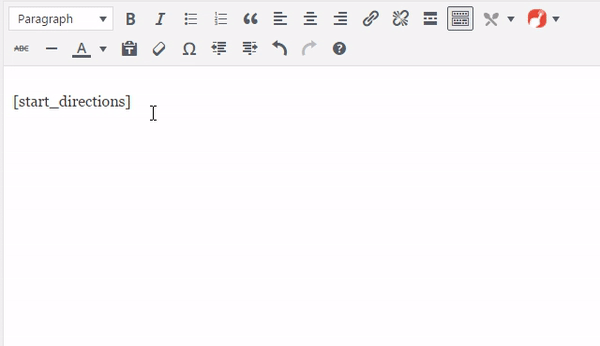
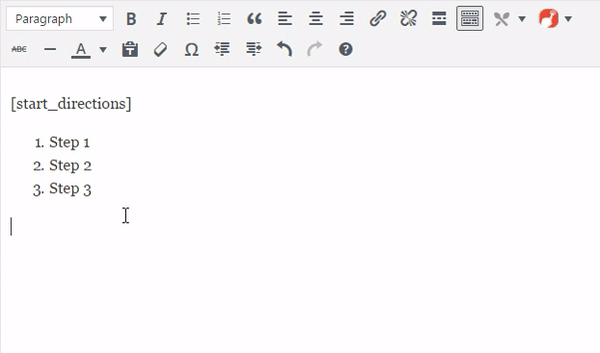
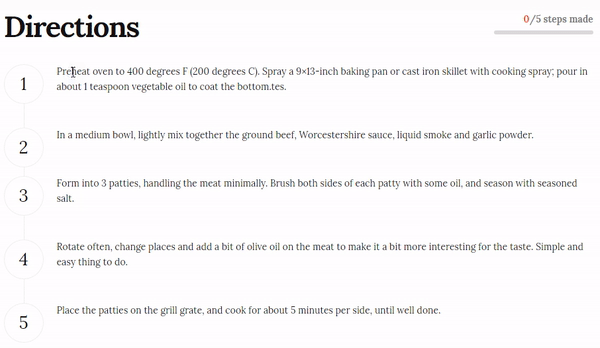
Recipe Slider
This element gives you the option to present the recipes in a great looking slider. You can see the options below:

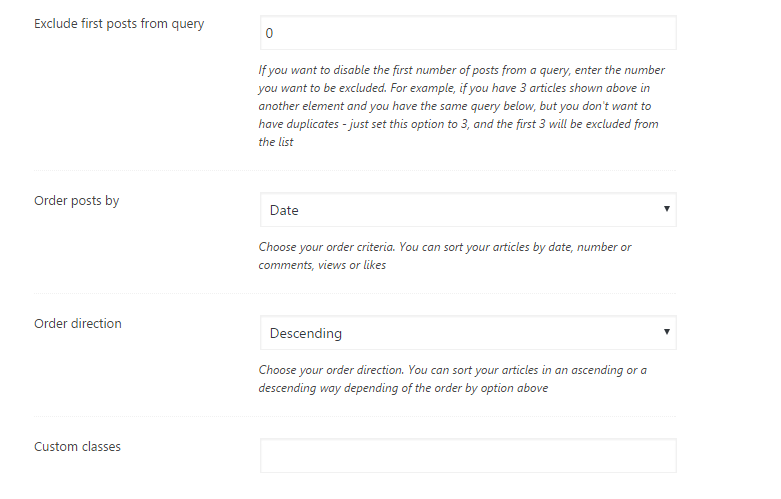
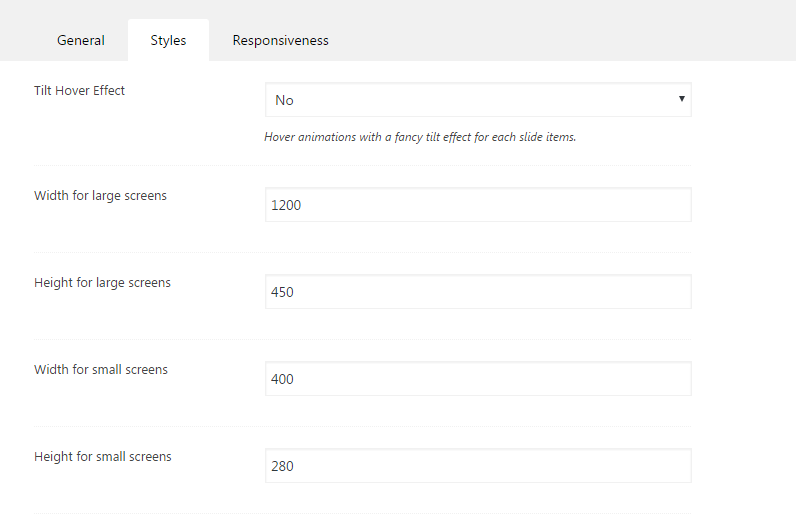
You have an example below:
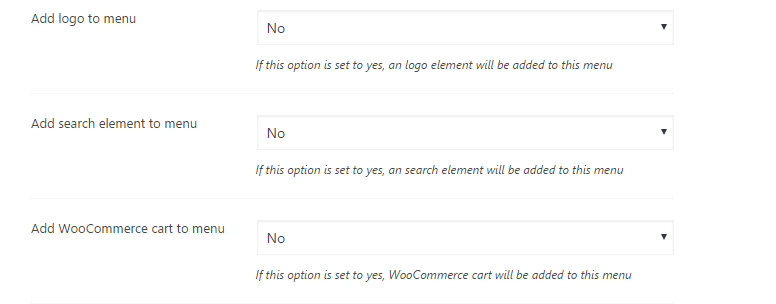
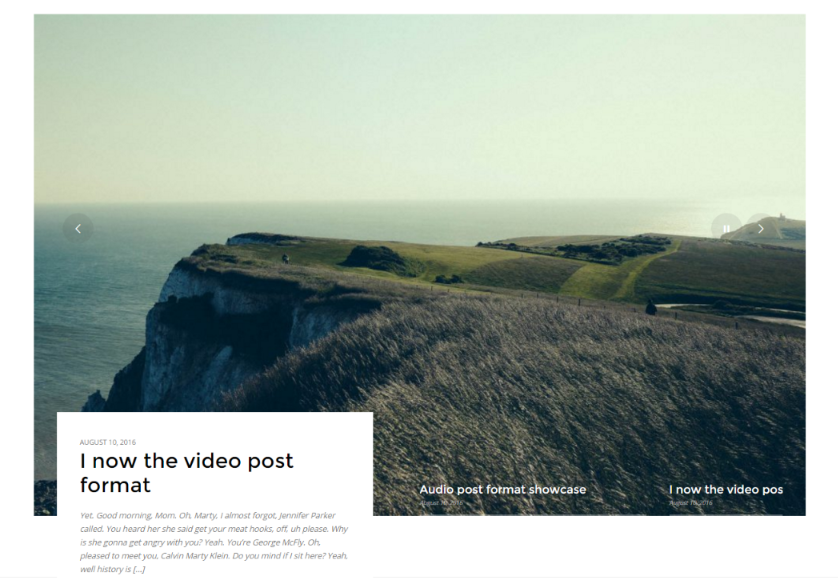
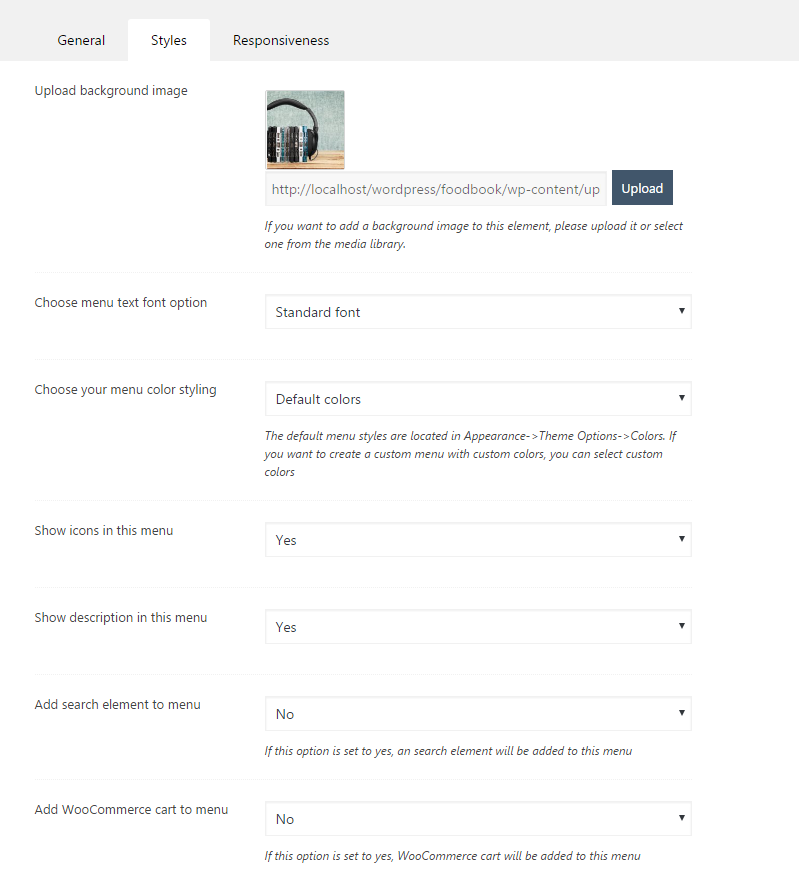
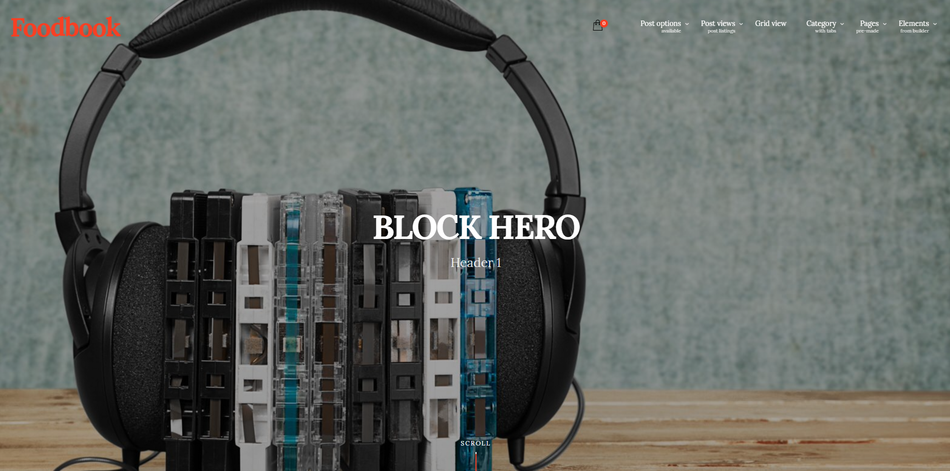
This element gives you the option to add a block with multiple elements. Block Hero Header 1 is formed from Logo, Menu, Title, Subtitle, Search icon and WooCommerce cart. You can see the options below:
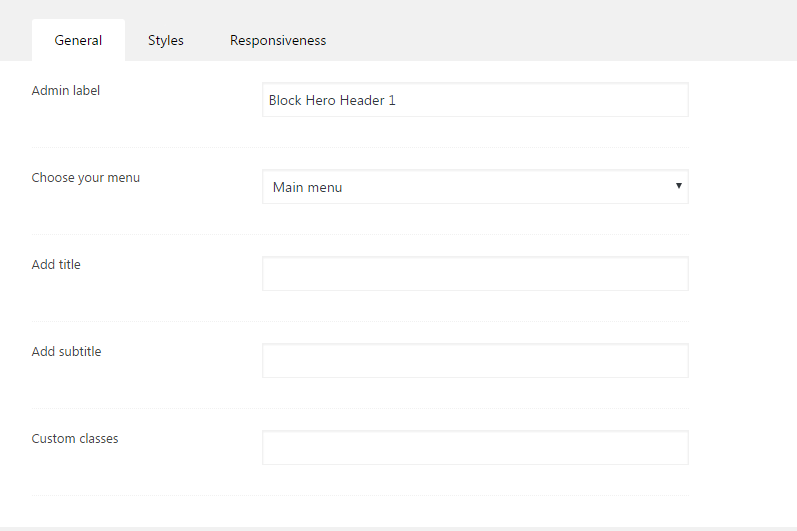
You have an example below:
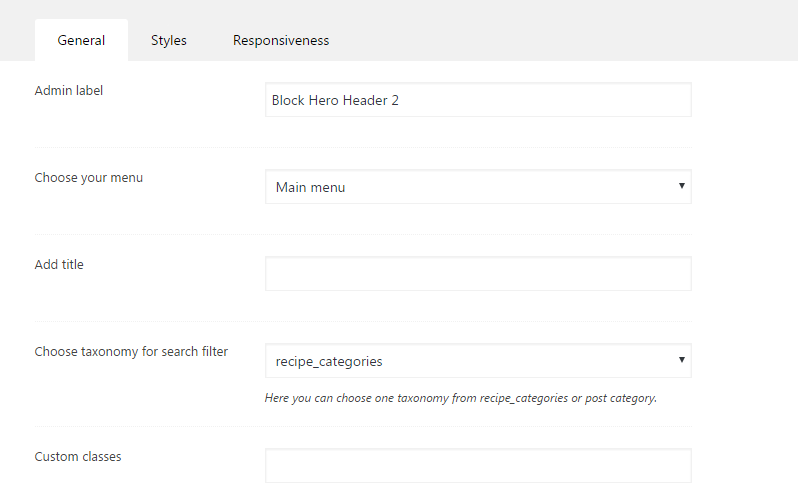
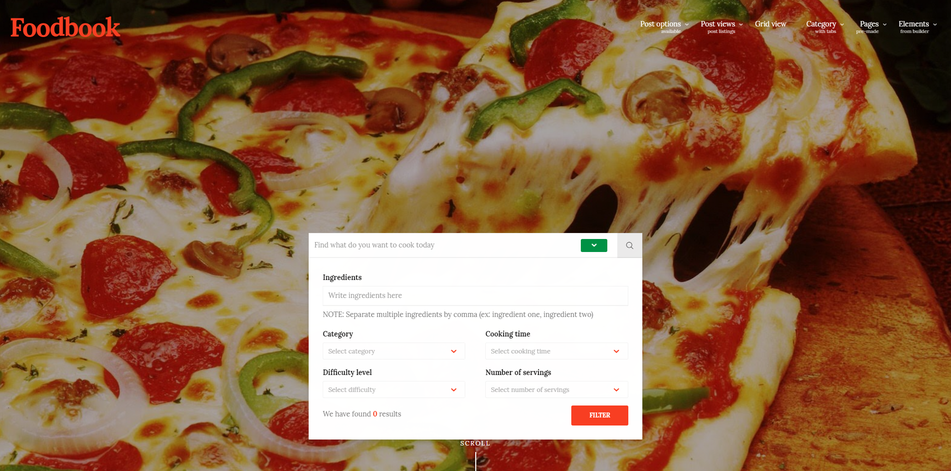
This element gives you the option to add a block with multiple elements. Block Hero Header 2 is formed from Logo, Menu, Title, Search icon, WooCommerce cart and search field in the center. You can see the options below:

You have an example below:
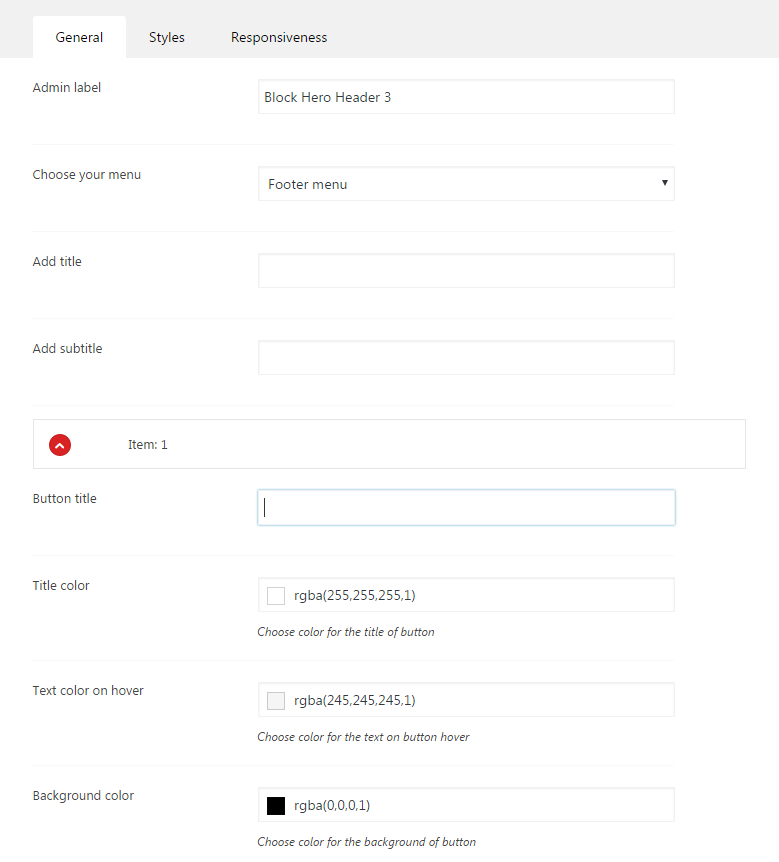
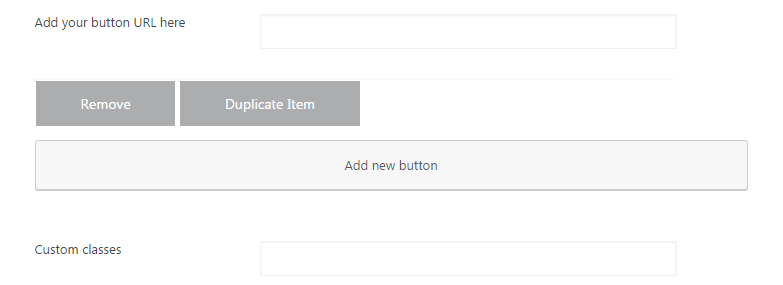
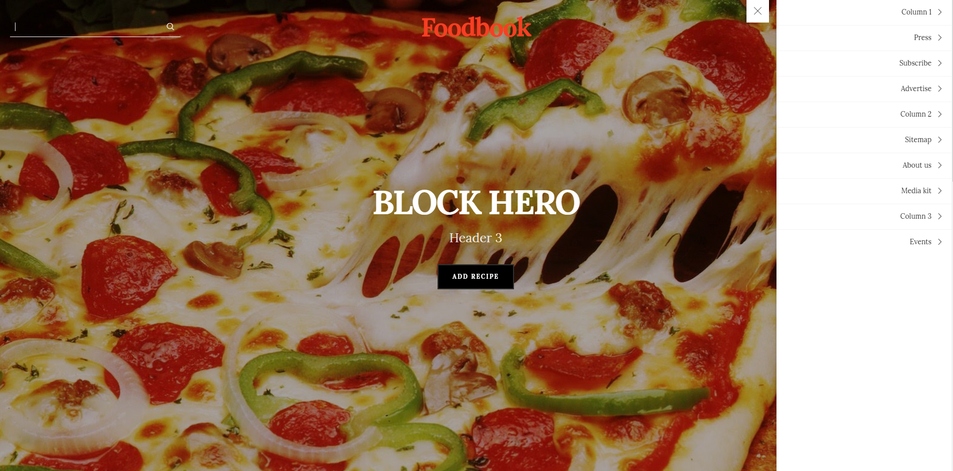
This element gives you the option to add a block with multiple elements. Block Hero Header 3 is formed from Logo, Menu, Title, Search icon, WooCommerce cart and search field in the center. You can see the options below:

You have an example below:
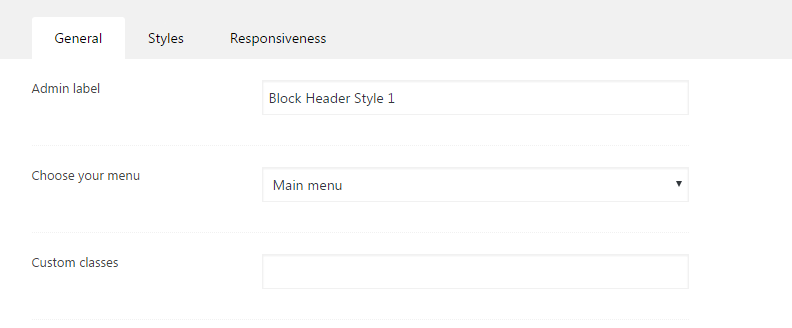
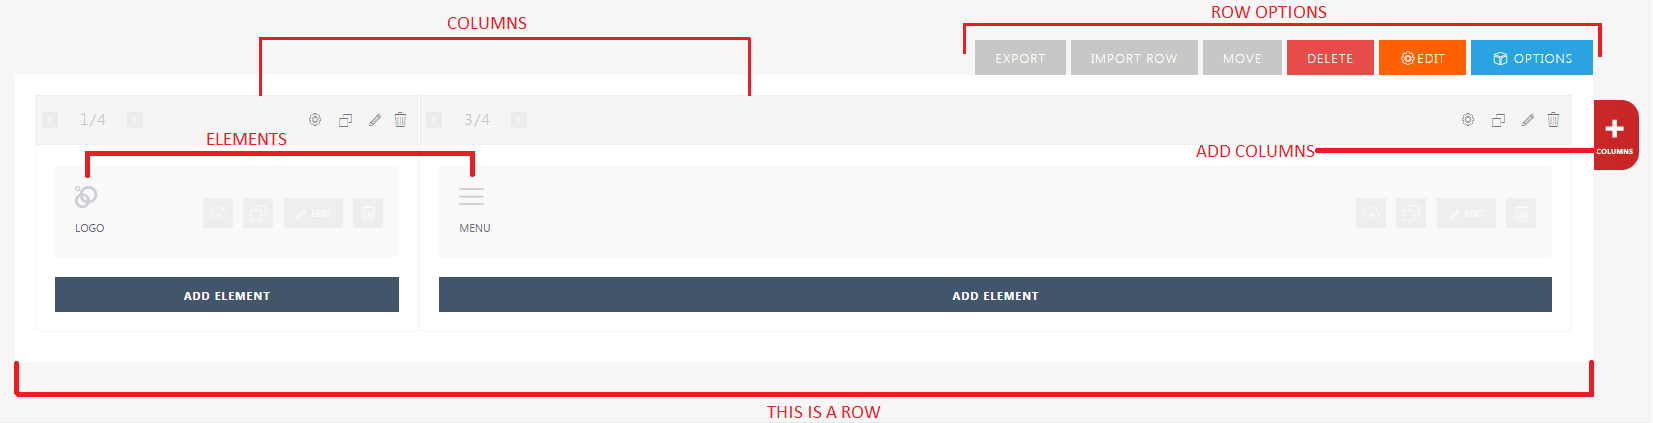
This element gives you the option to add a block with multiple elements. Block Header Style 1 is formed from Logo, Socials icons and Right Menu. Social elements are selected in Theme options -> Social. You can see the options below:
You have an example below:

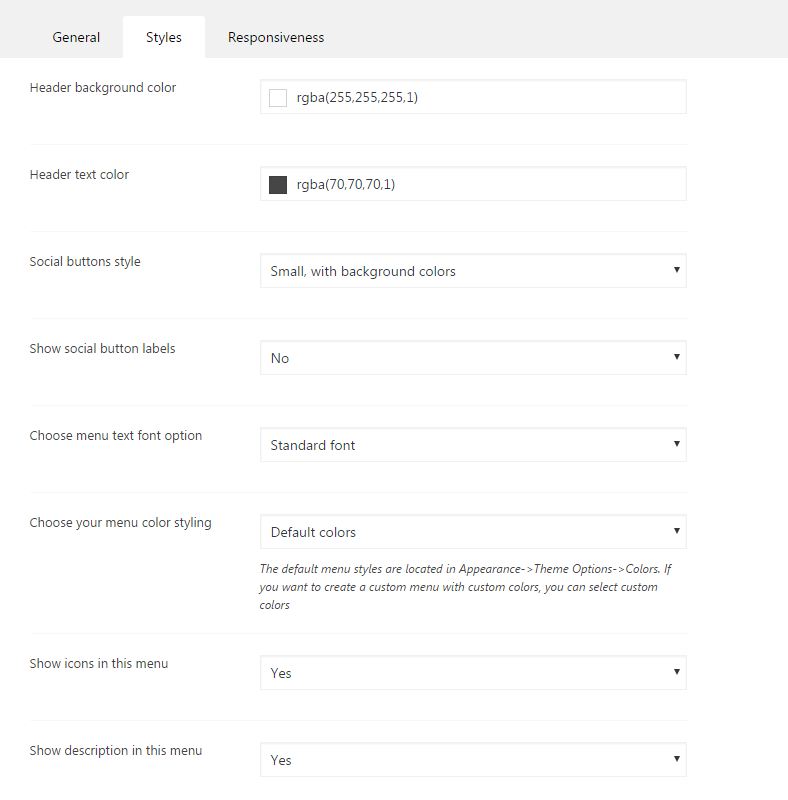
This element gives you the option to add a block with multiple elements. Block Header Style 2 is formed from Logo, Menu and User element. You can see the options below:
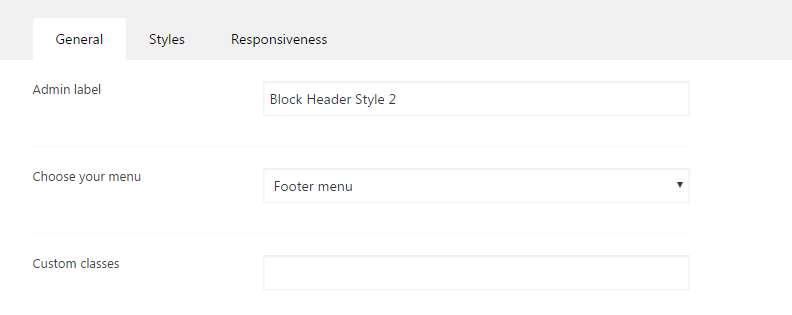
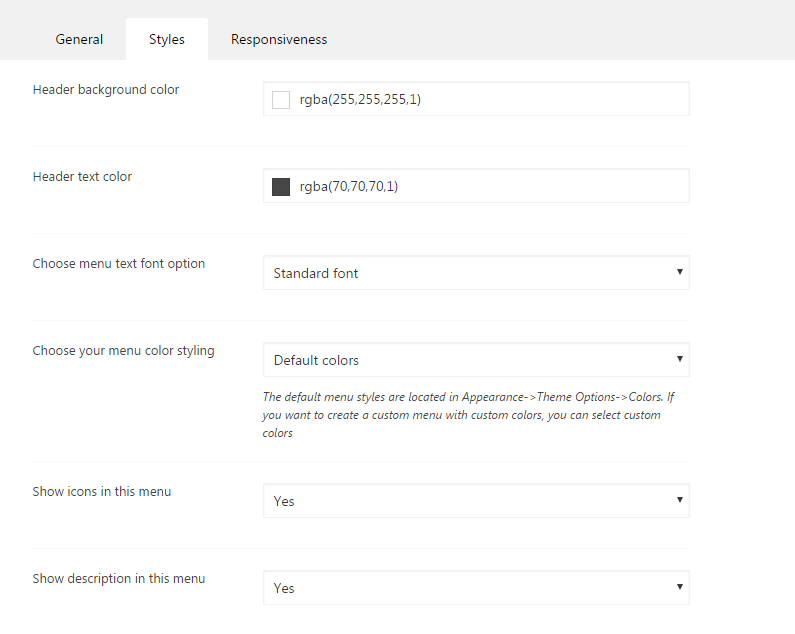
You have an example below:

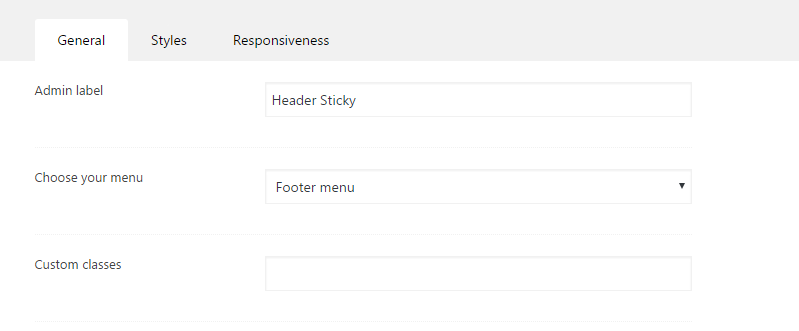
This element gives you the option to add a sticky block with multiple elements. Stinky means that when you scroll down the block is fixed at the top of the page. Block Header Sicky is formed from Logo, Menu and Search icon. You can see the options below:
Latest posts half grey
This element gives you the option to add a block with latest posts. You can see the options below:
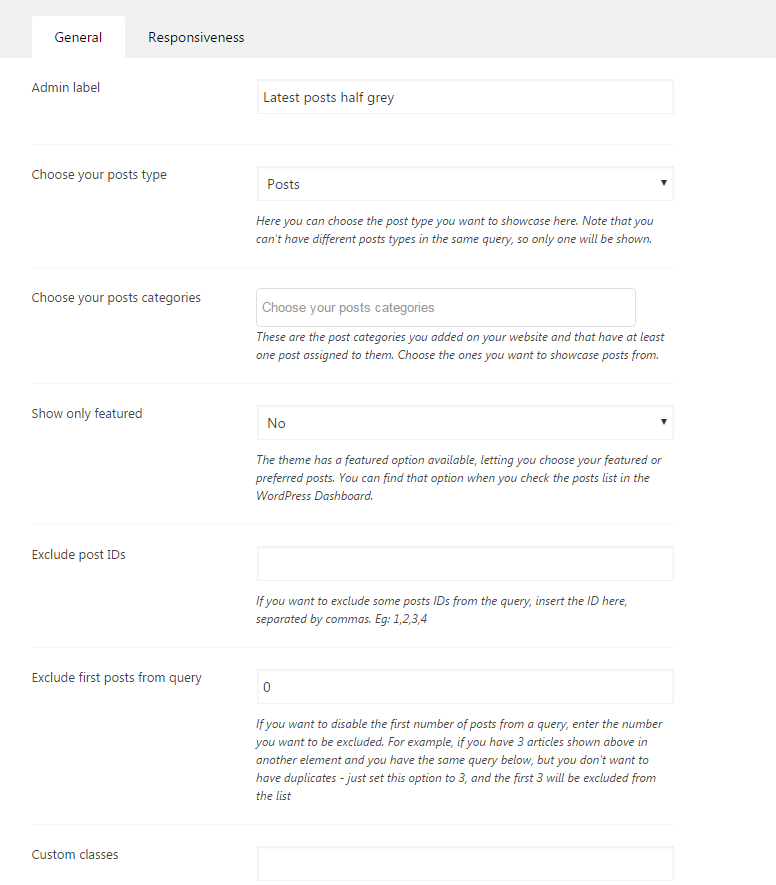
You have an example below:


The Comments widget is a sidebar tool that displays the most recent comments readers have left on your blog.
You can see the options below:
Here’s an example of what it looks like: